


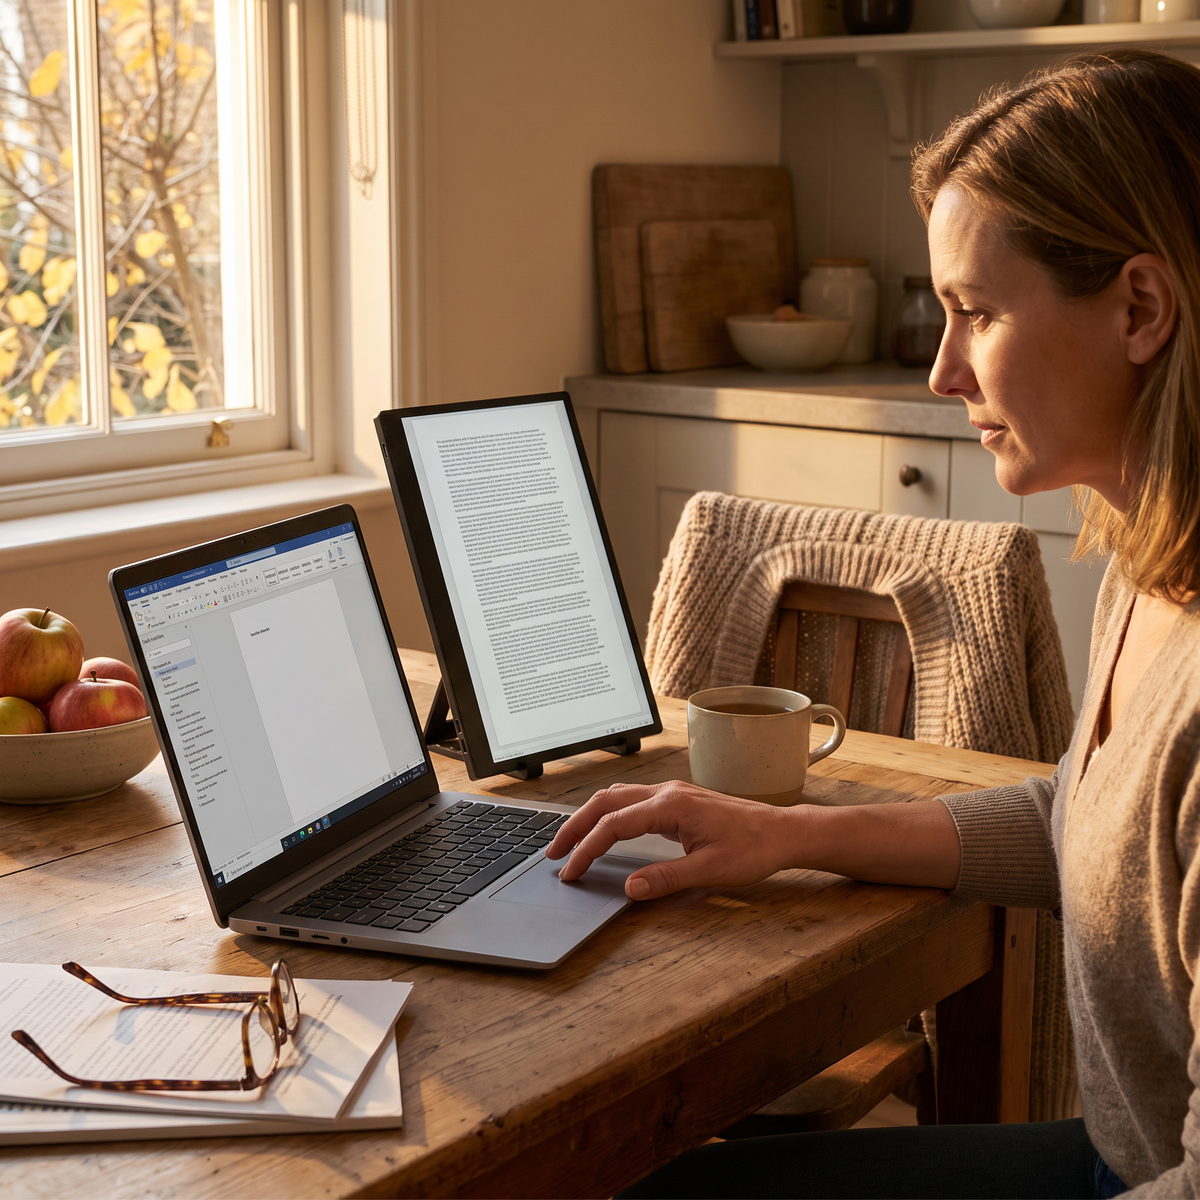
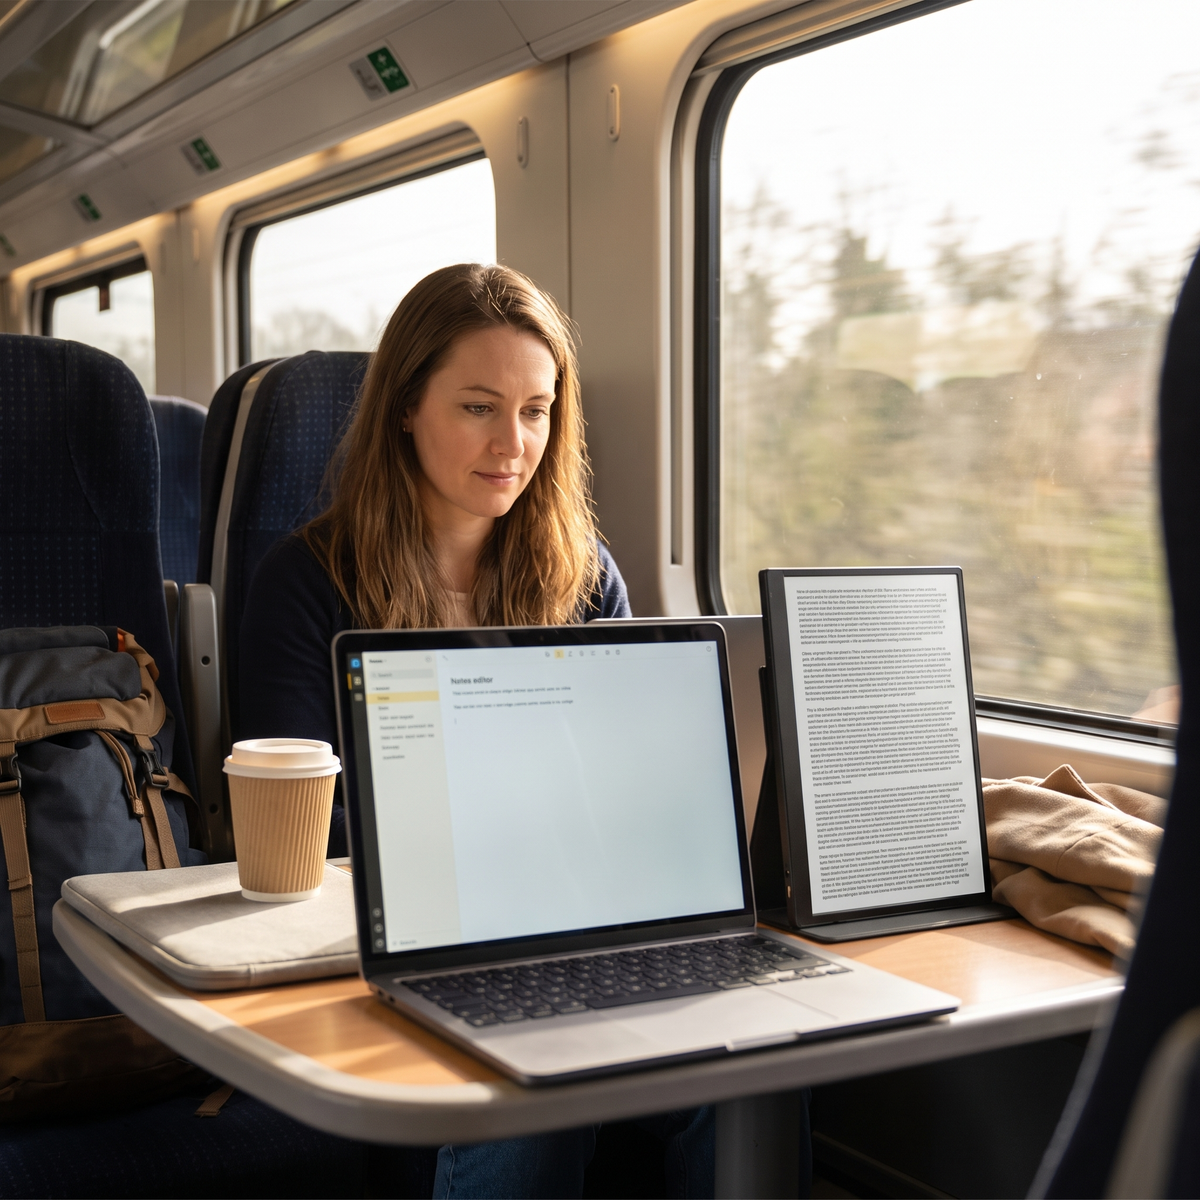
Adding a panel to a laptop rarely goes wrong the way people expect. The cable works, the panel lights up, and then the real problem appears: the same window is one size on the laptop and another size on the panel beside it. Here is why, the settings that fix it, and which of our own variants we would buy because of it.
Why the text comes out the wrong size
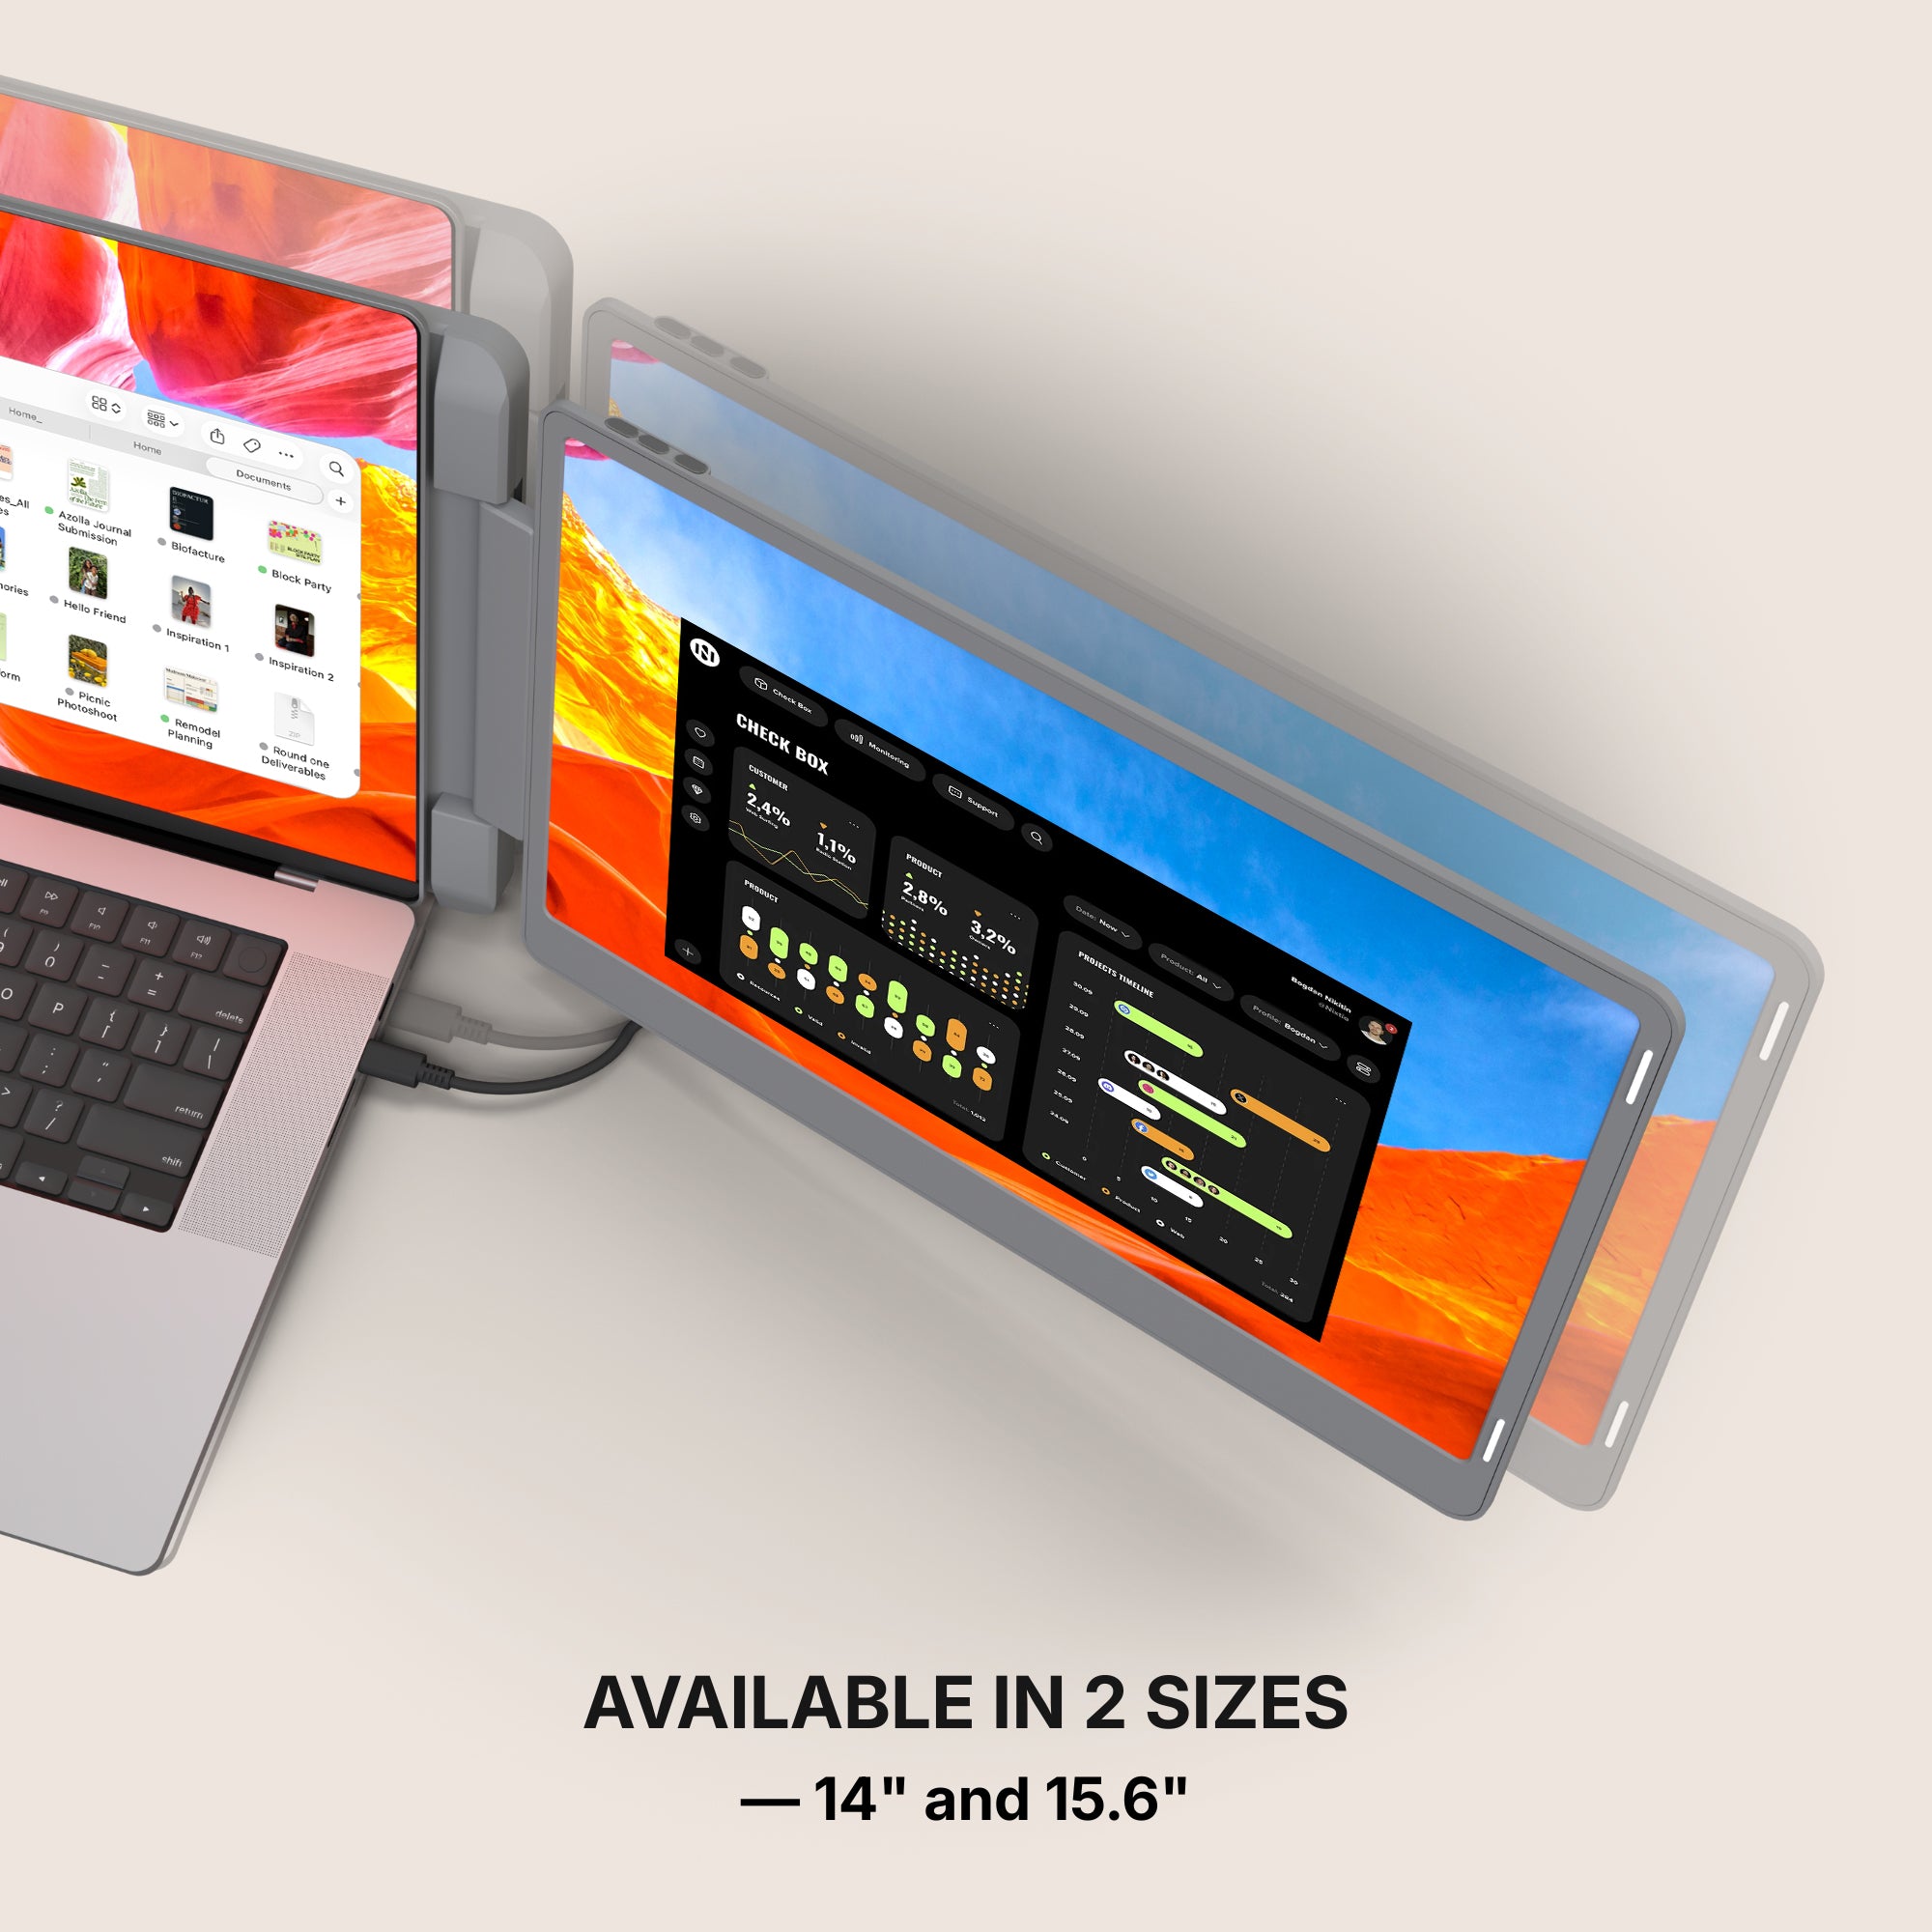
Read our own resolution fields and the cause is obvious. Dual Play (Gen 3) is published at 1920 x 1080 Full HD, 1920 x 1200 and 2560 x 1440, in 14" and 15.6". Dual Snap (Gen 1) carries the same three in 14" and 16", Dual Book Pro (Gen 2) carries Full HD and 1920 x 1200, and Single Boost 15.6" (Gen 2) is Full HD only.
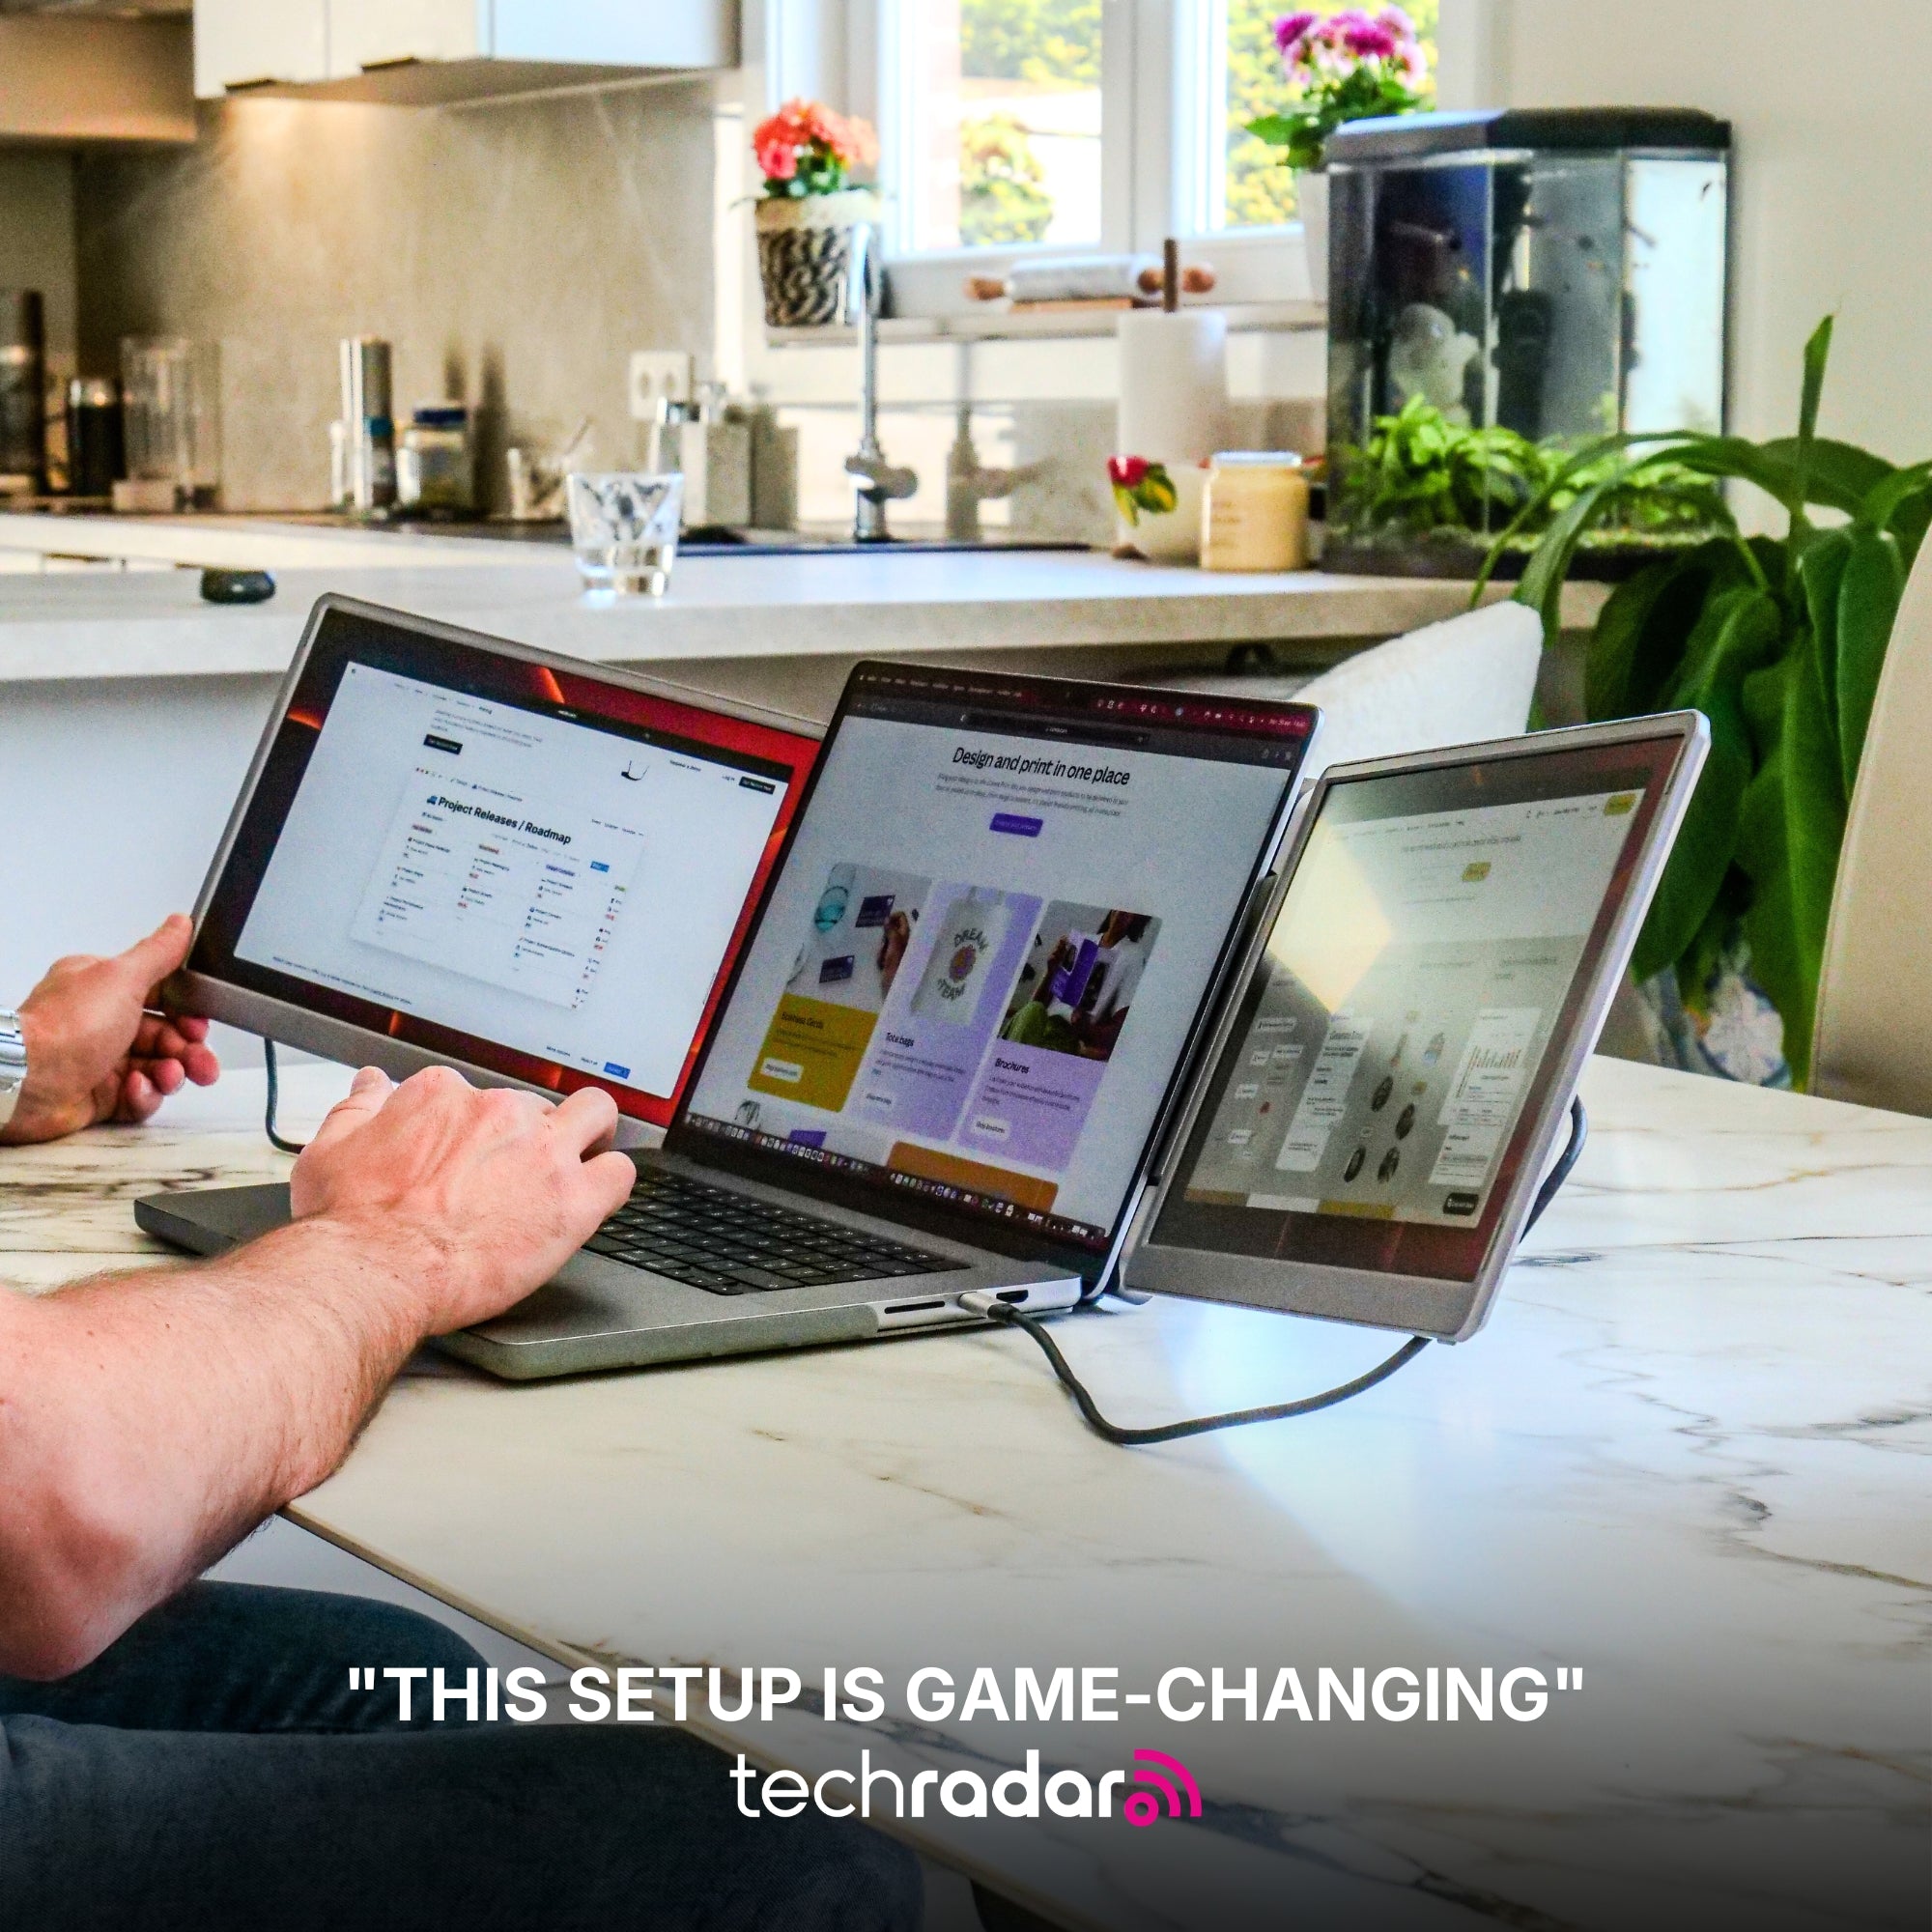
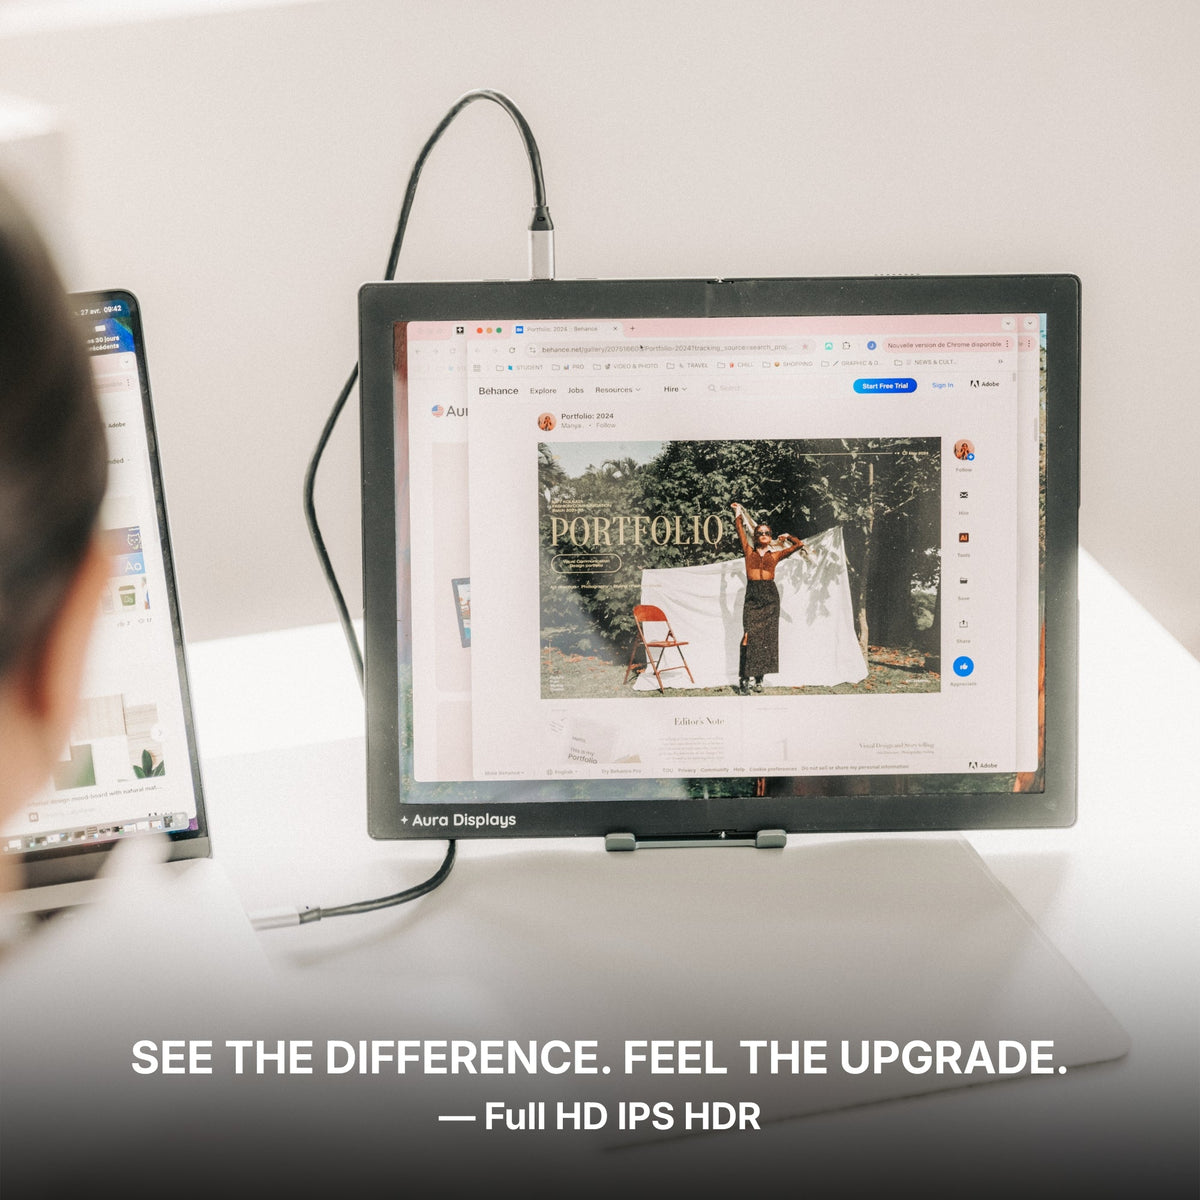
Put a 14" panel at 2560 x 1440 beside a 15.6" laptop screen at Full HD and a window is physically smaller on the panel. Nothing is faulty: the pixels are closer together, so anything measured in pixels comes out smaller. That comparison is our arithmetic on our published figures, not a spec we publish — but it is the whole explanation, and it is why the finer panel is the one that gives you work to do.
Operating systems answer this with scaling, and the part worth knowing is that Windows and macOS both hold a separate setting per display. Most people change it once, see the laptop screen go wrong, and change it back.
The settings that actually fix it
- Windows 11: select the display before you touch the slider. Settings > System > Display, click the panel in the diagram at the top, then set Scale. 125% is the first thing to try on a 14" 2560 x 1440 panel; 100% is usually already right on a Full HD panel of the same size.
- Sign out and back in after a scale change. Some applications read the scale factor only at launch, which is why half your windows look right and half do not.
- Blurry application windows have their own toggle: Let Windows try to fix apps so they're not blurry, on the Scale page inside Settings > System > Display. It moves between builds, so go by the name.
- macOS: pick the display first, then the resolution row. System Settings > Displays, select the panel, then choose along the Larger Text to More Space row. The choice is kept per display, so the panel and the built-in screen can sit on different settings for good.
- Line the panels up physically. System Settings > Displays > Arrange on macOS, or drag the boxes in Settings > System > Display on Windows, so the layout matches how the panels actually sit. Get it wrong and the pointer leaves the screen at the wrong height all day.
One habit beats all of it: put whatever you read for an hour at a stretch on the screen whose scaling you got right, and leave reference material, chat and file lists on the other.
What scaling will not do for you
It does not add pixels. Raising a 15.6" Full HD panel to 125% makes everything bigger and shows you less of it. If what you need is more spreadsheet rows visible at once, no slider delivers that — a finer panel or a bigger one does.
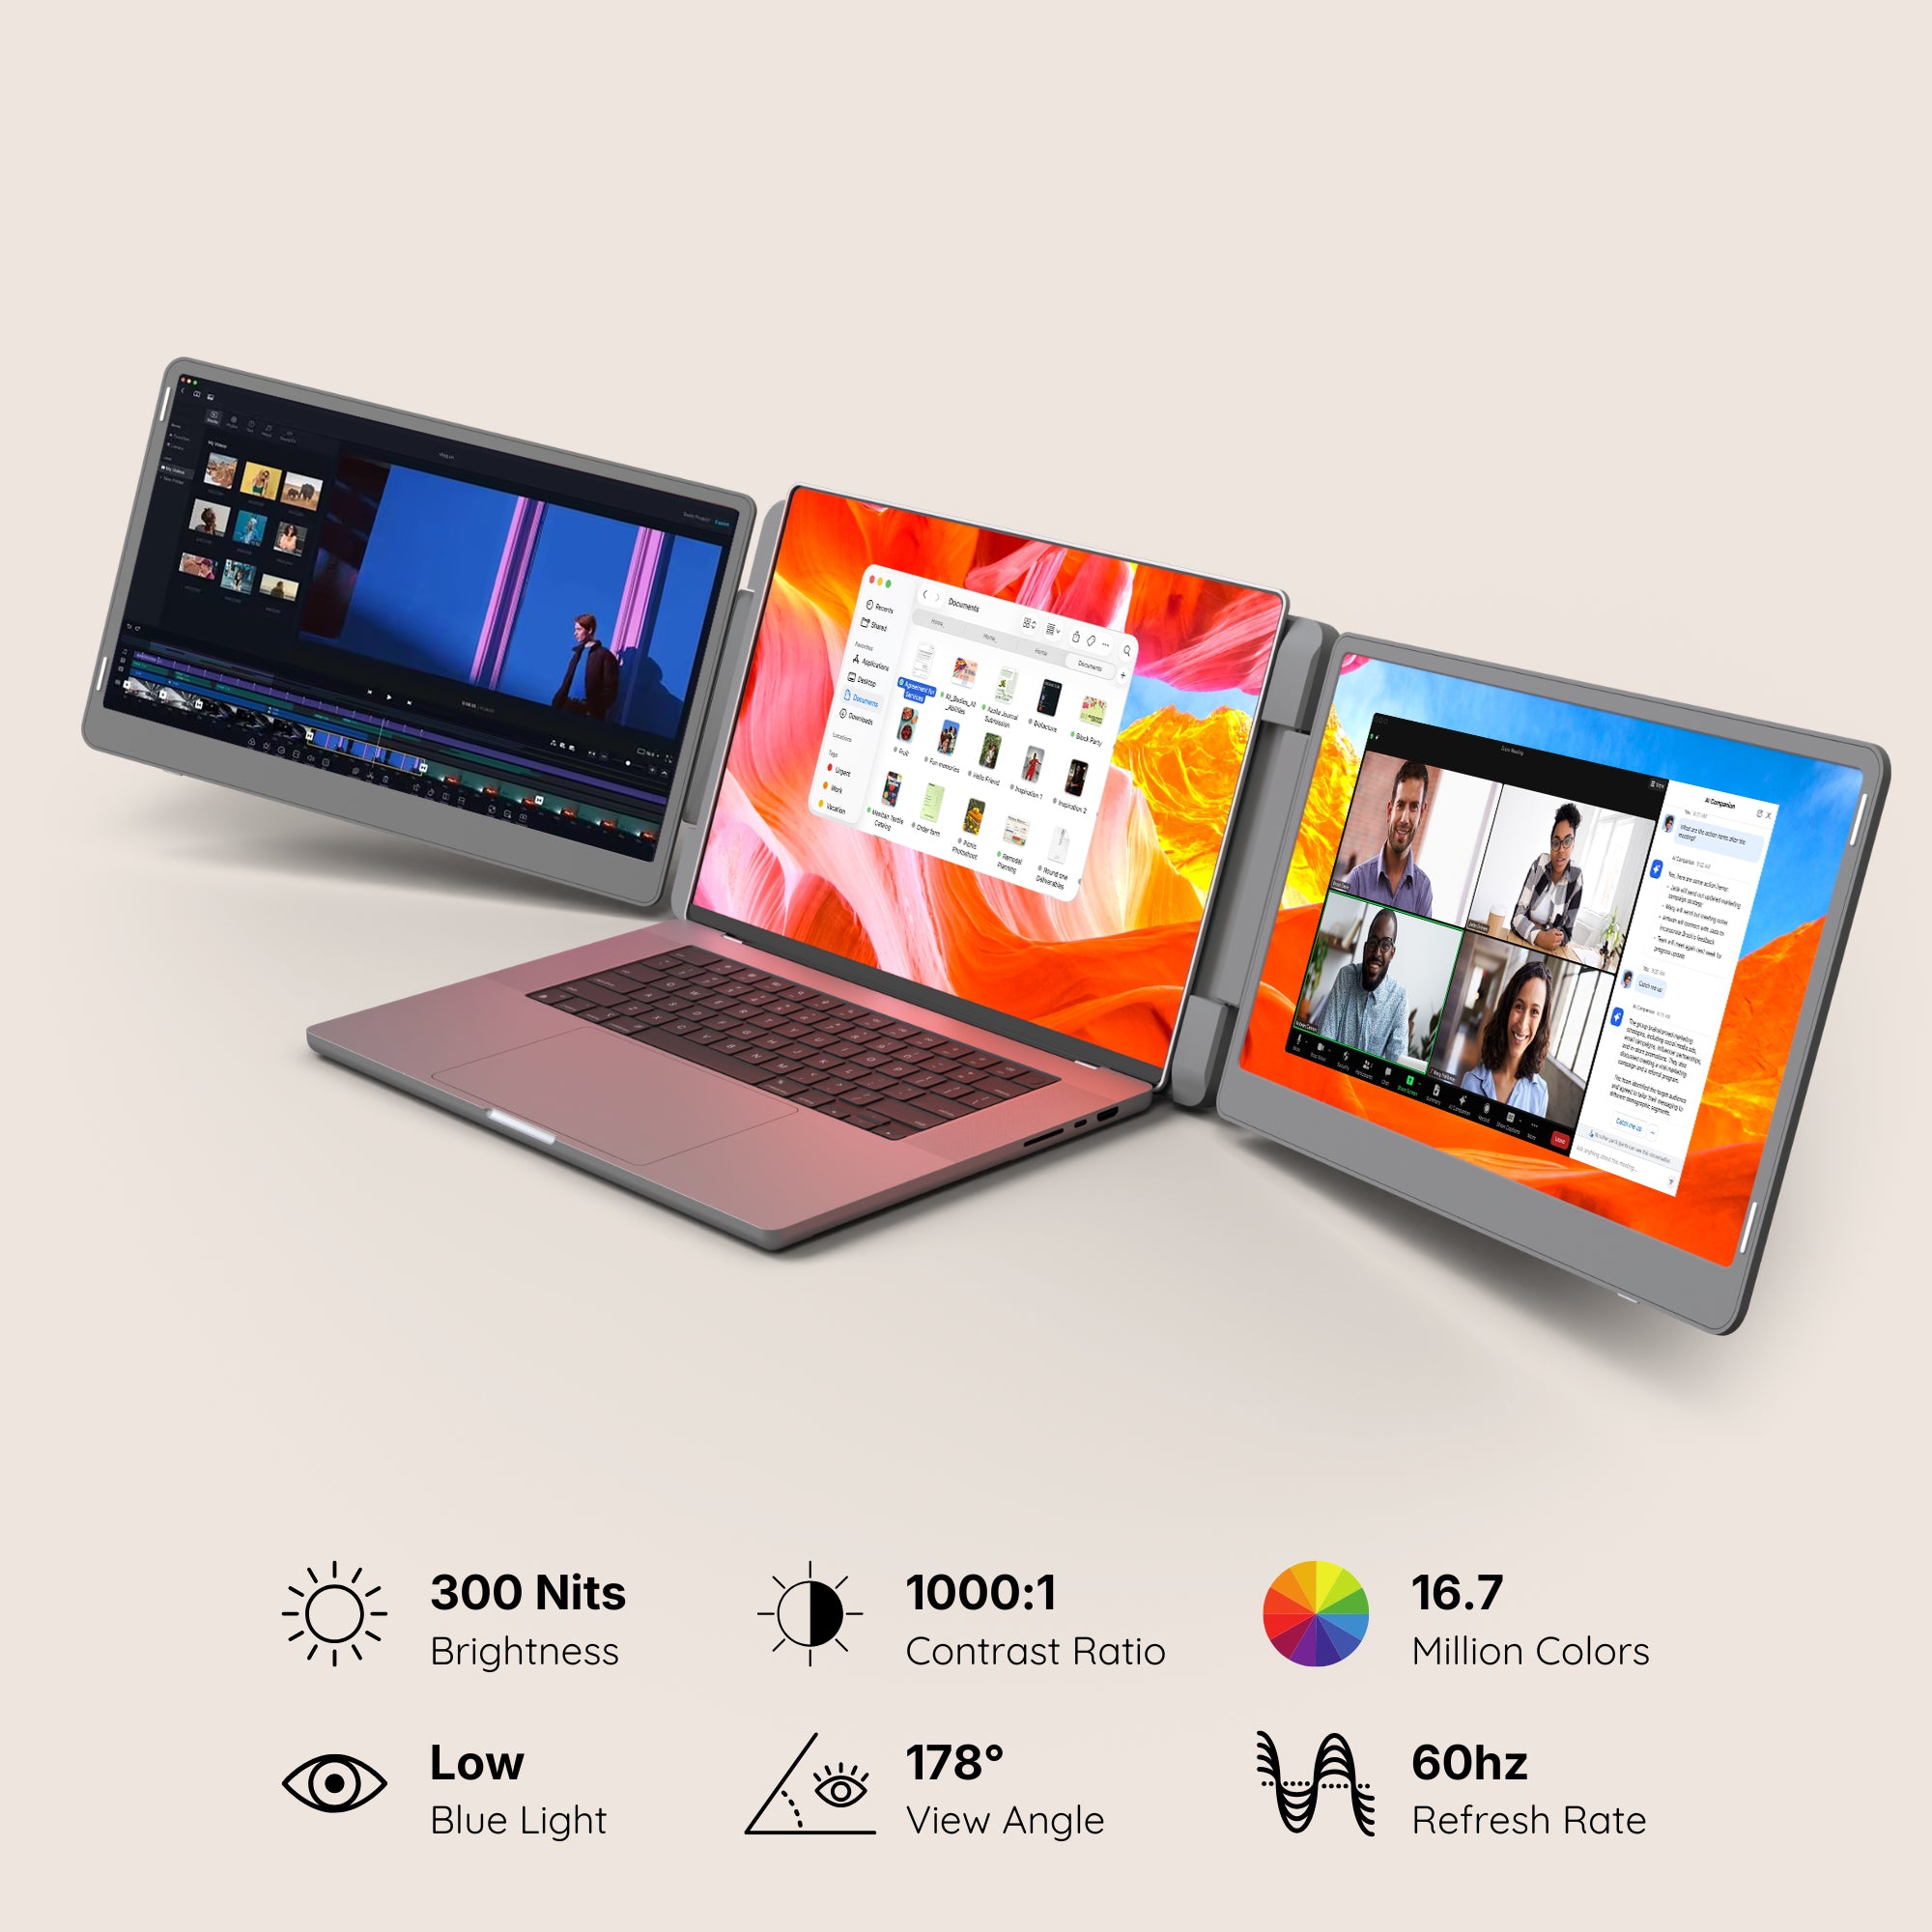
It does not fix the light, and it does not fix colour. A panel that reads as grey because a window sits behind it stays grey at any text size. And no product page in our catalogue declares a colour gamut: our panels sit between 280 and 320 nits, which makes them surfaces for documents, code and spreadsheets.
The setup we recommend, and the cheaper one
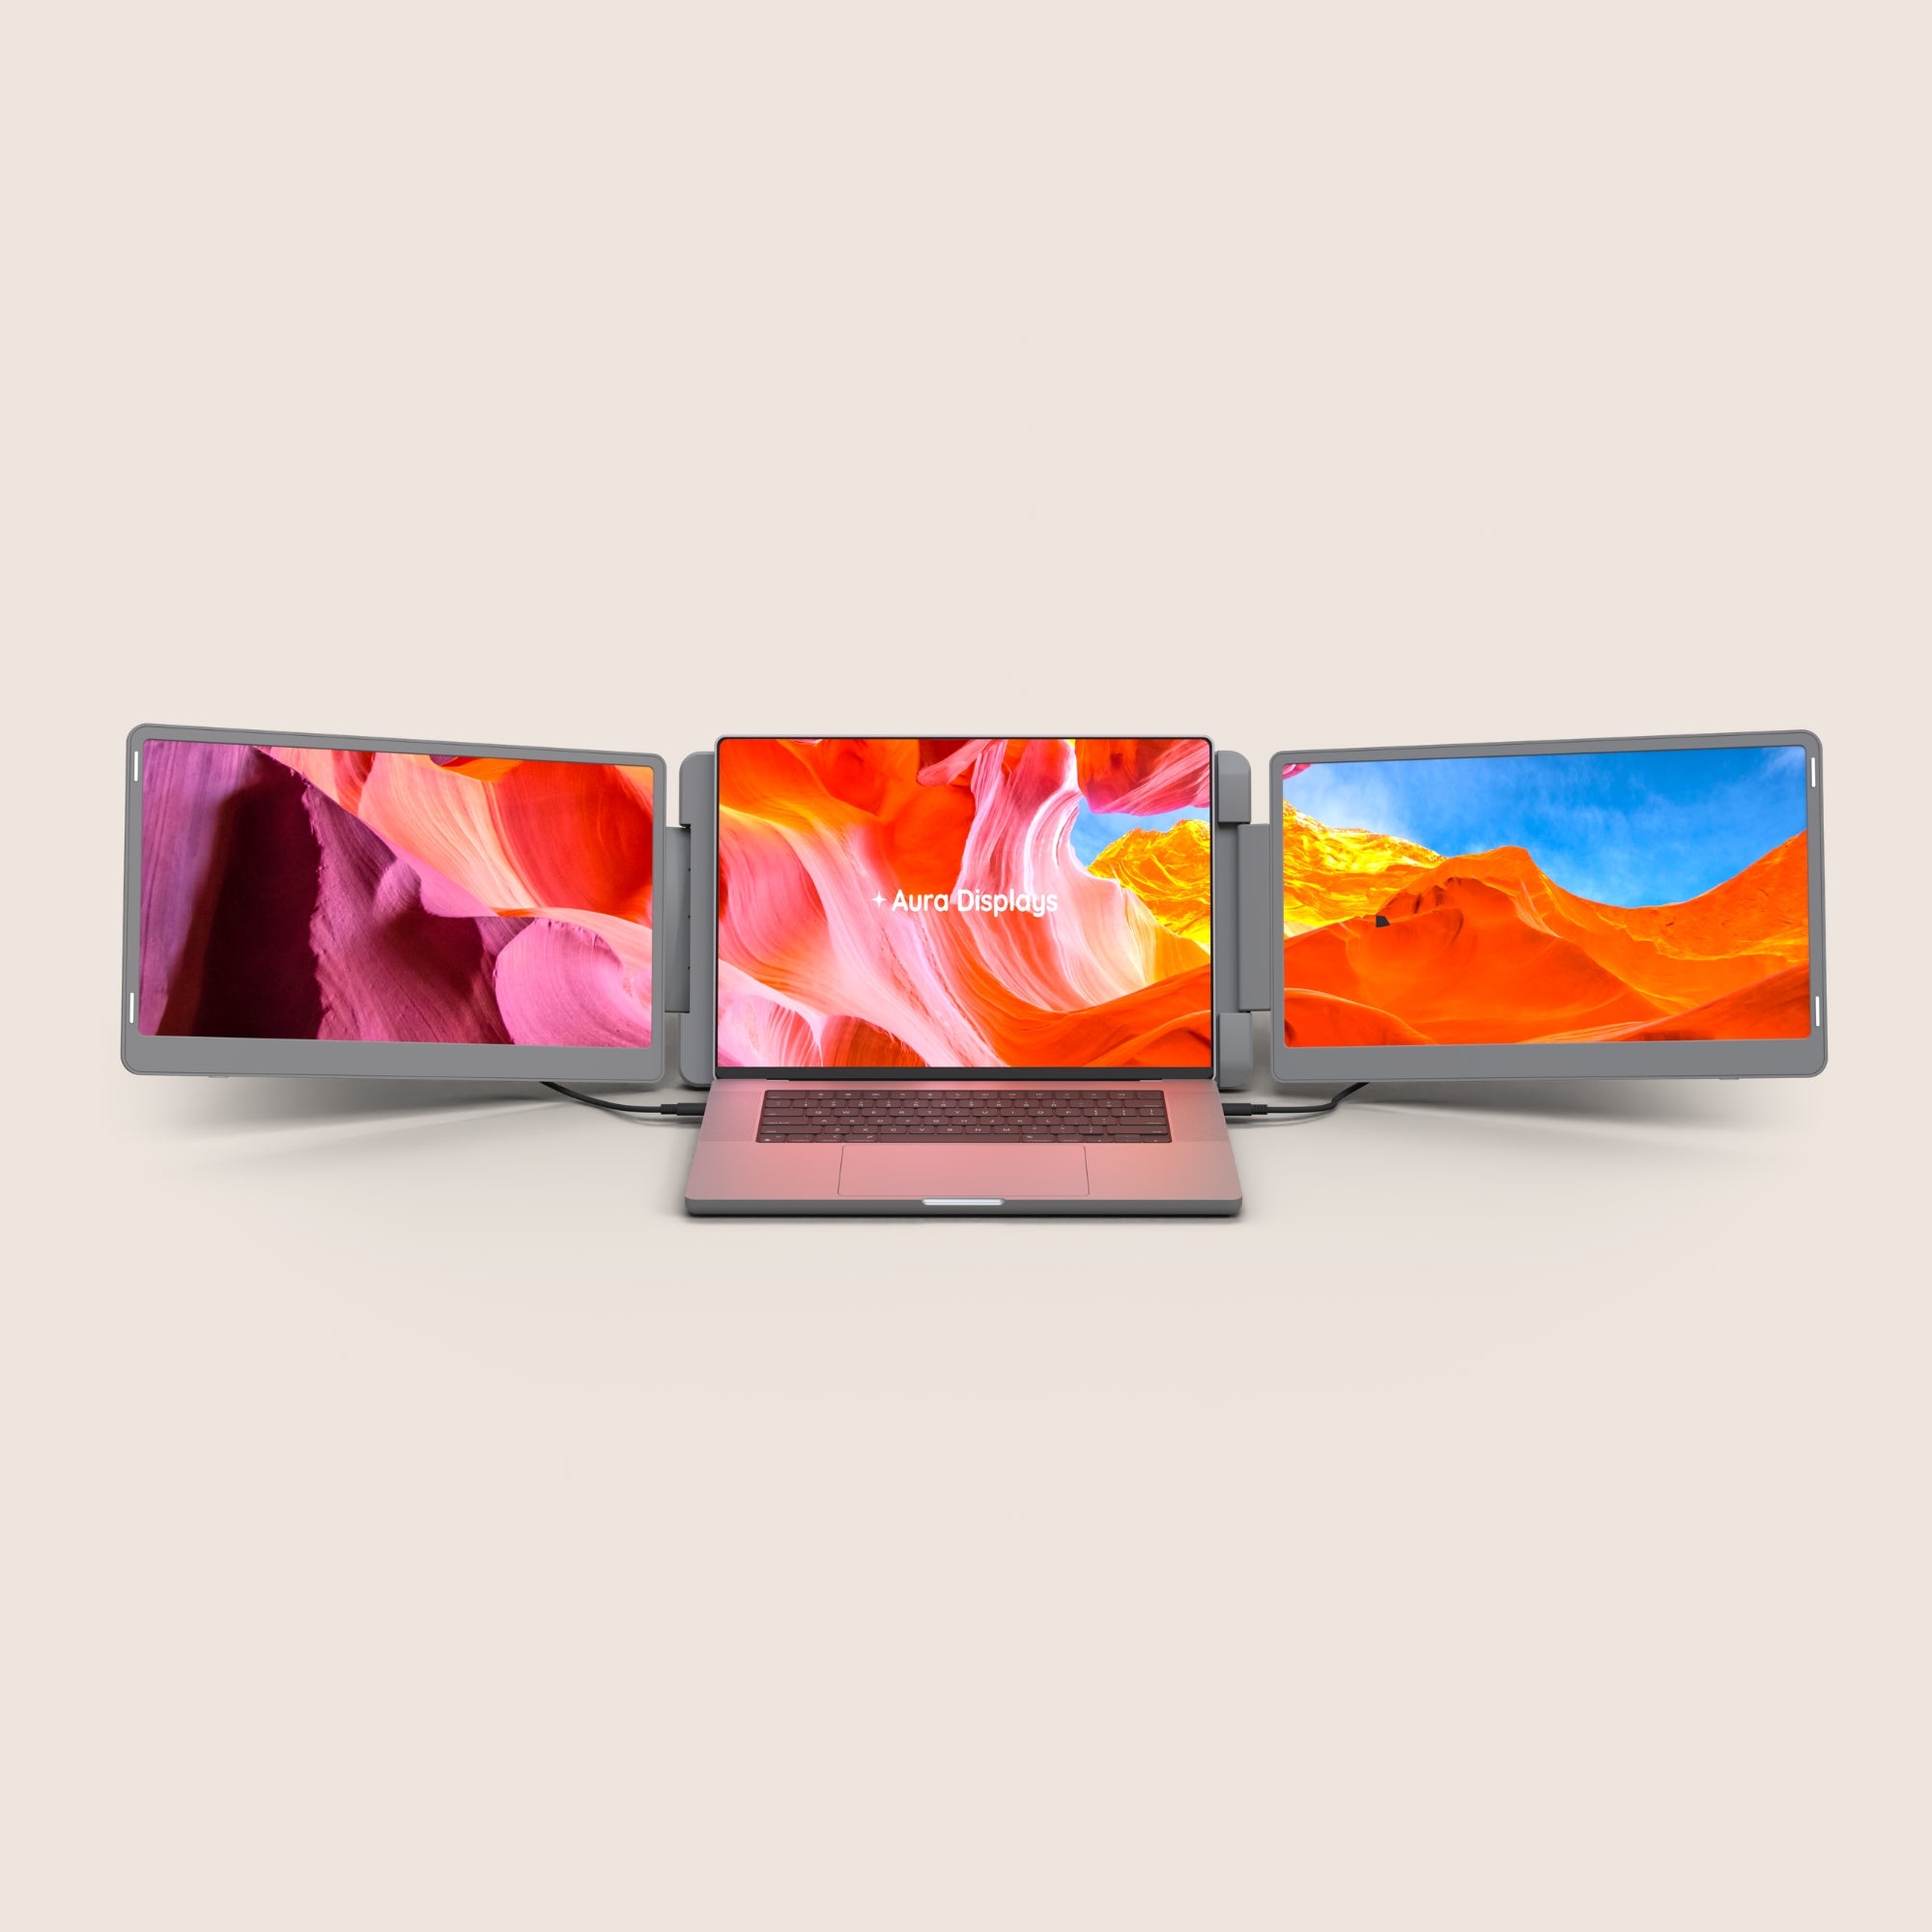
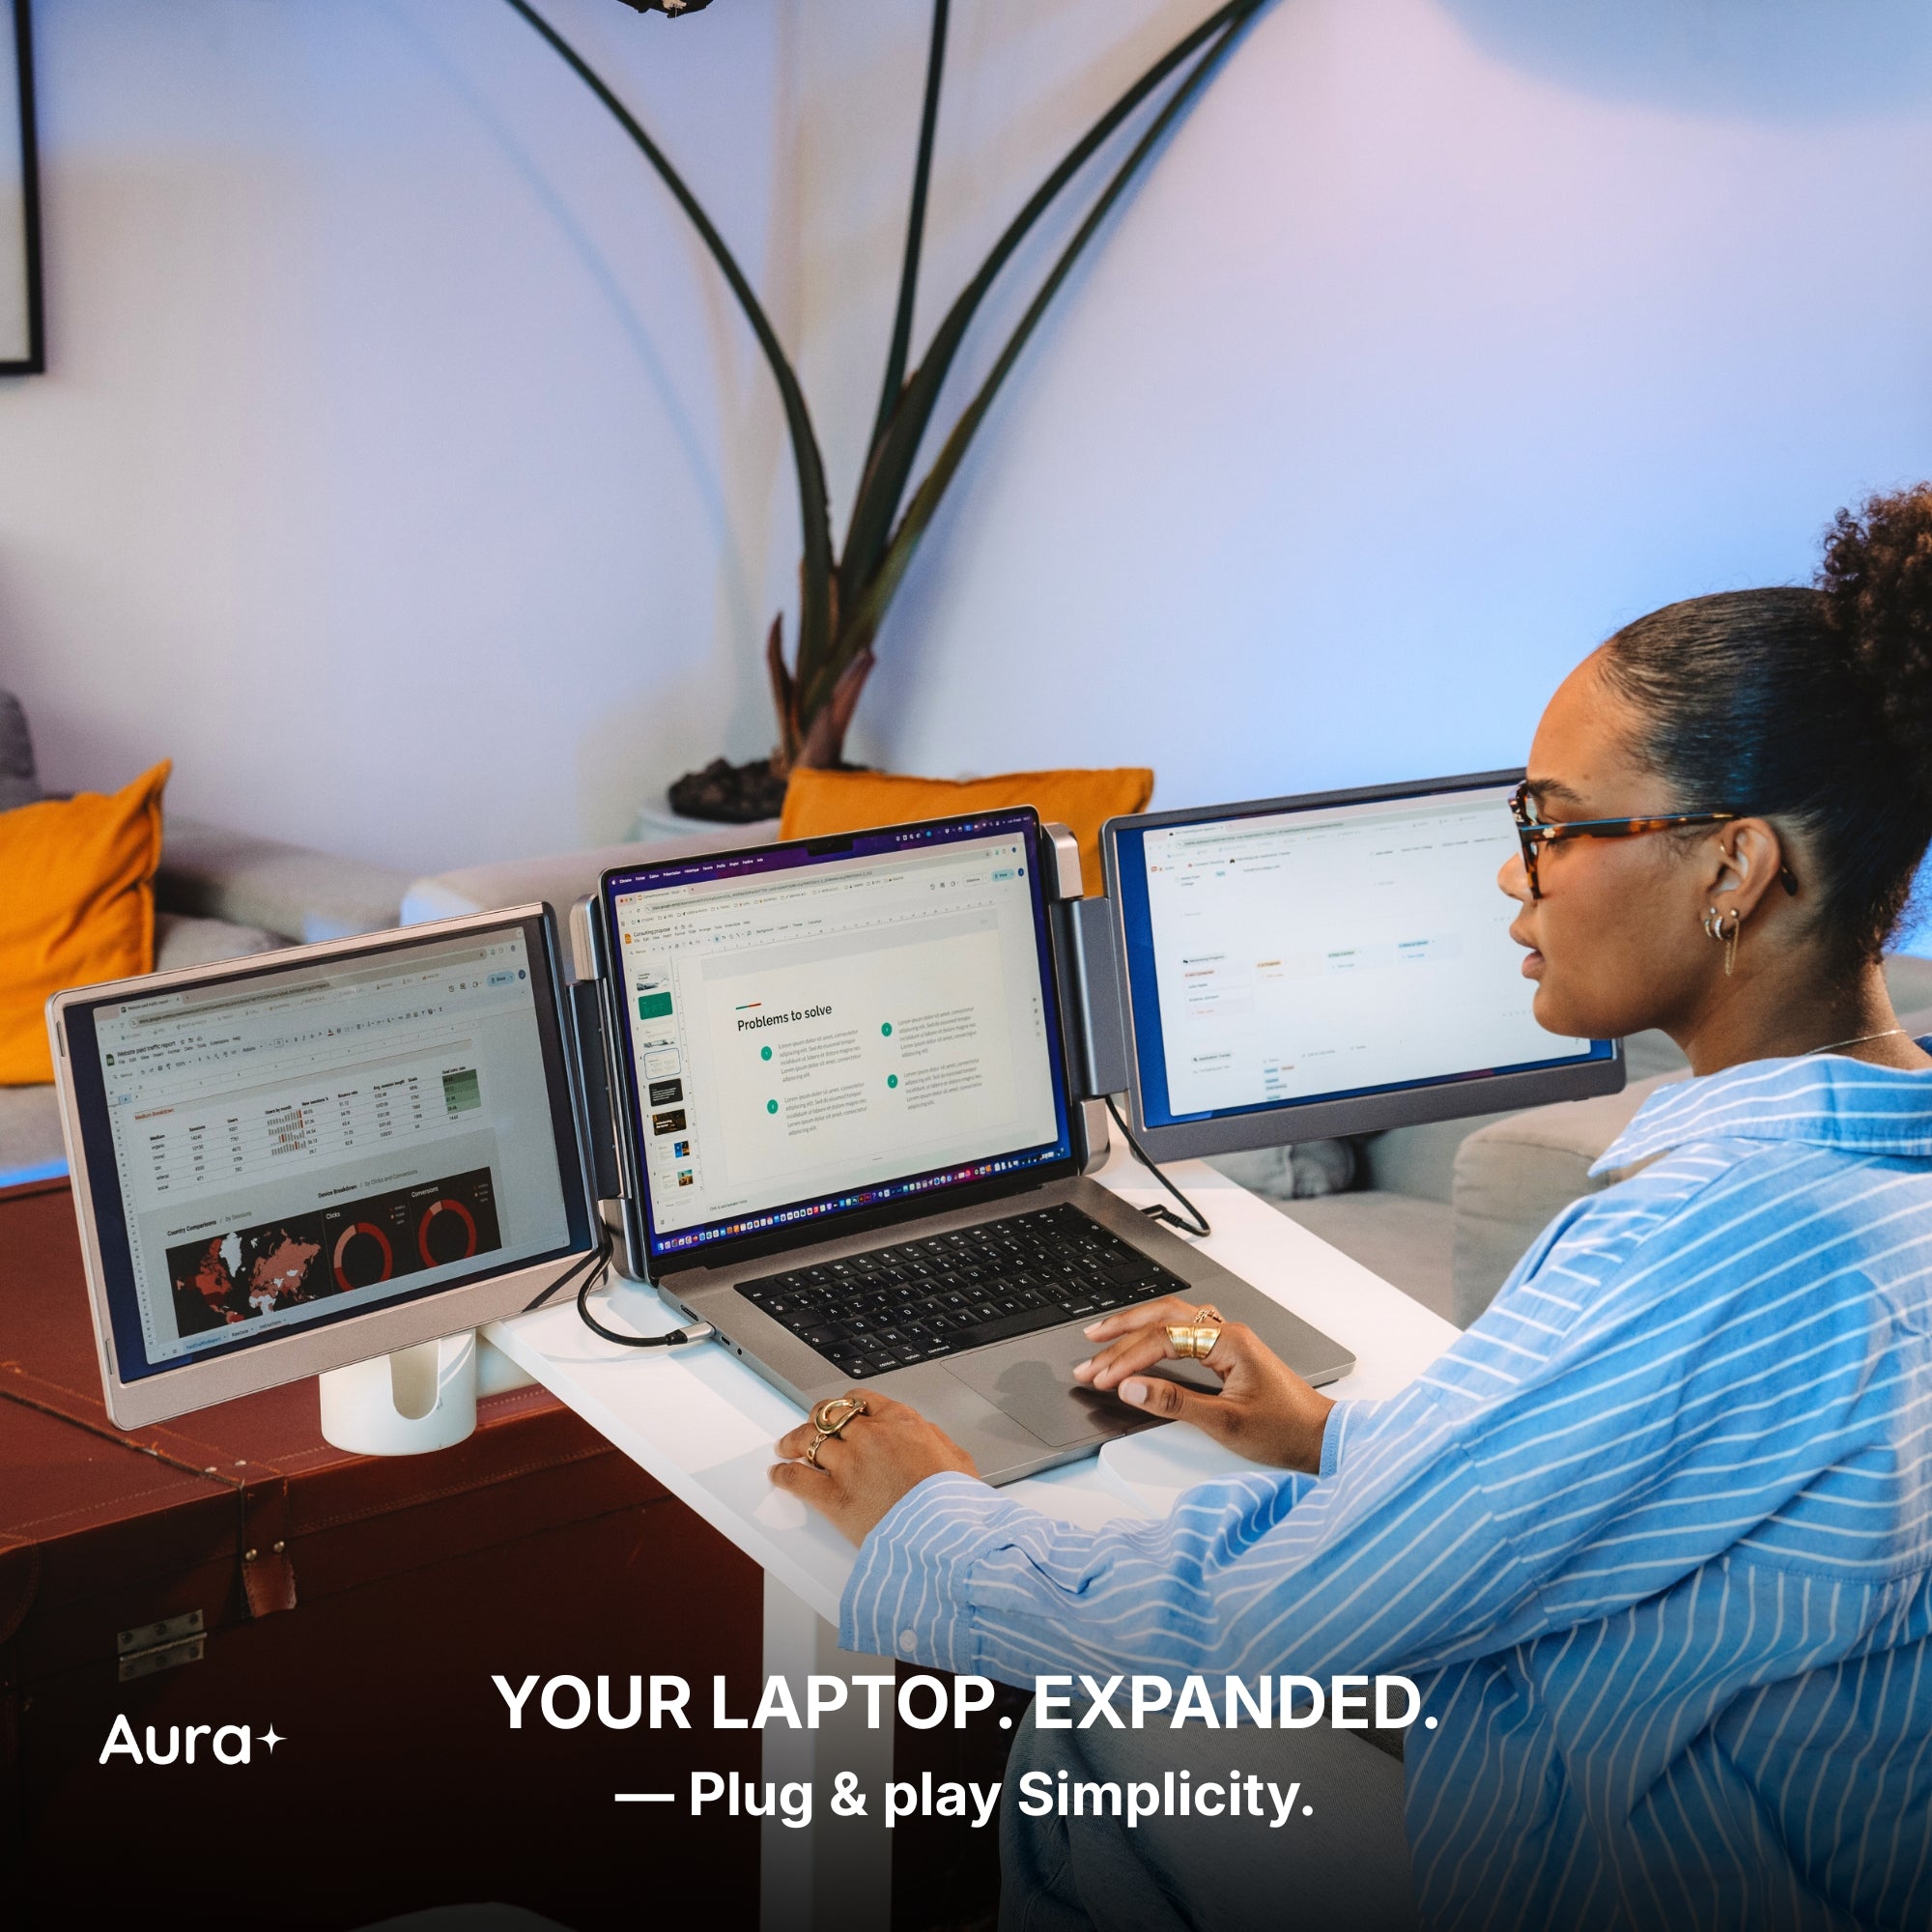
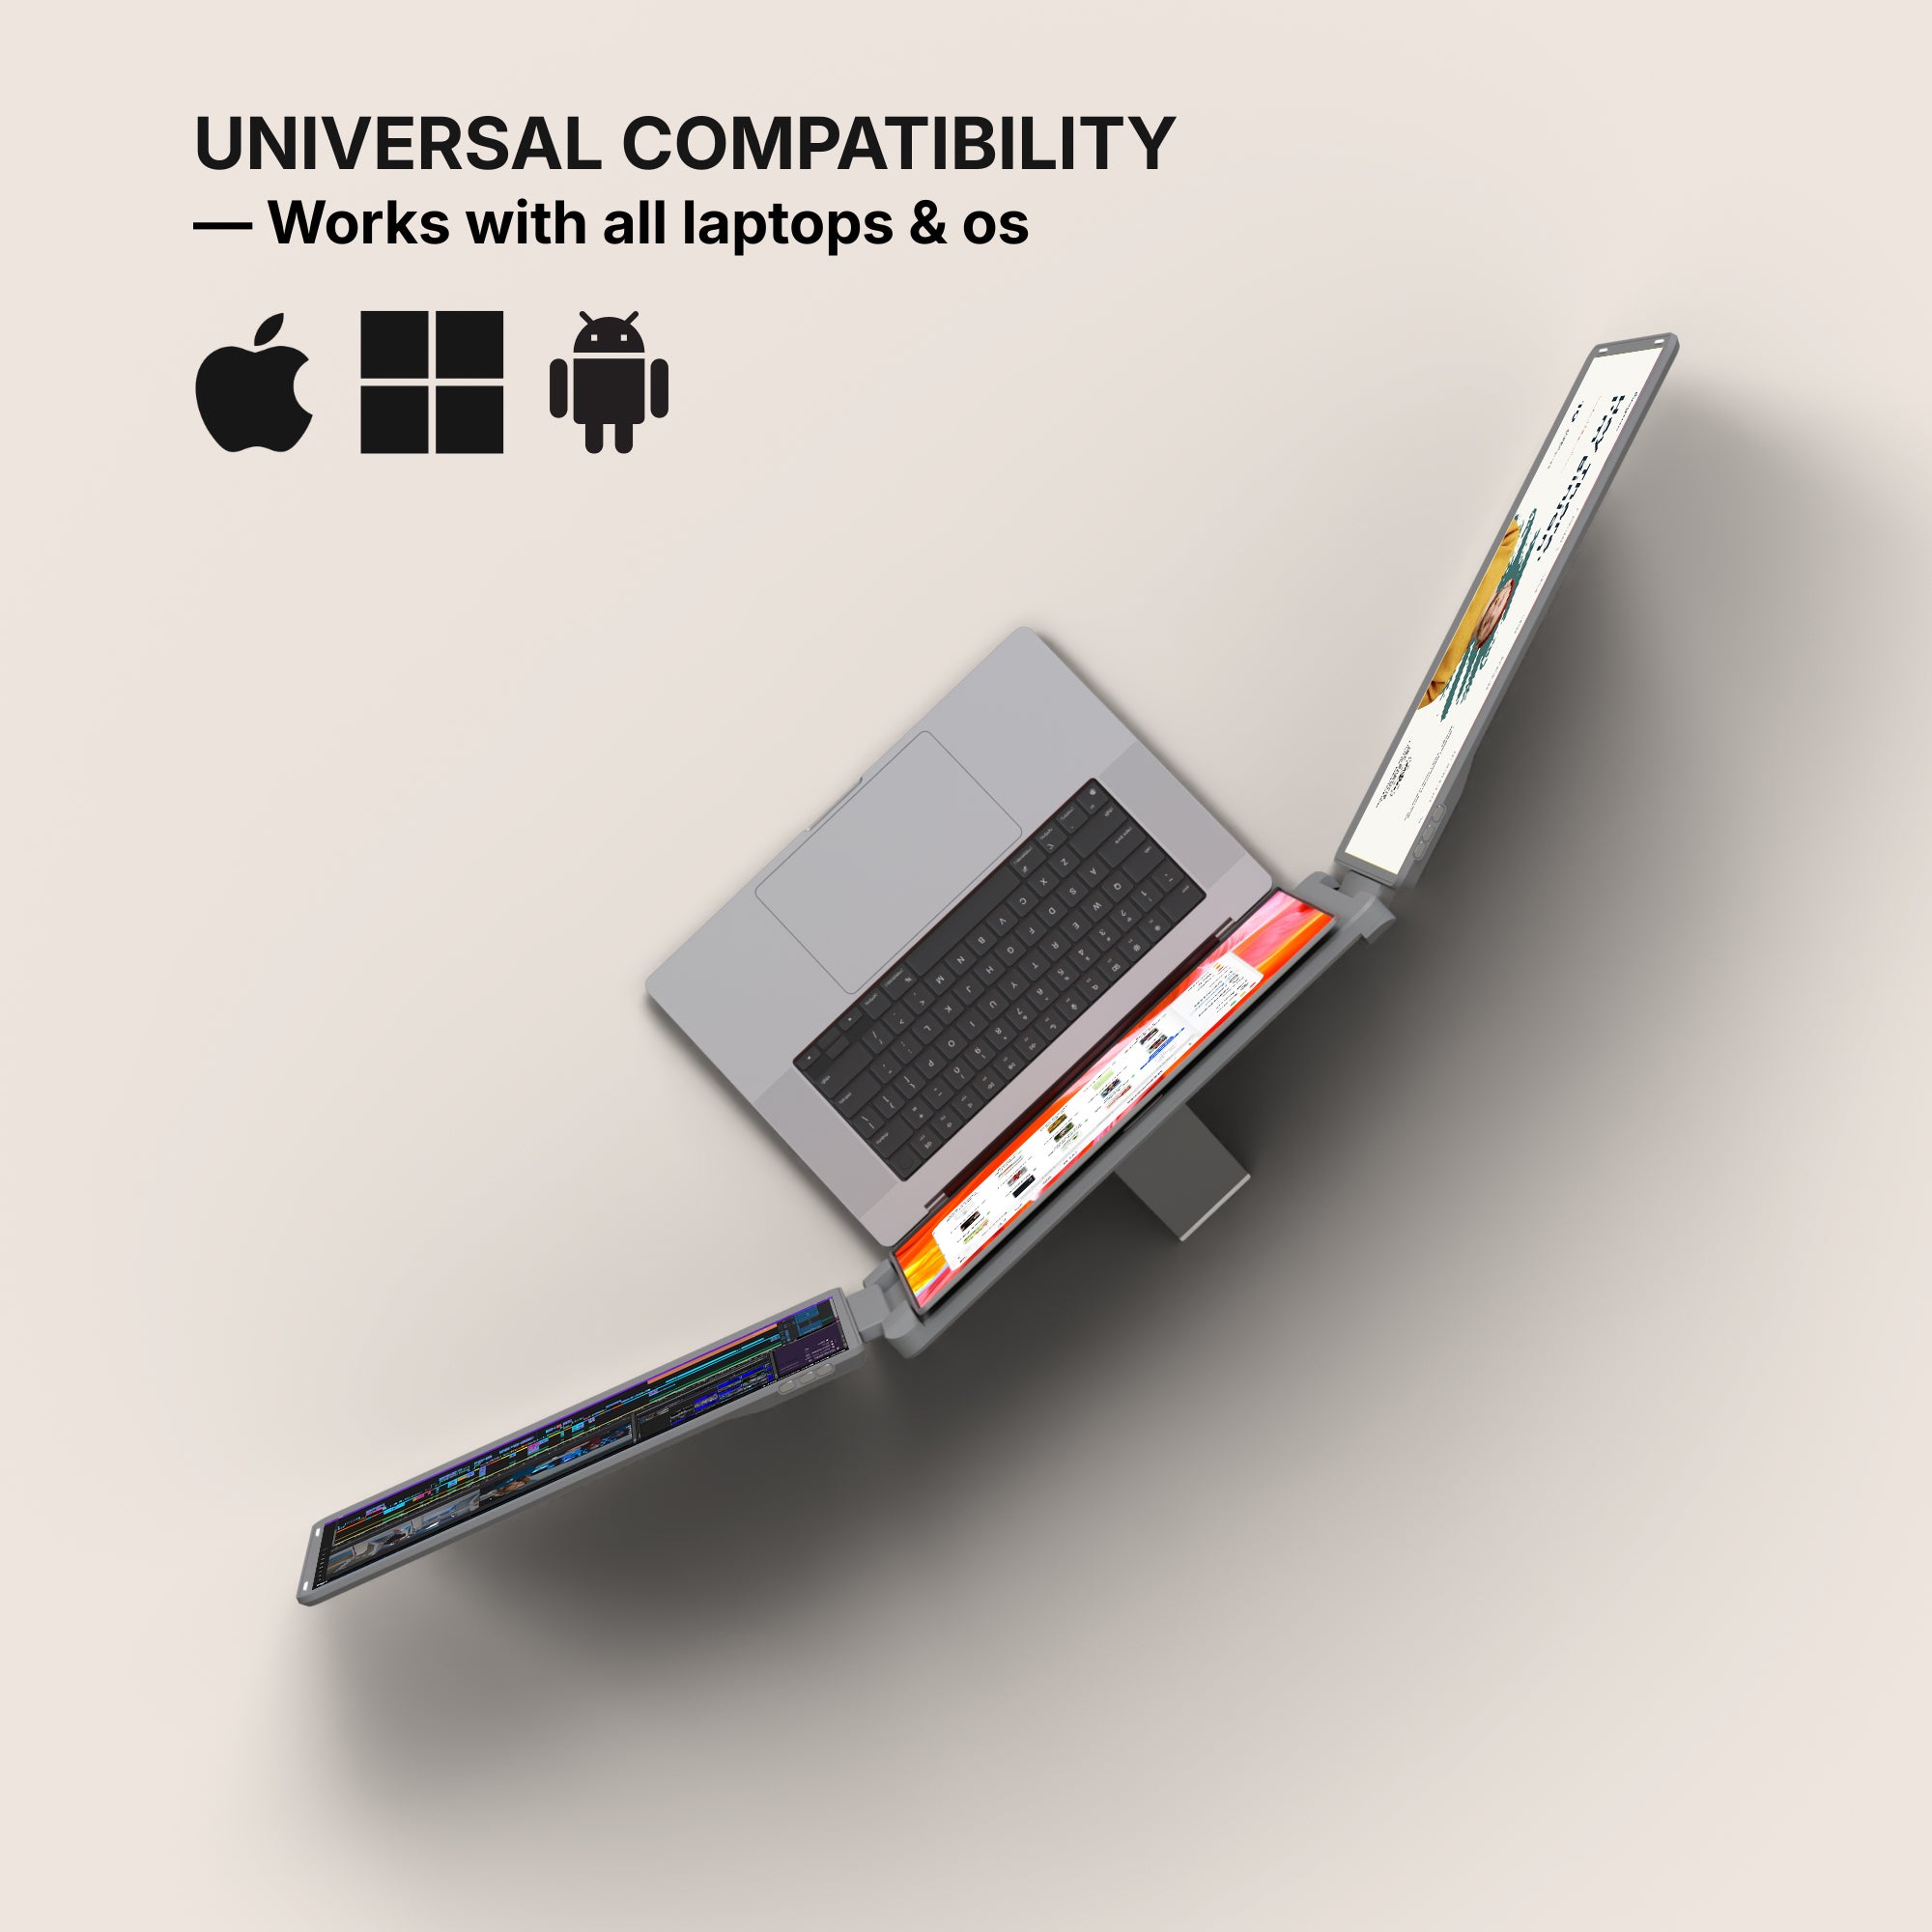
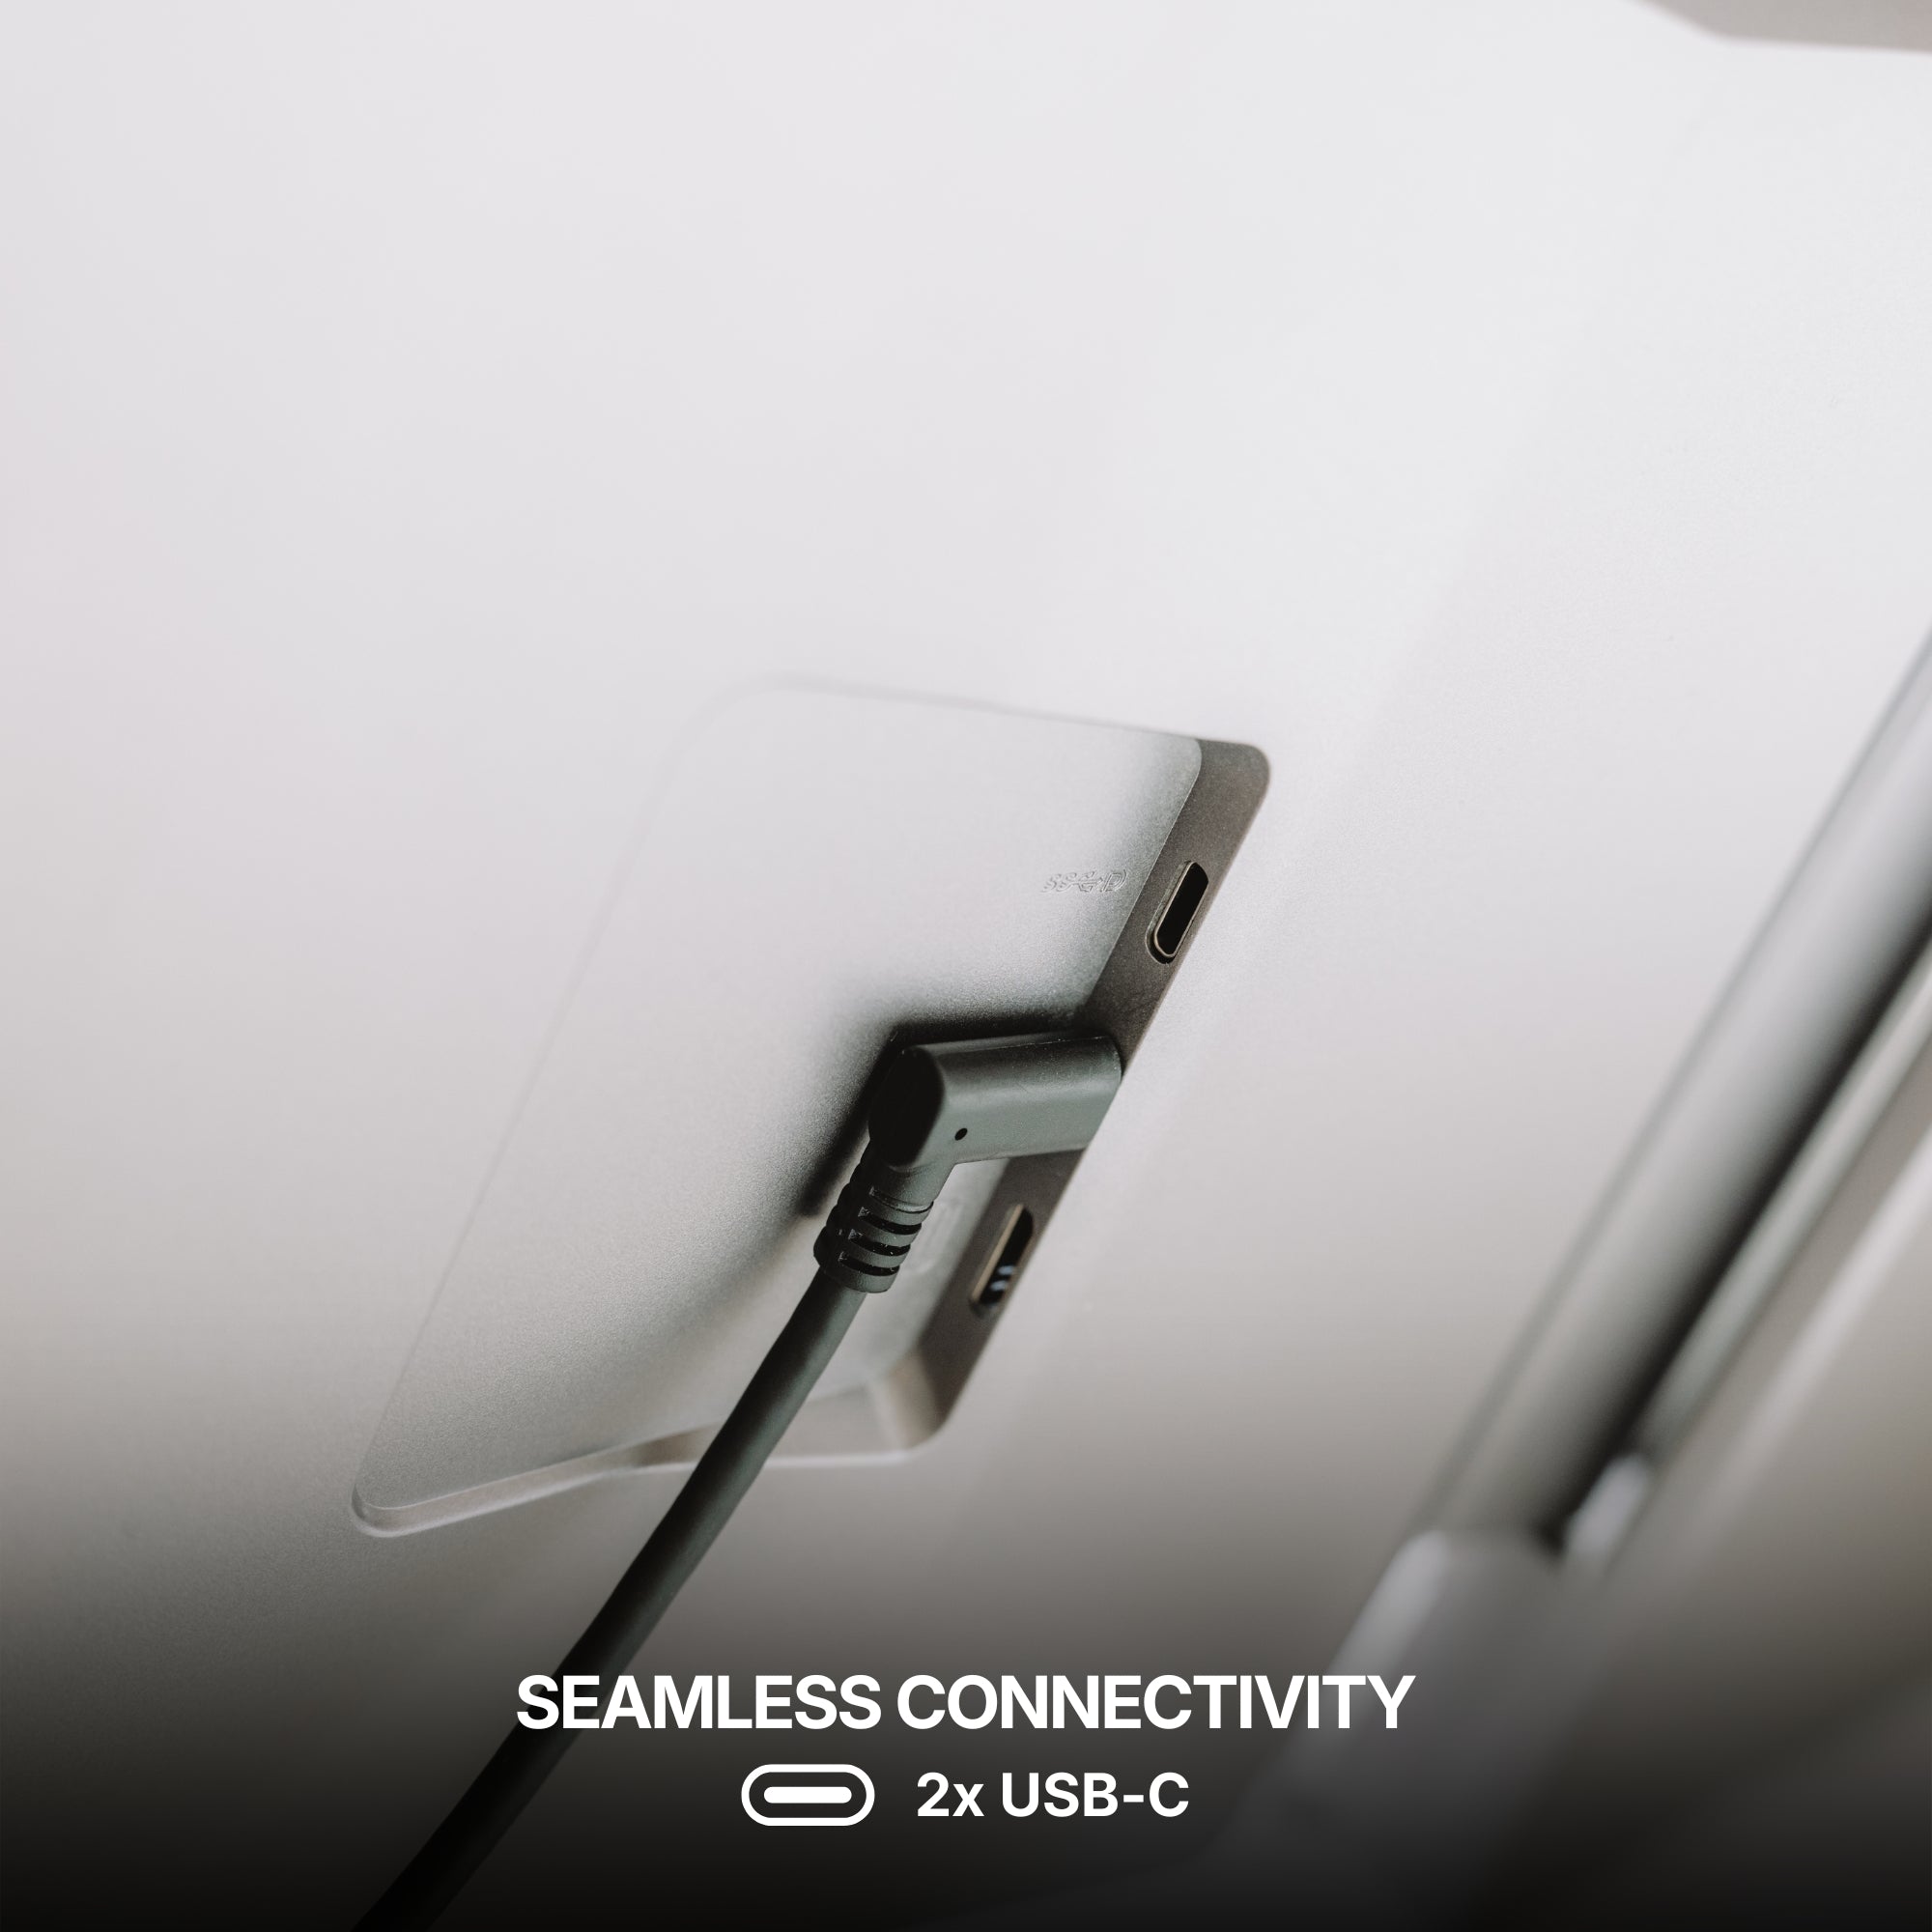
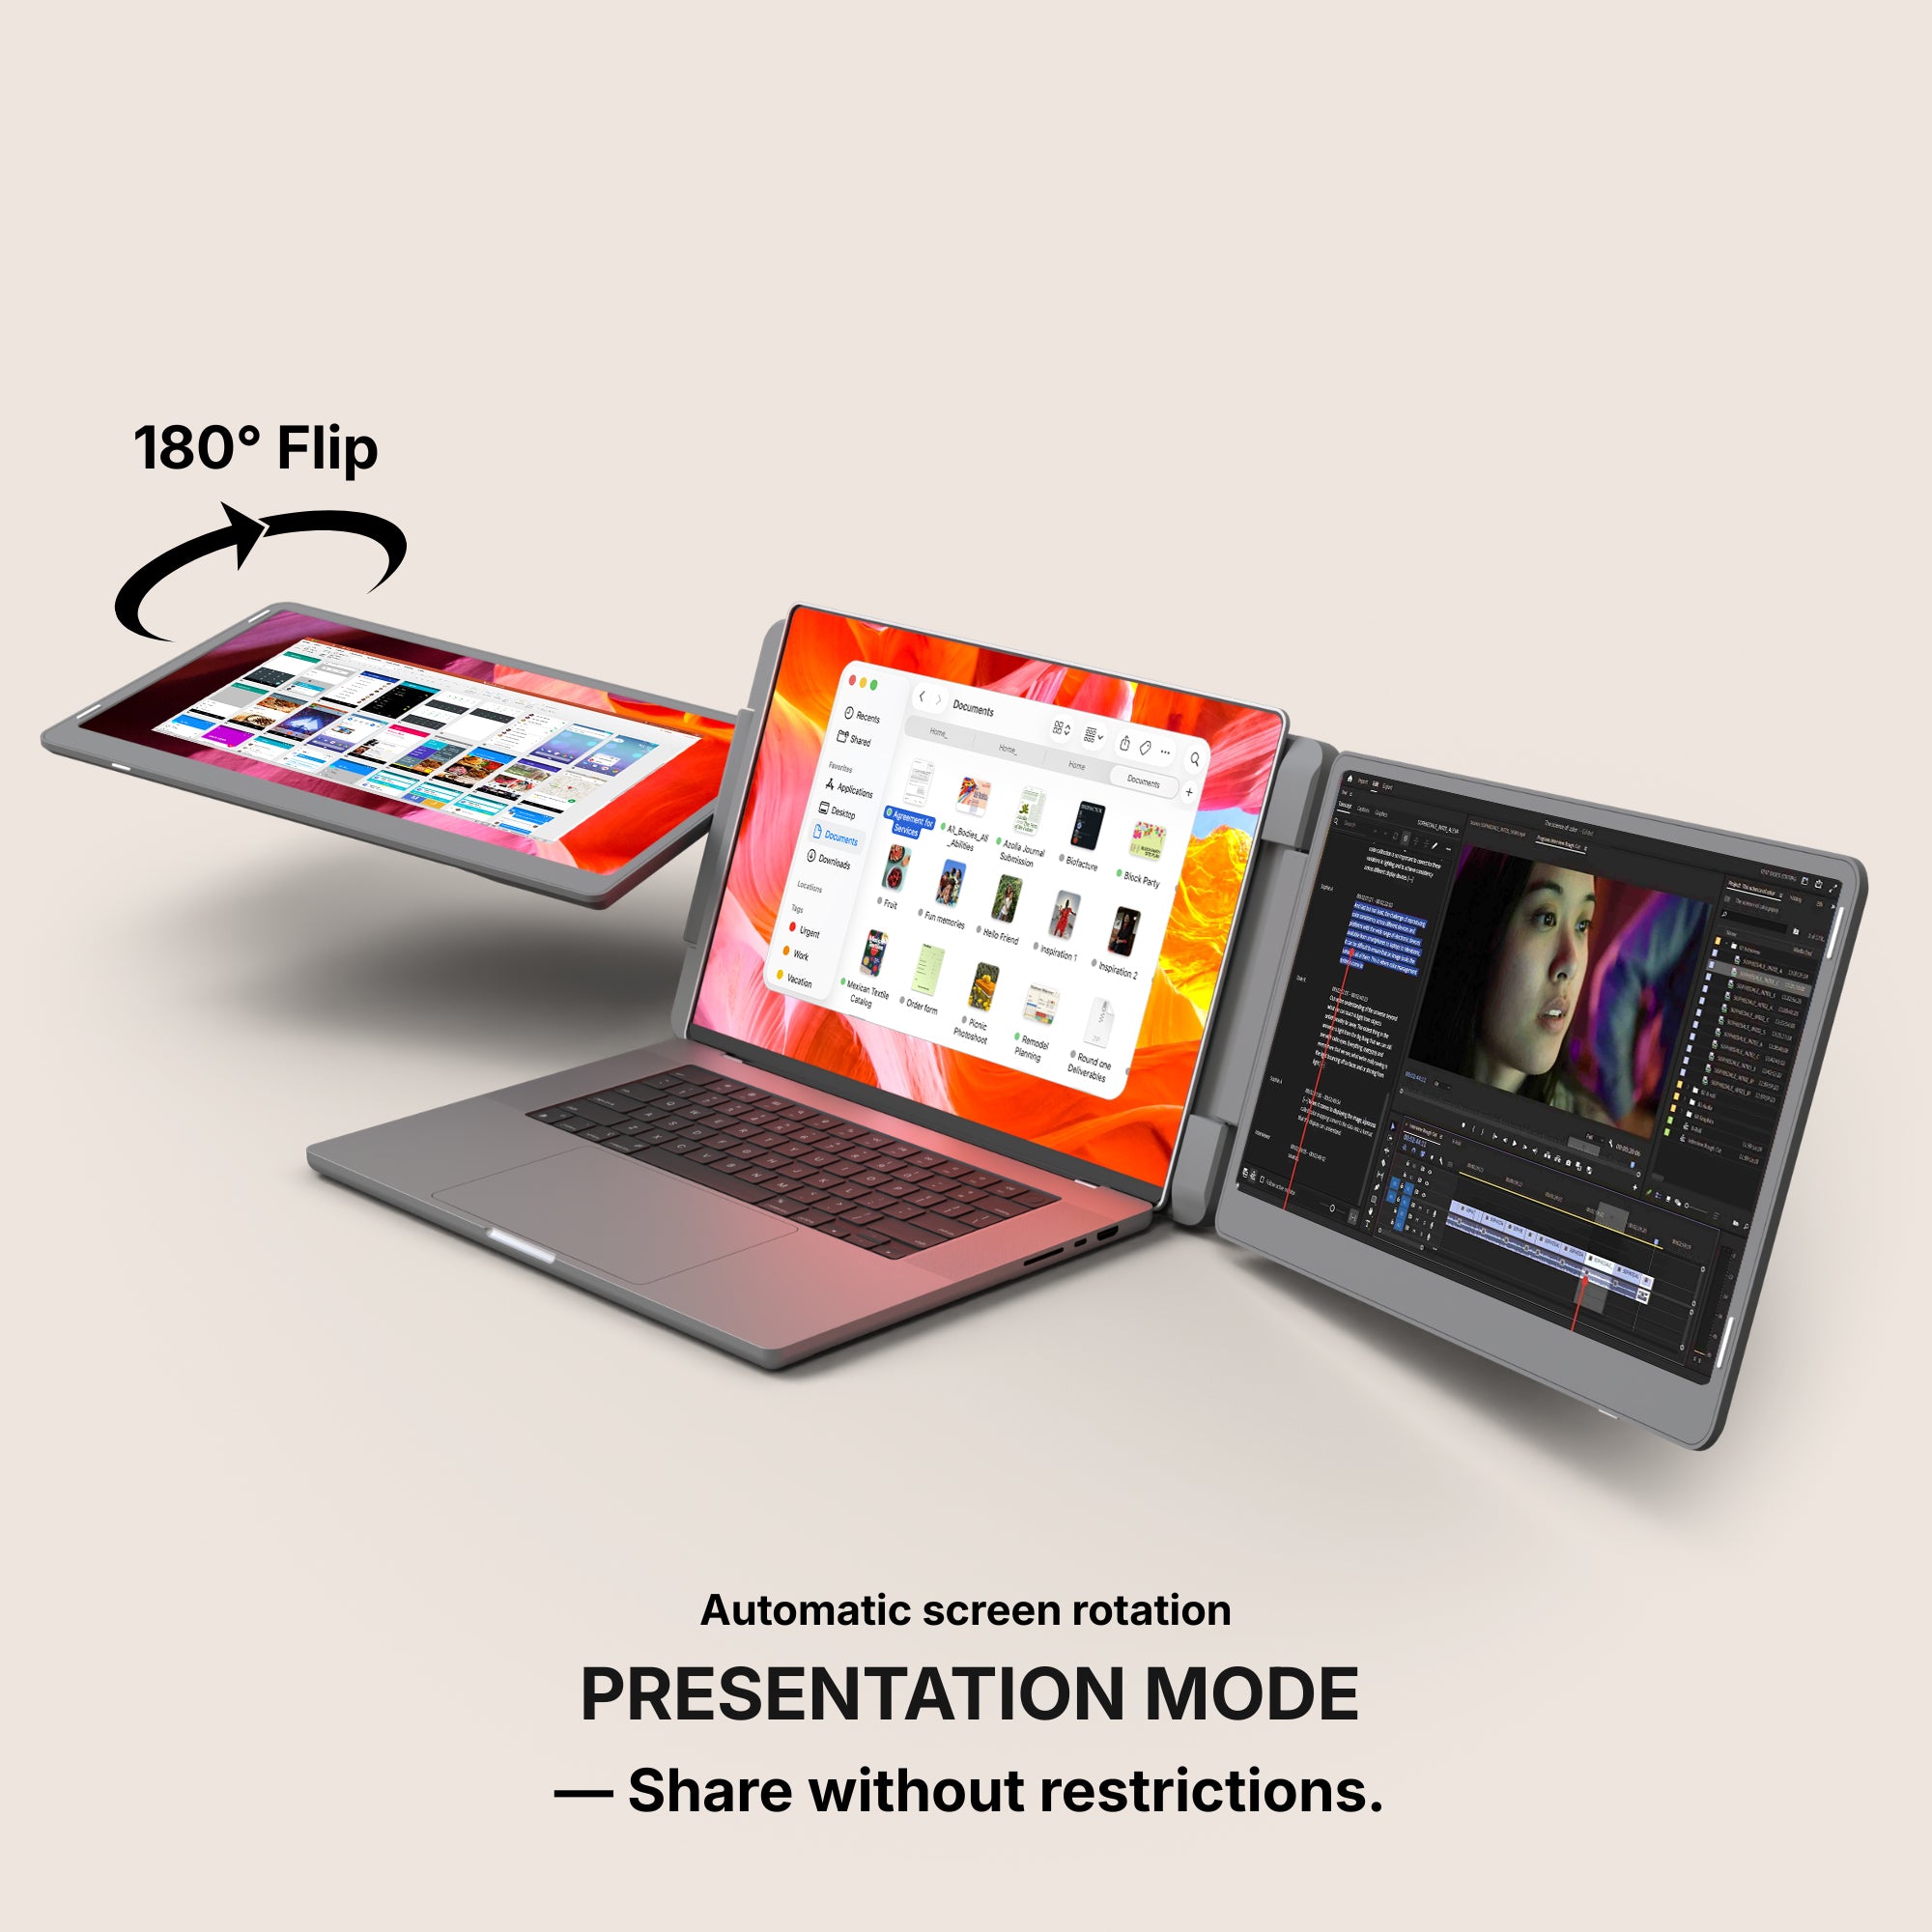
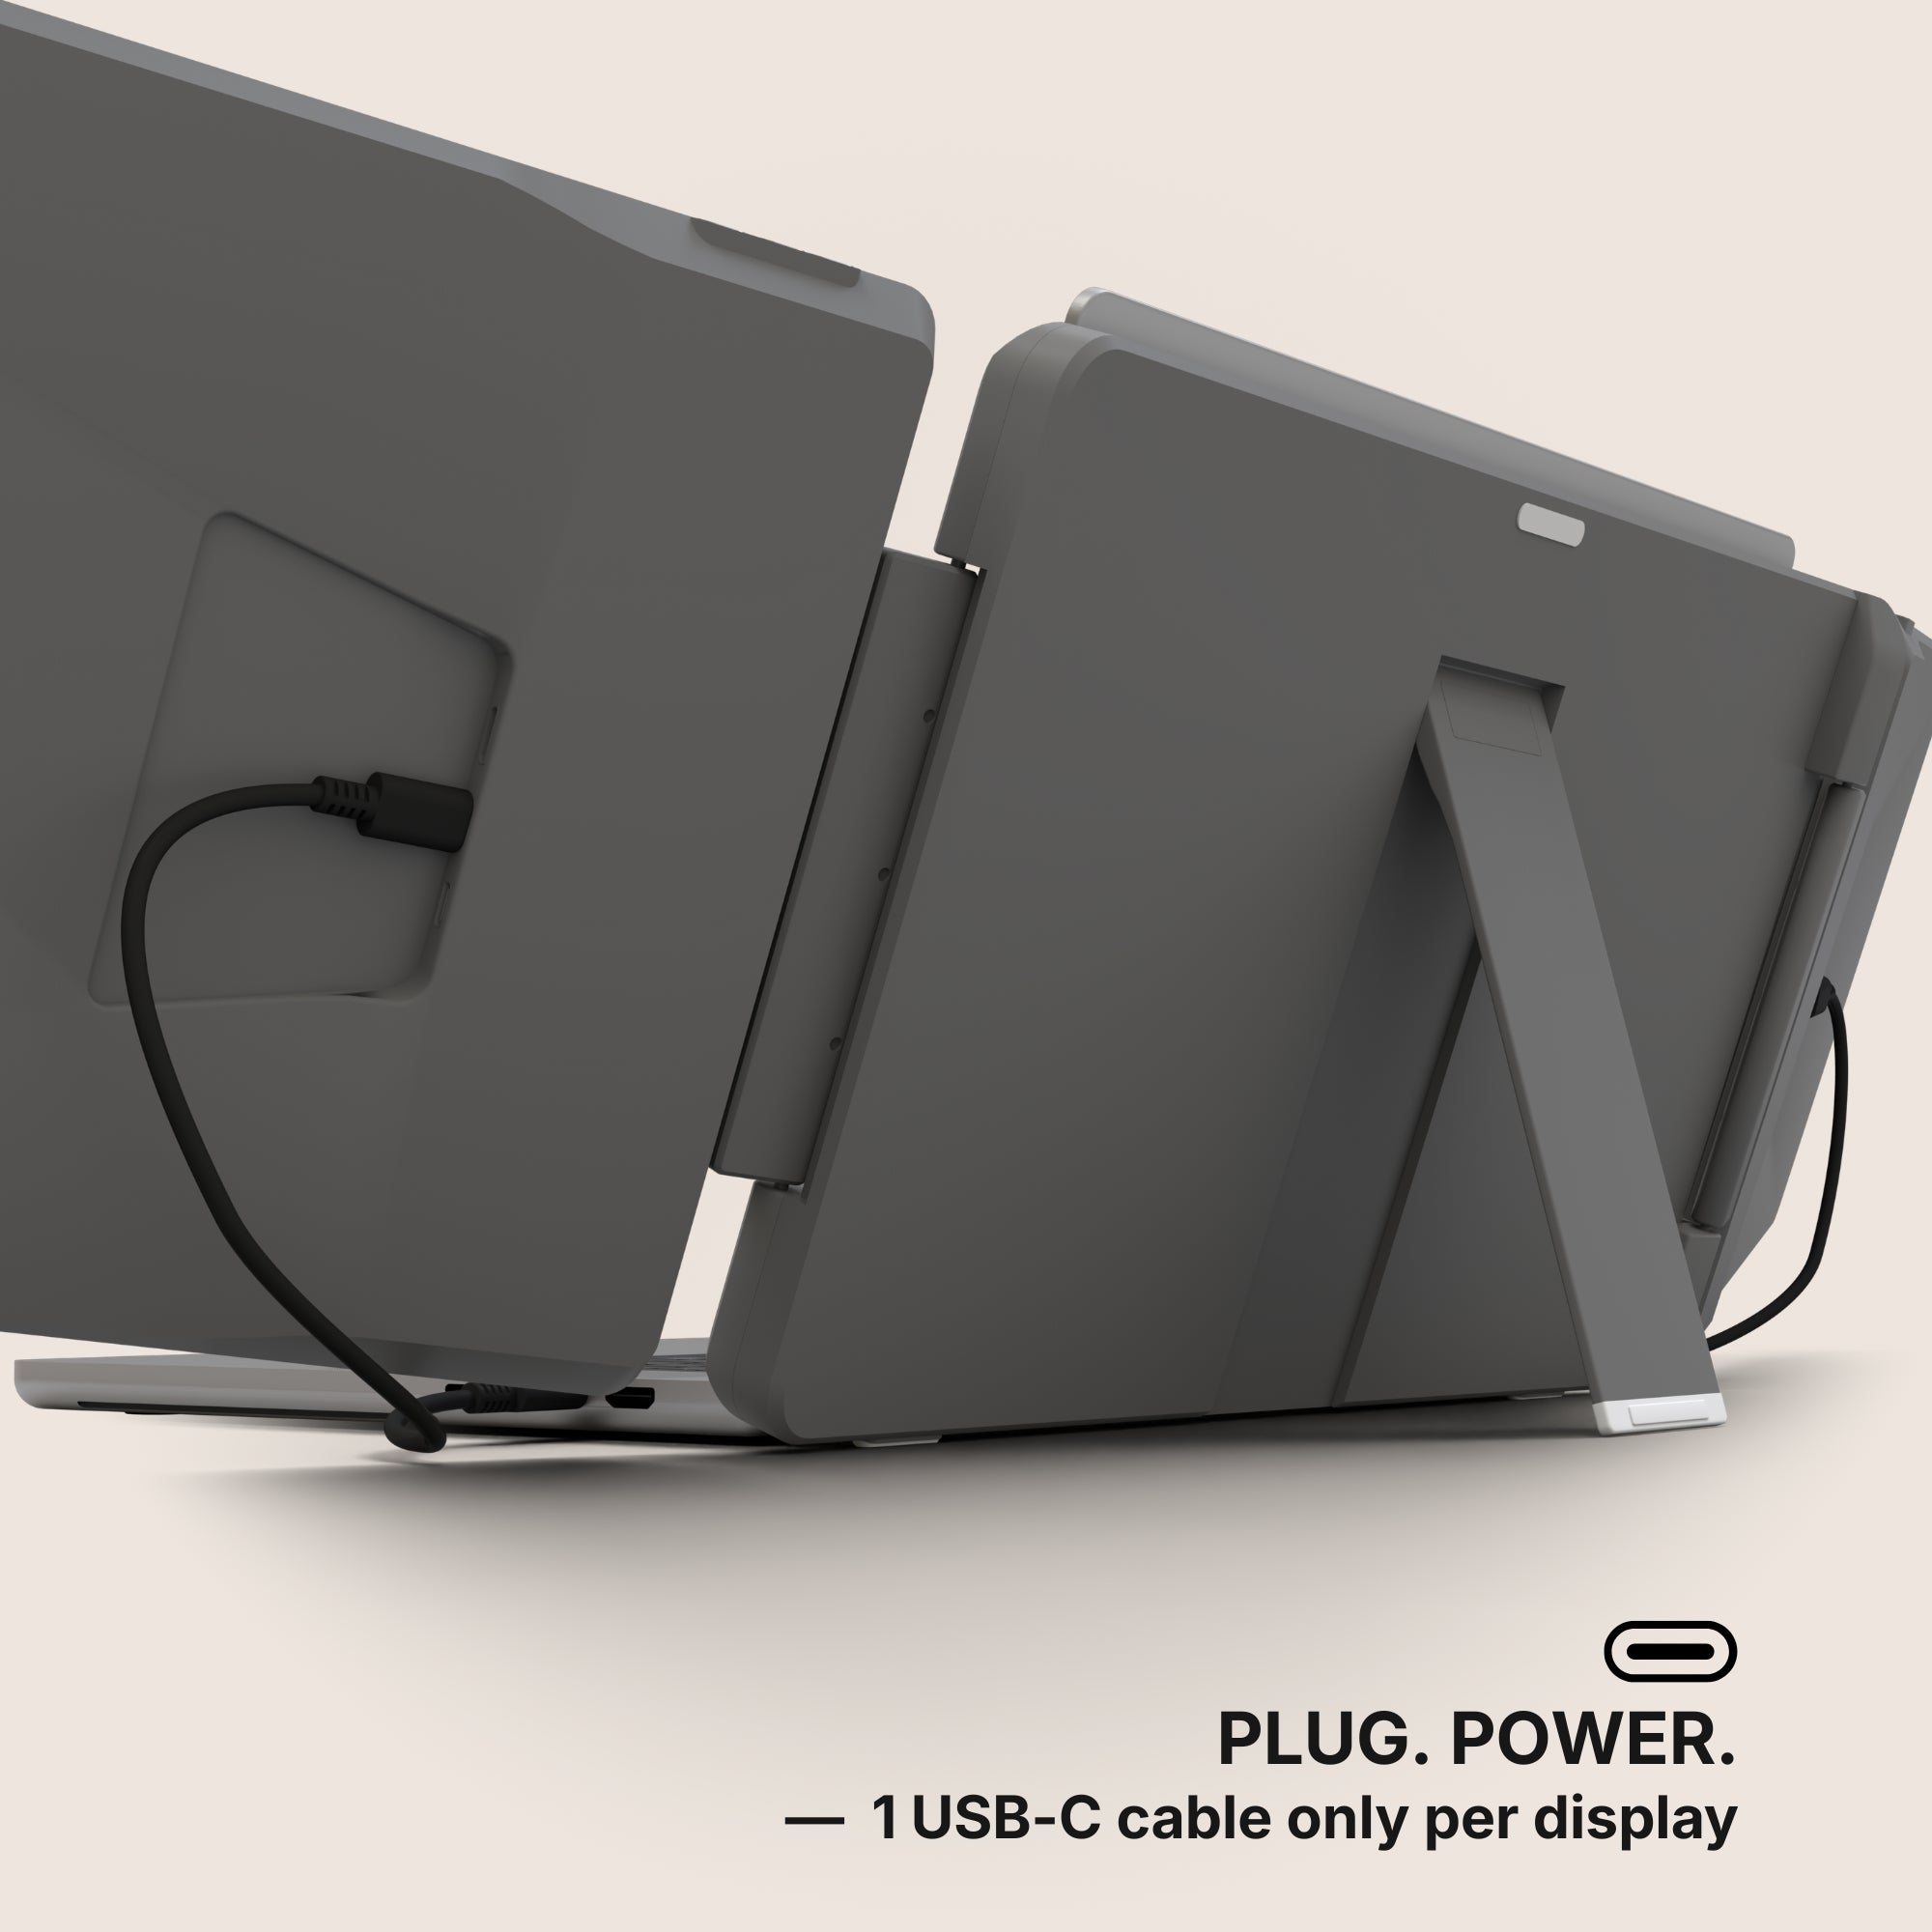
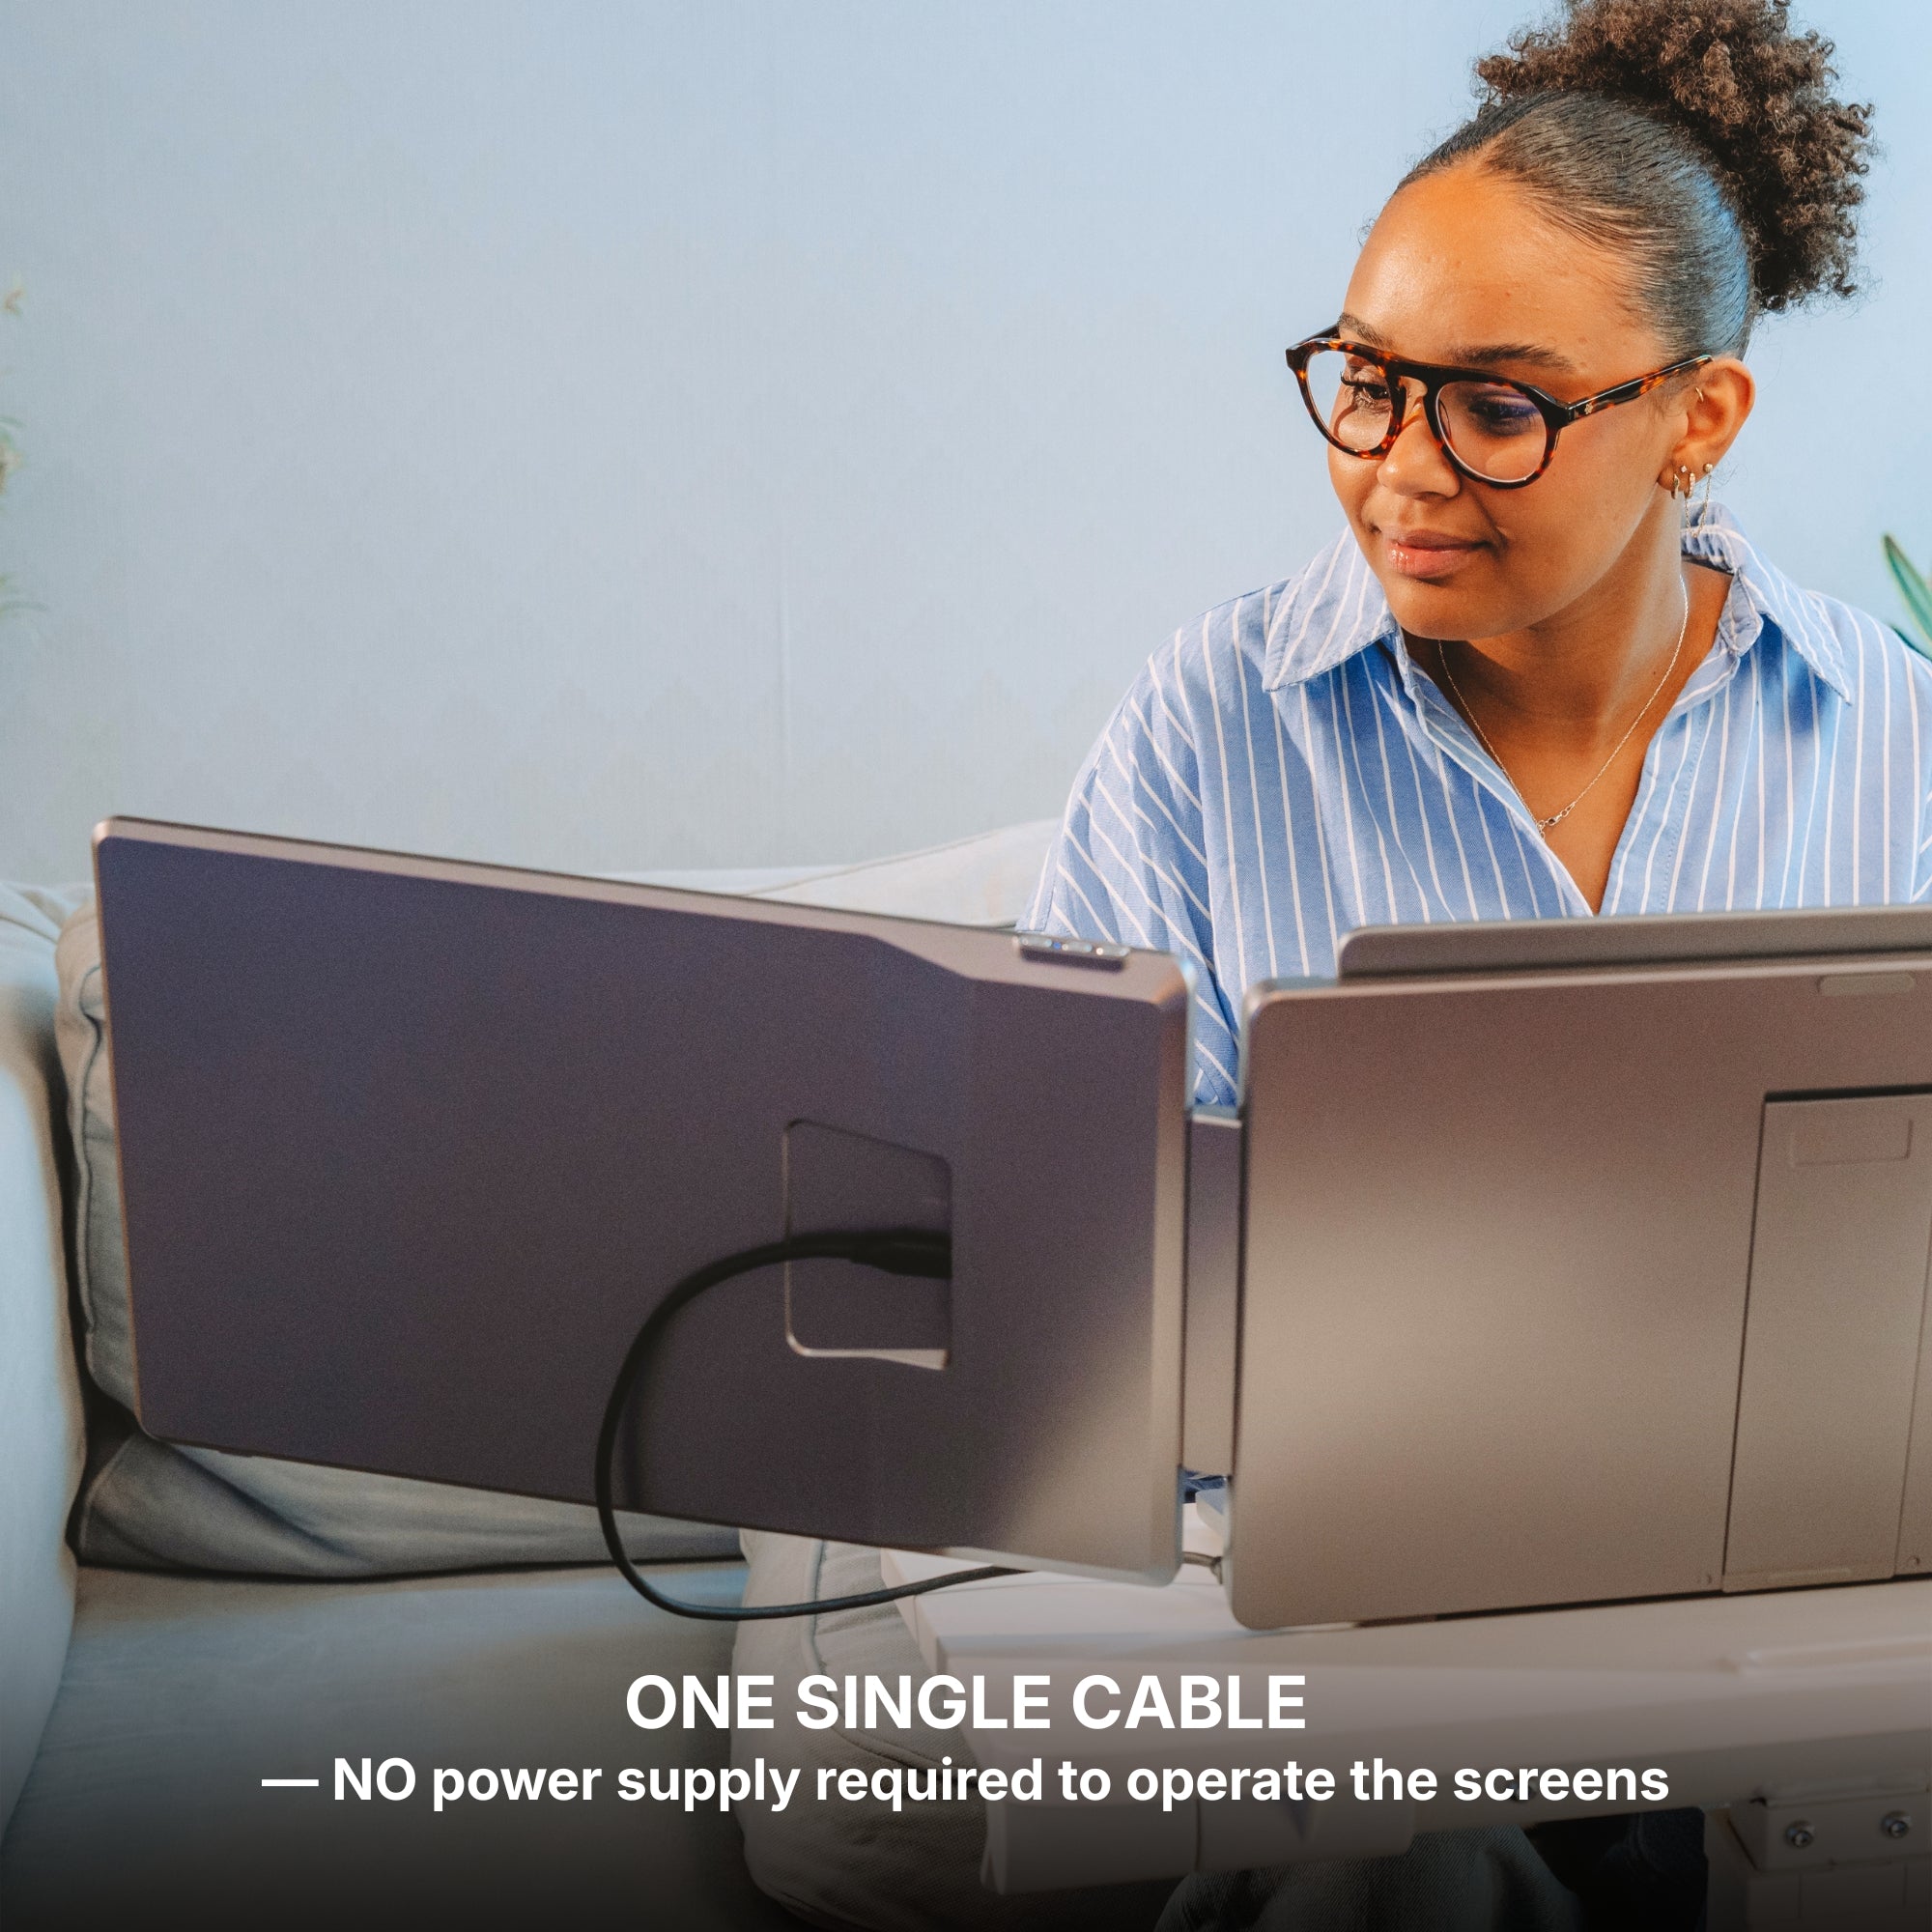
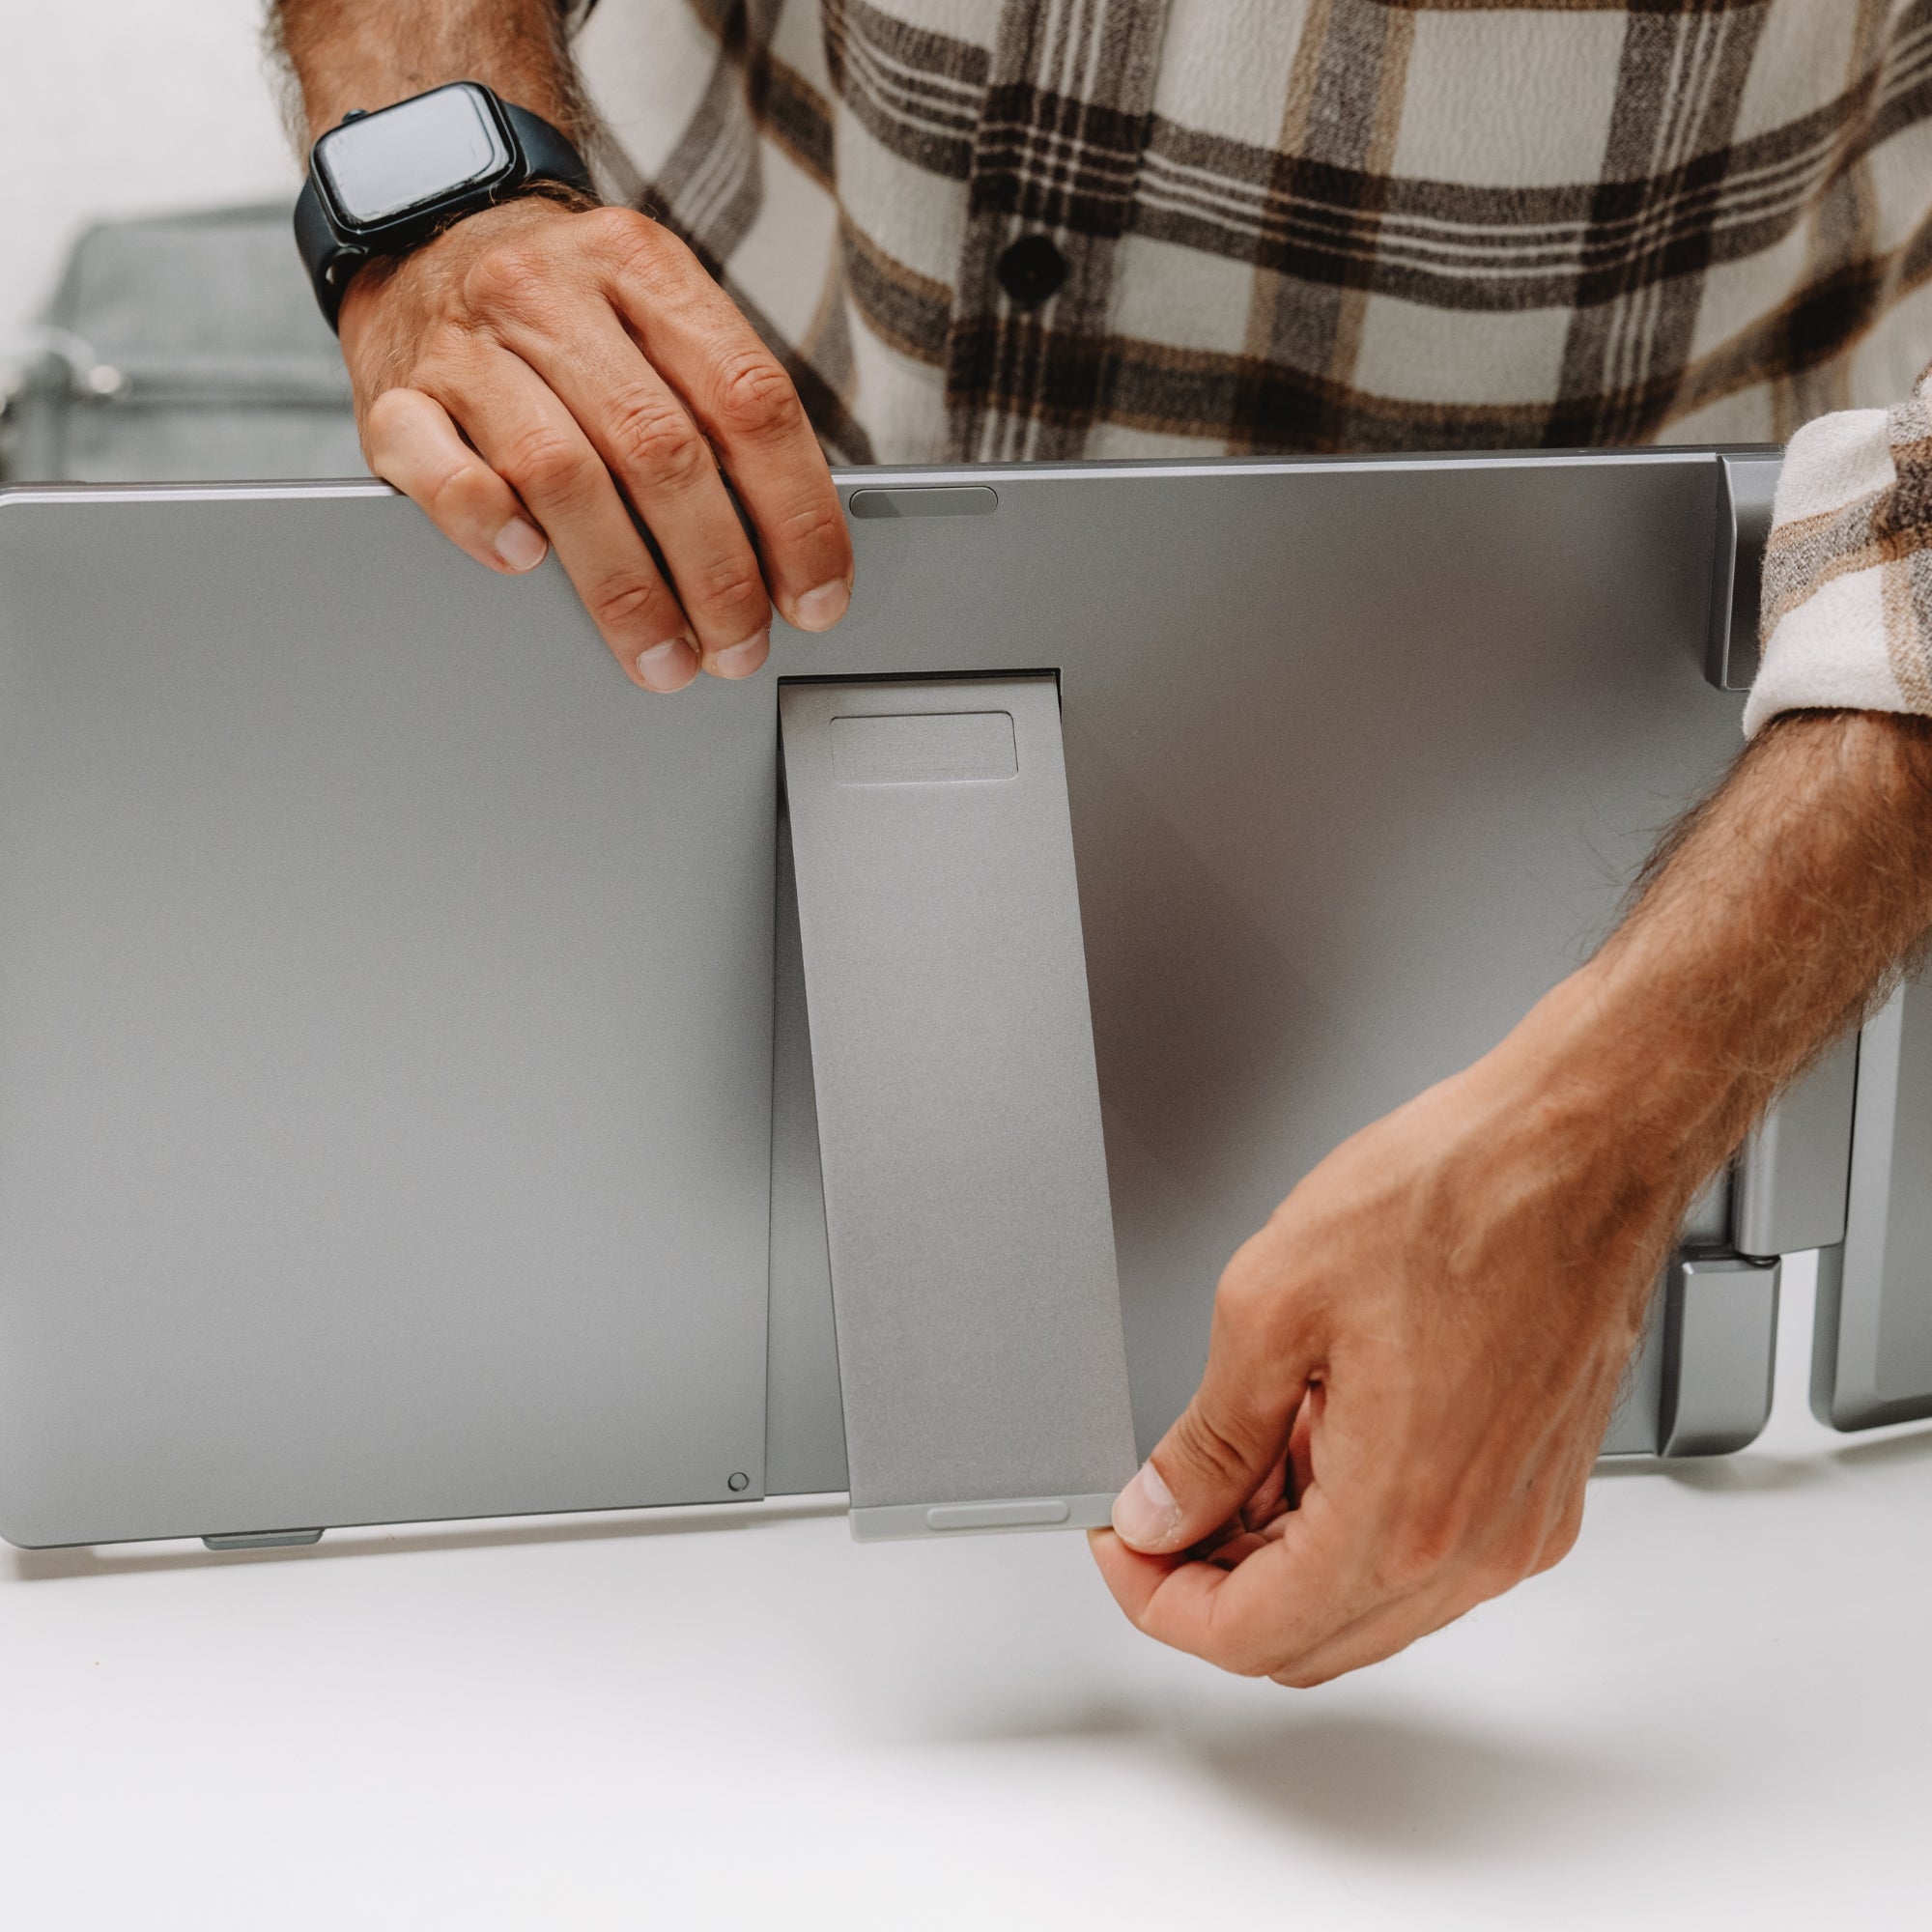
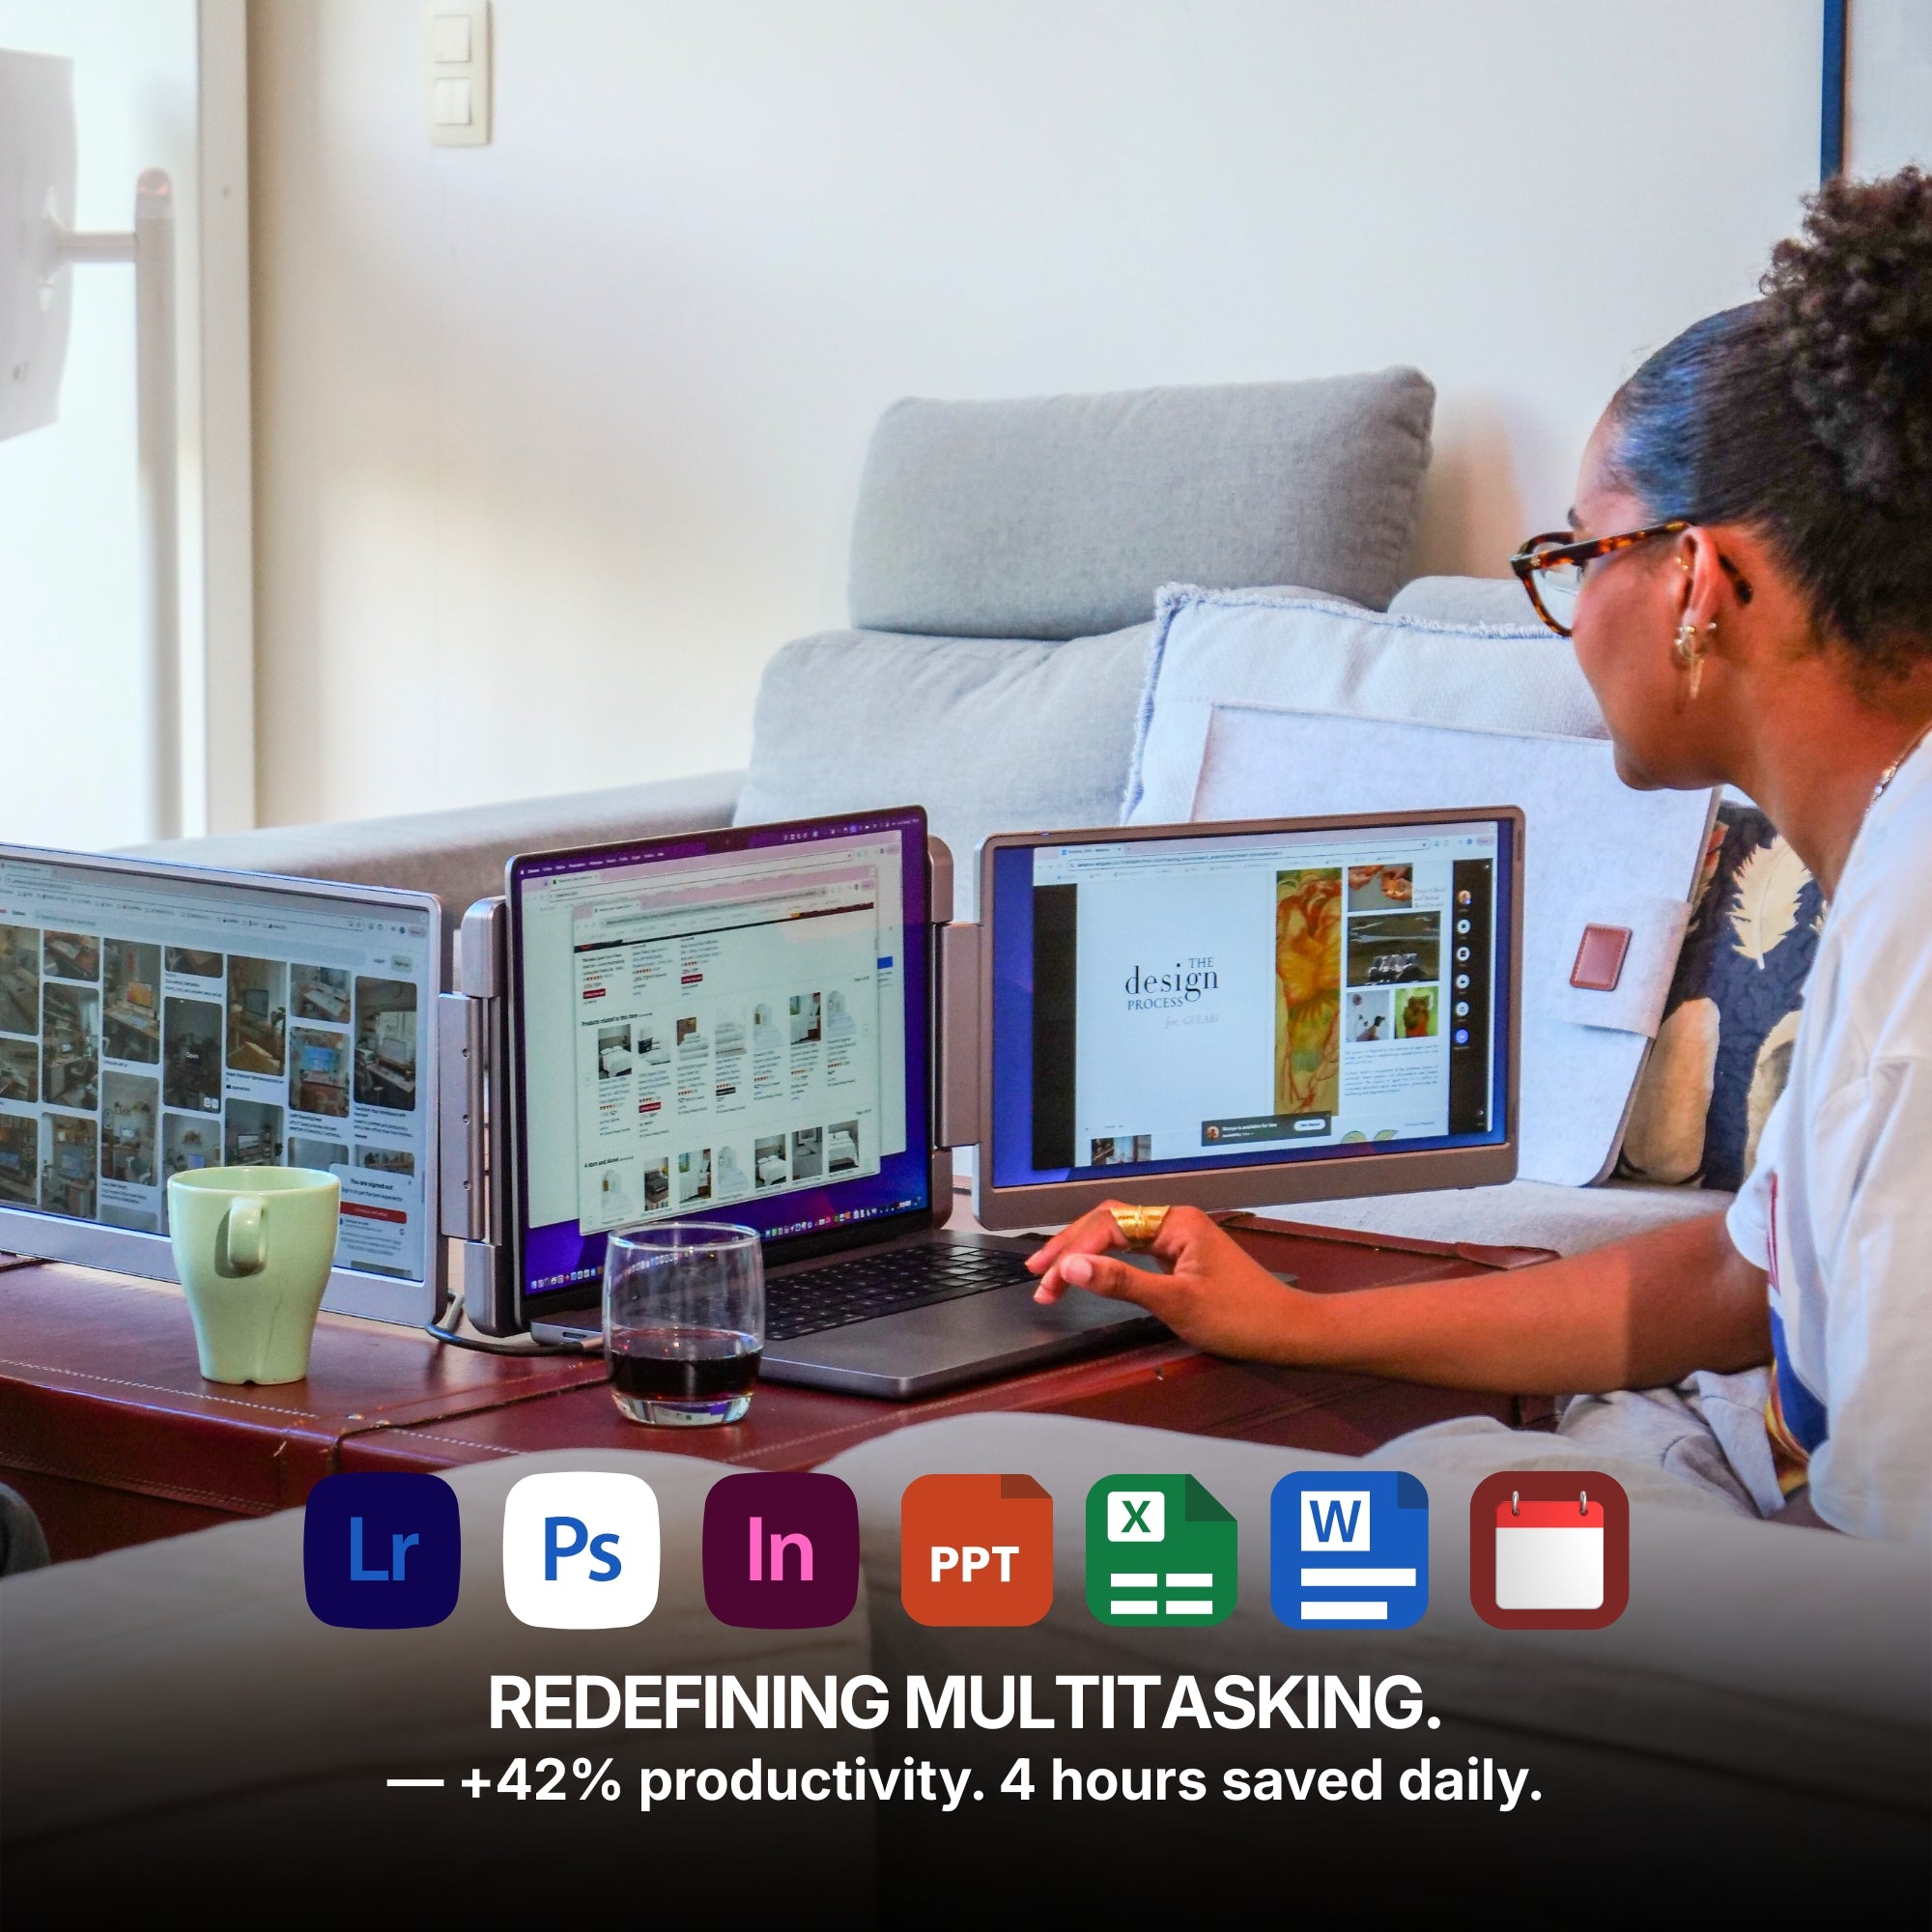
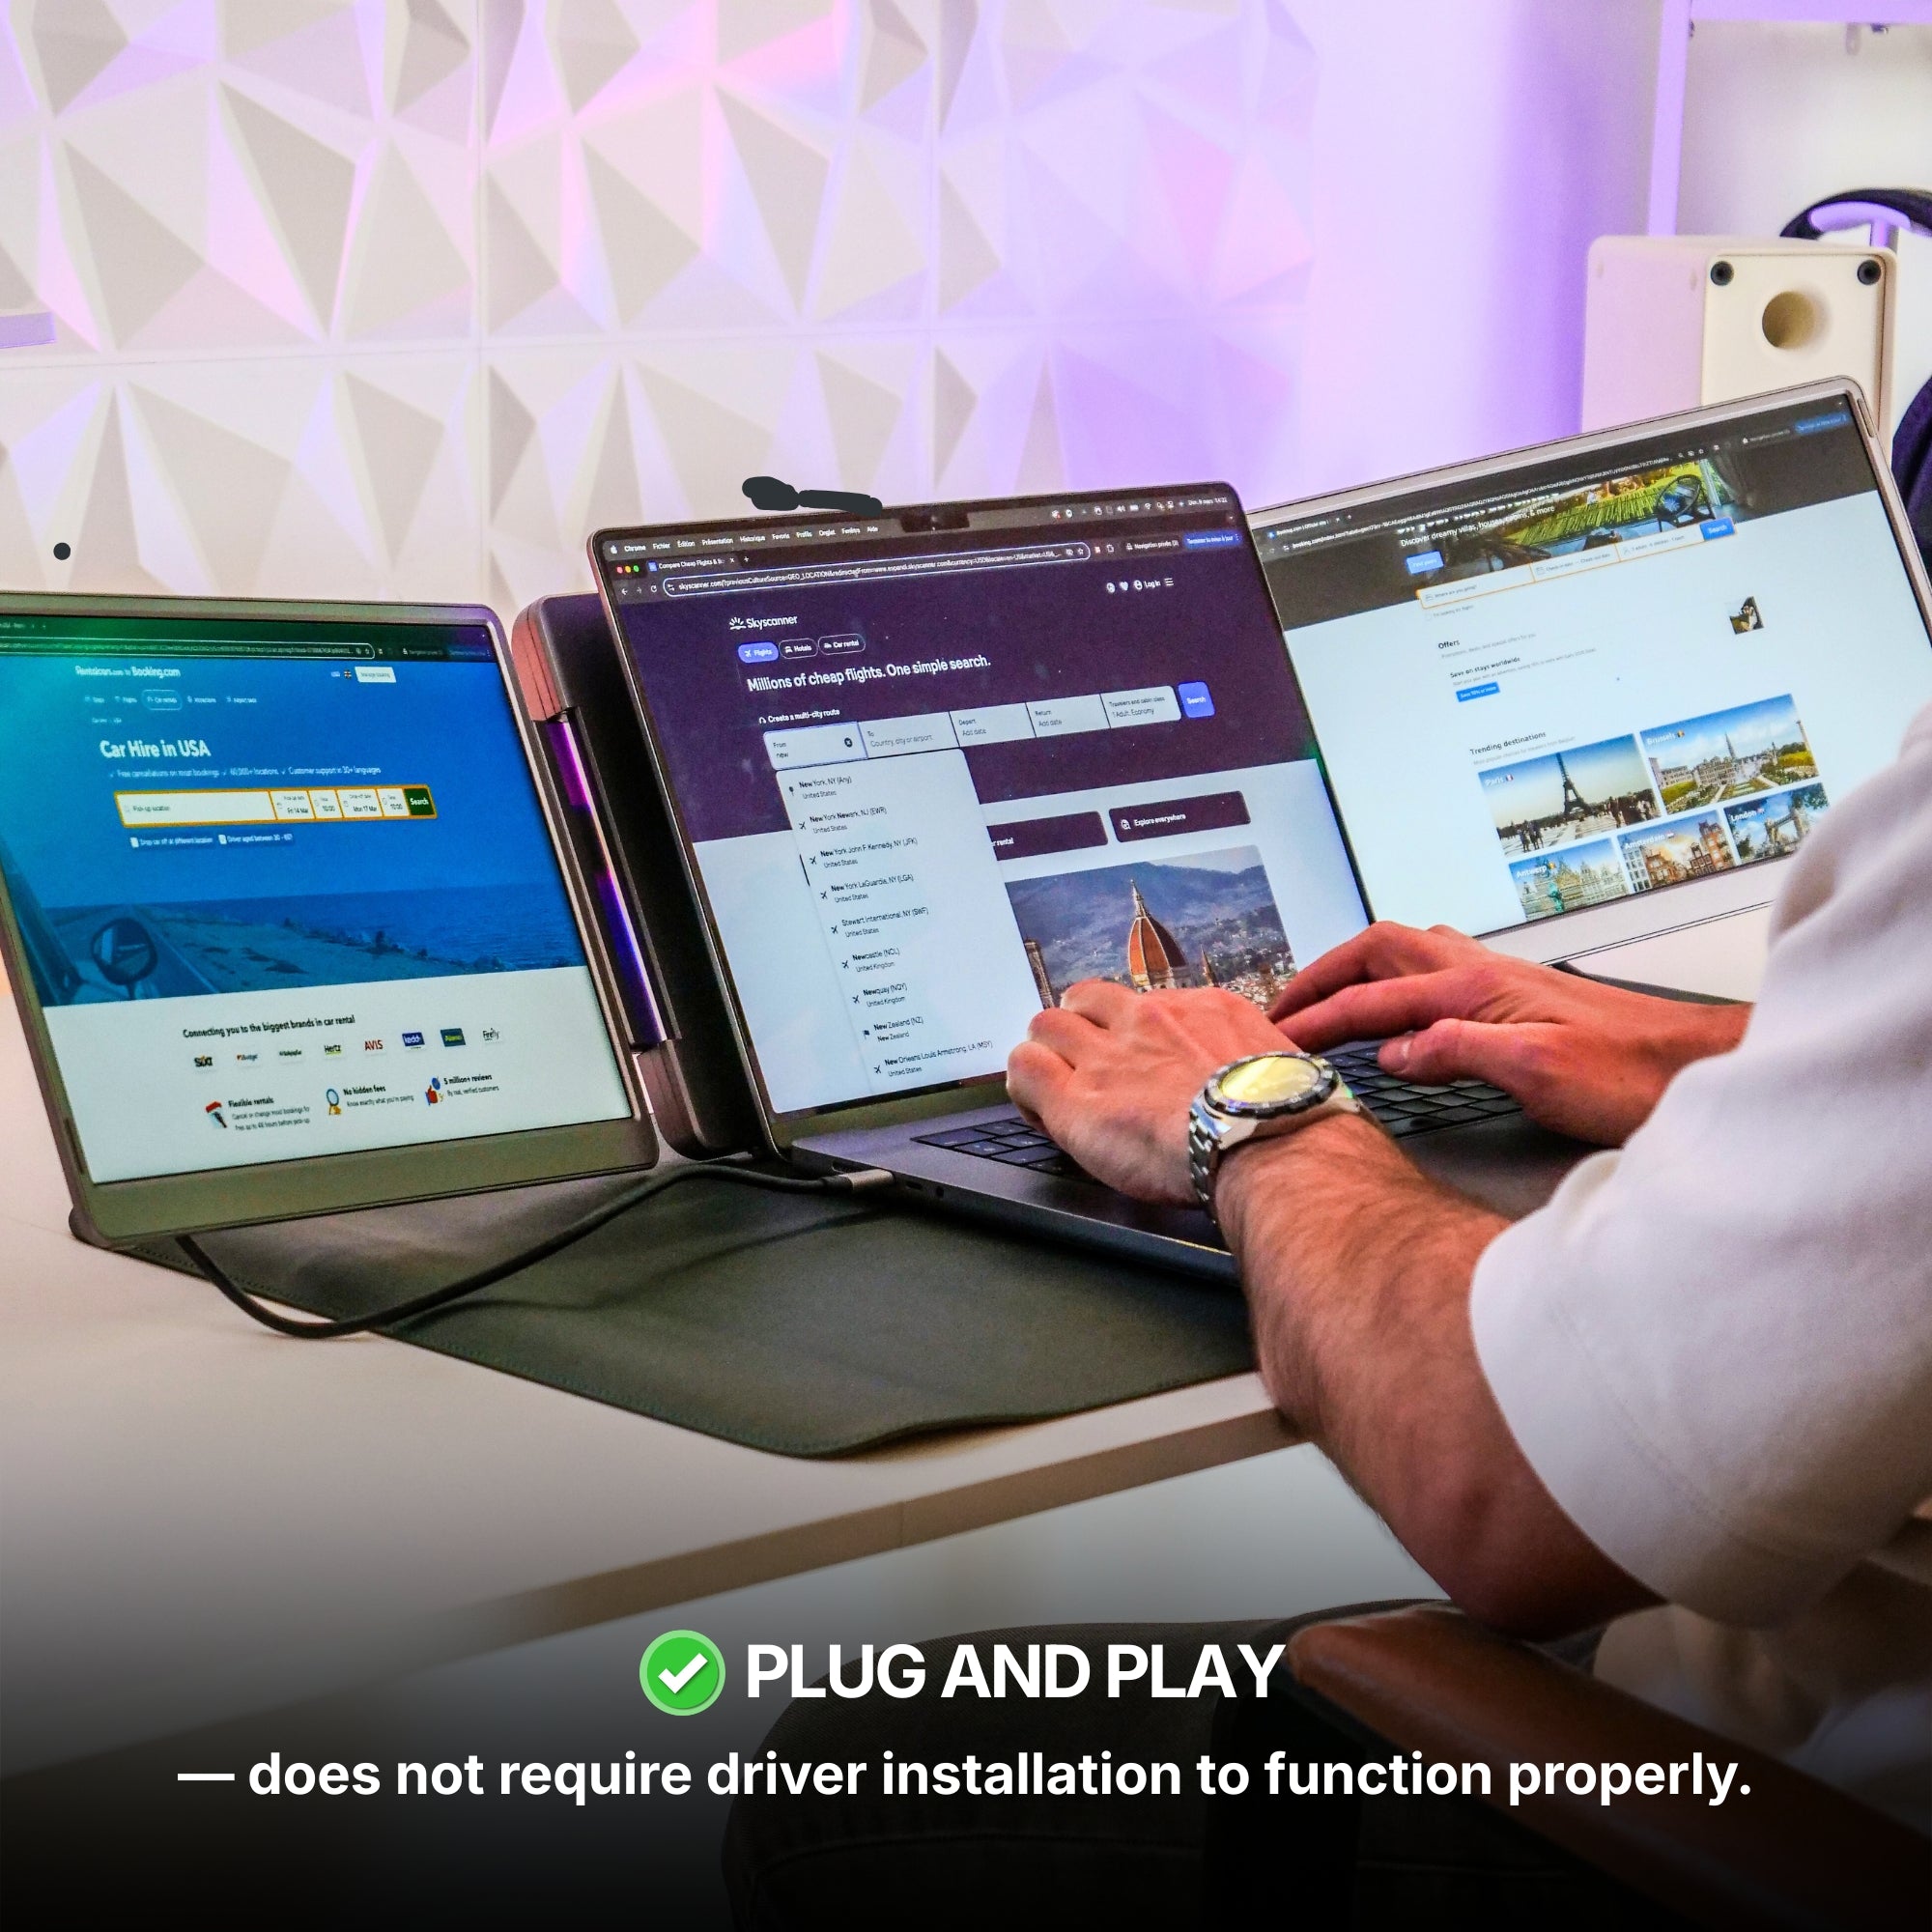
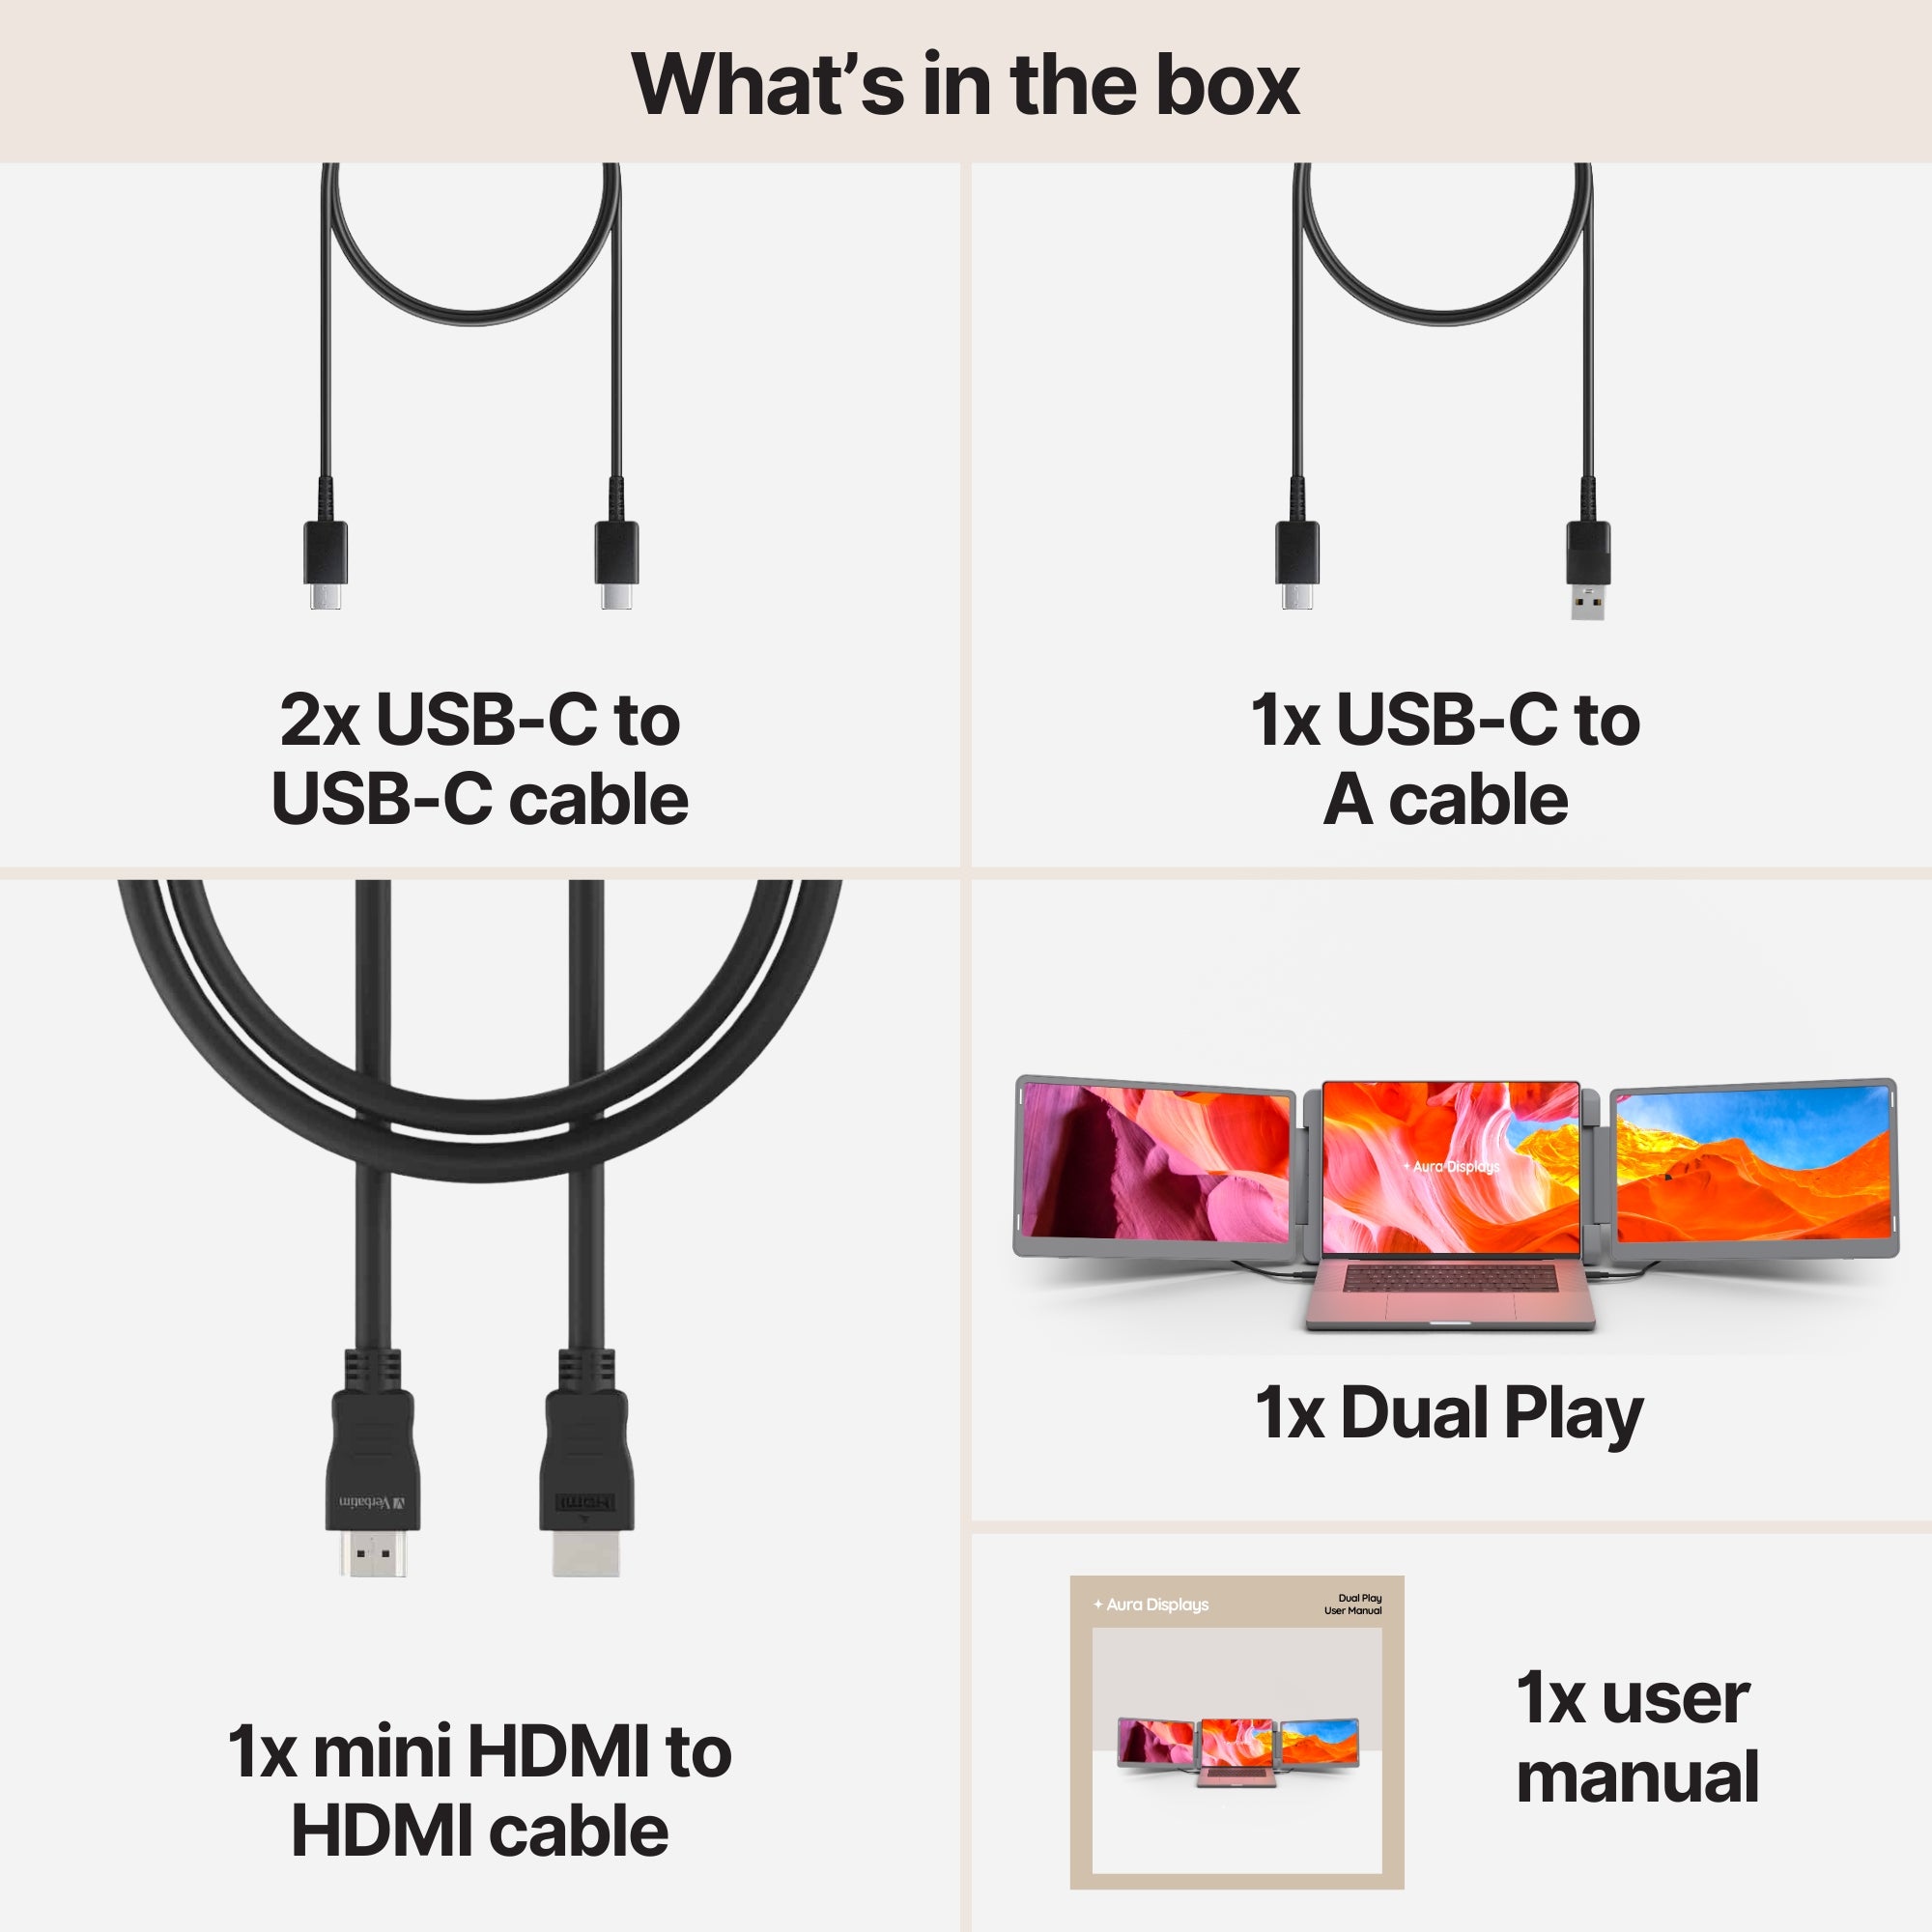
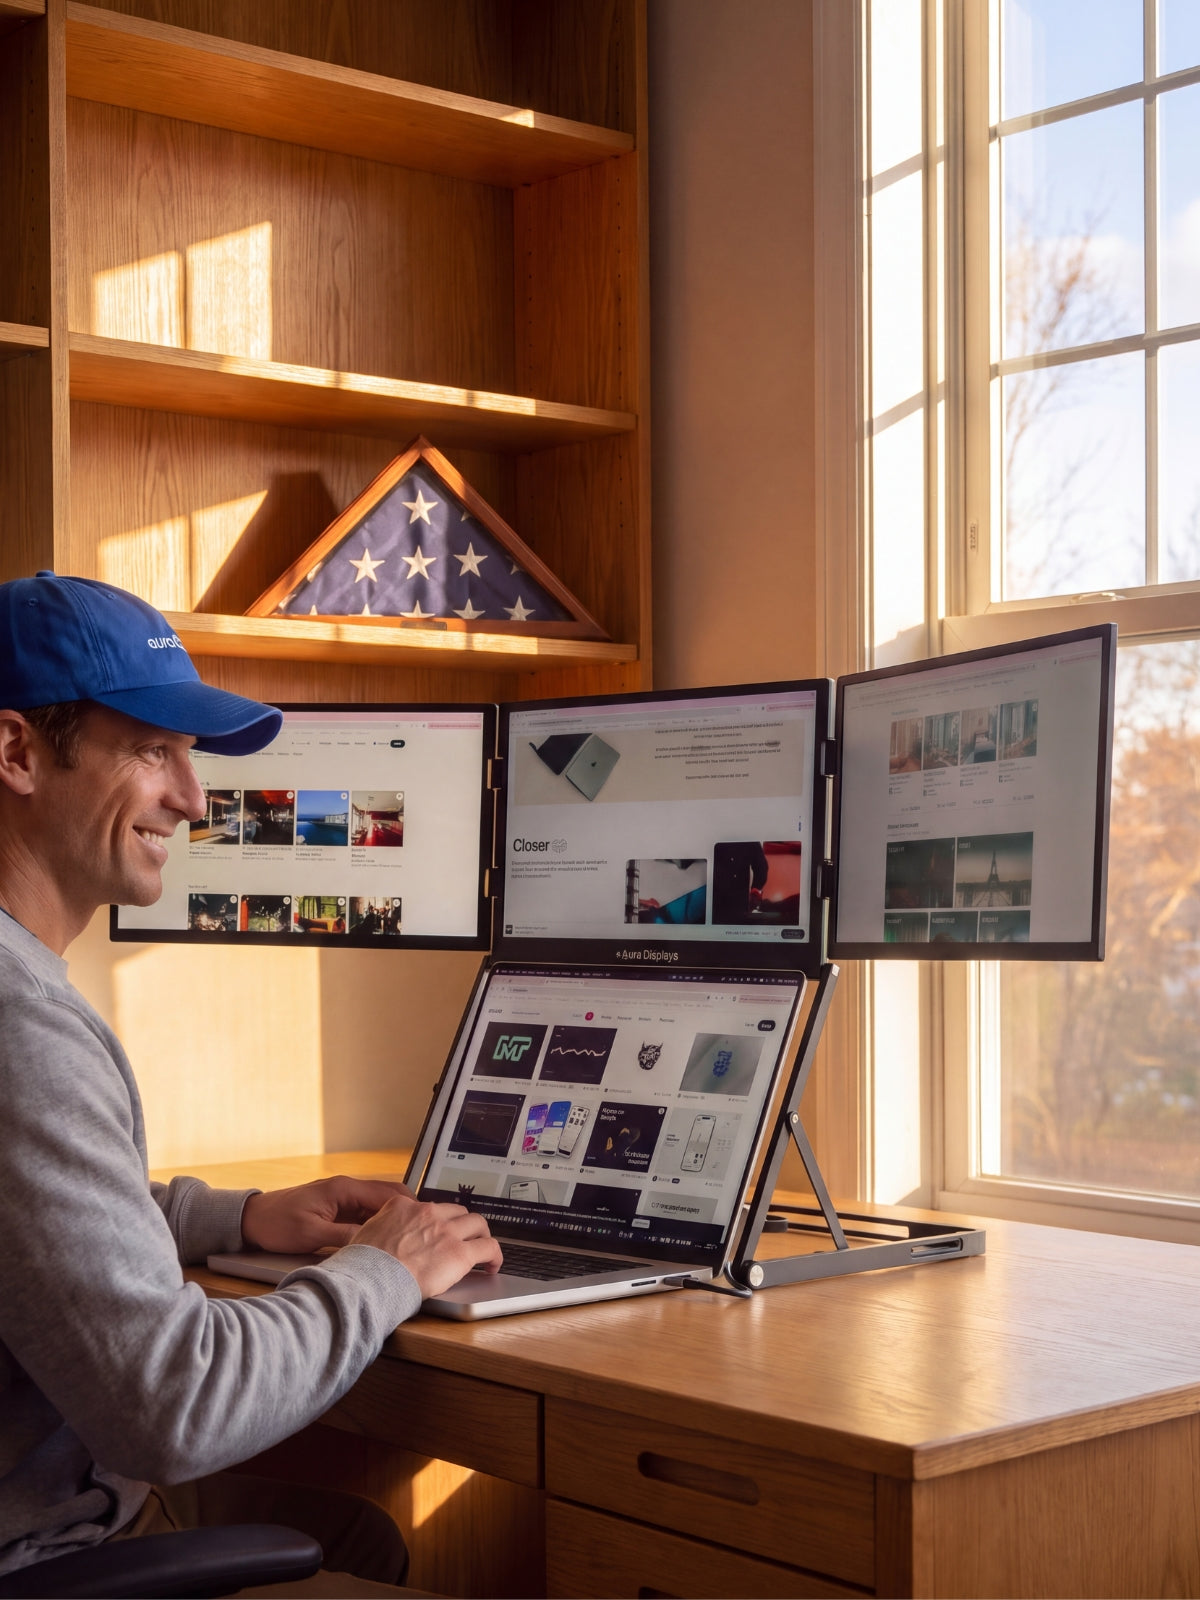
Our recommendation: Dual Play (Gen 3), from $369. Two attachable panels, plug and play with no driver, 300 nits, 4x USB-C and 2x mini HDMI, and the widest operating-system list we publish: macOS, Windows, Android, Linux, Chromebook, Surface, game consoles and USB-C iPhones and iPads. Take the 14" Plus at 1920 x 1200 — the cheapest of its three variants, and the easiest to live with, because on 14" it lands close enough to a typical laptop screen that one scale setting covers both. Rated 4.75 out of 5 across 593 reviews.
The cheaper option: Single Boost 15.6" (Gen 2) at $249. One Full HD panel, 15.6", 300 nits, plug and play, with a 3.5 mm jack. If your laptop screen is Full HD too, this is the version of this article where you change nothing: same resolution, same size class, one setting. Rated 4.79 out of 5 across 137 reviews — higher than our own recommendation. It is hard to keep in stock, so check before planning around it.
Why we are not selling you more. Dual Play's own 14" Ultra at 2560 x 1440 costs $419 — the dearest of the three and the one that creates the work described above. Triple Go (Gen 3), from $549, reads Software required, lists macOS and Windows only, and turns one scaling decision into three. And if your real problem is seeing many readable rows at once, Single Glow Infinity (Gen 1) at $419 is 27 inches at 3840 x 2160 over DisplayPort or HDMI with no software: the honest answer, and not a portable one.















Share: