


This one is for photographers who cull and edit on a laptop — weddings, events, portraits, product days — and are tired of a grid, a filmstrip and four panel columns eating the frame they are trying to judge.
What goes on each screen
The rule is simple: the image gets your best display to itself, and everything that is not the image moves off it.
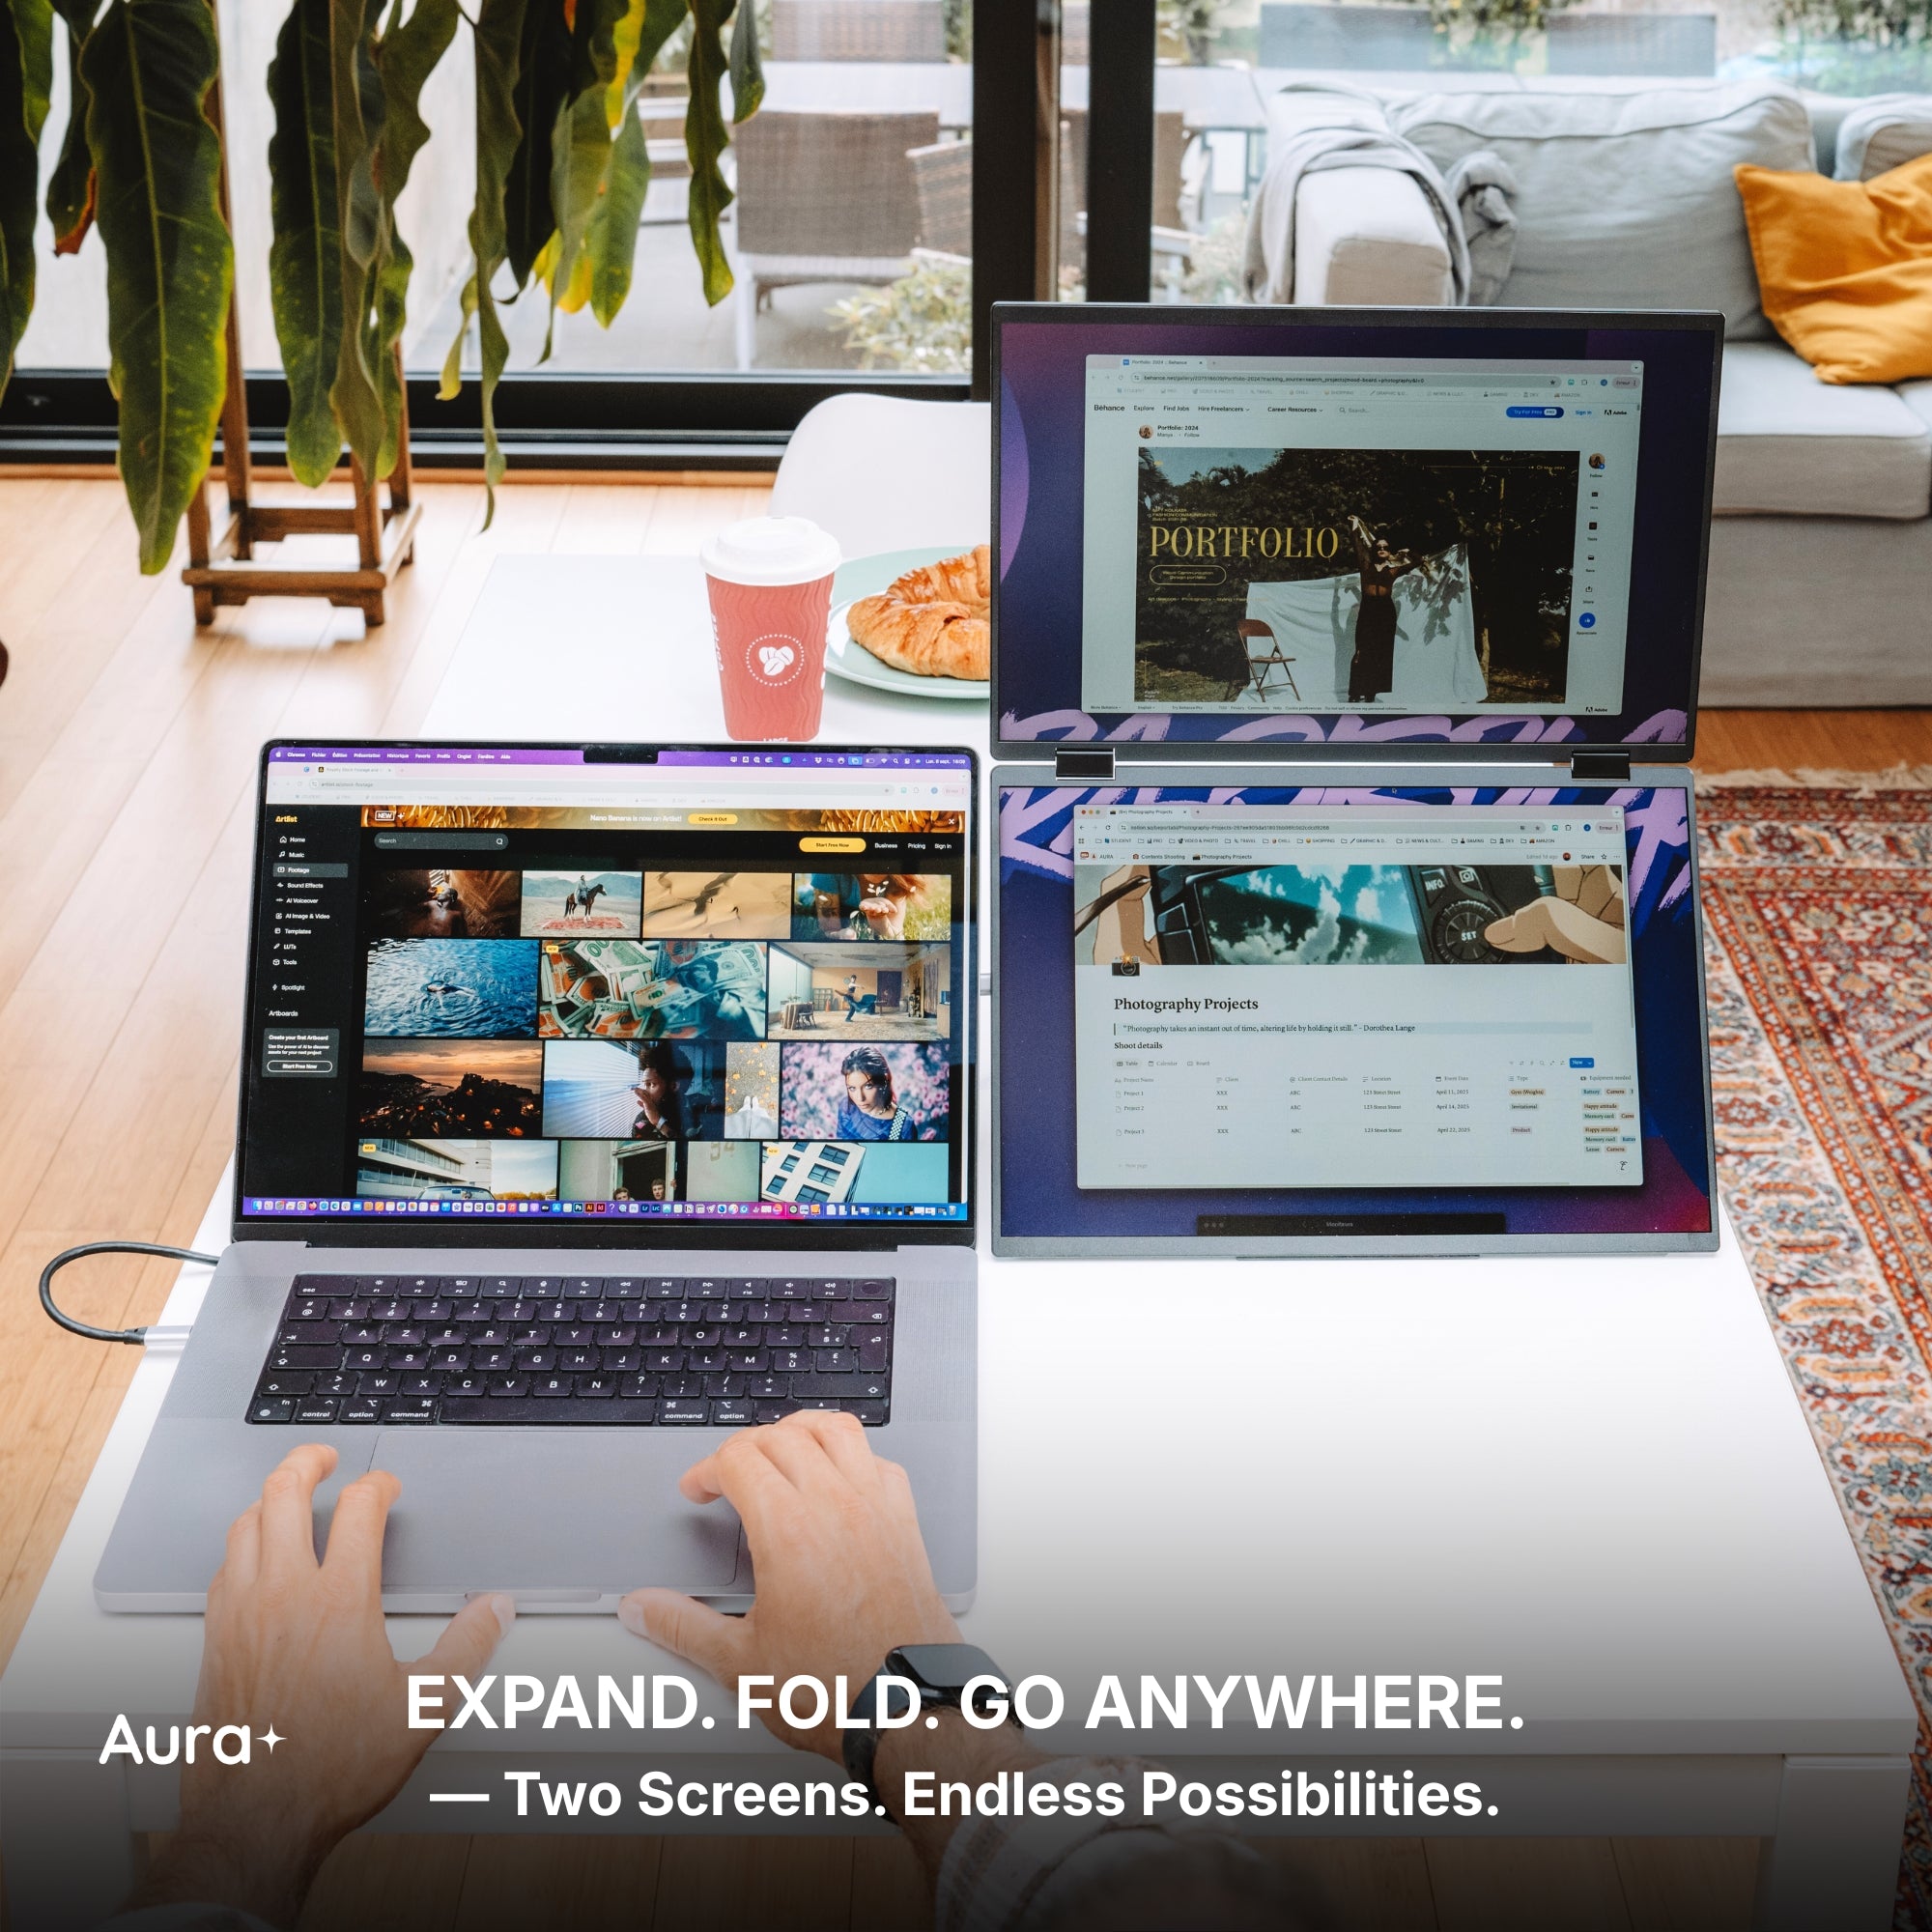
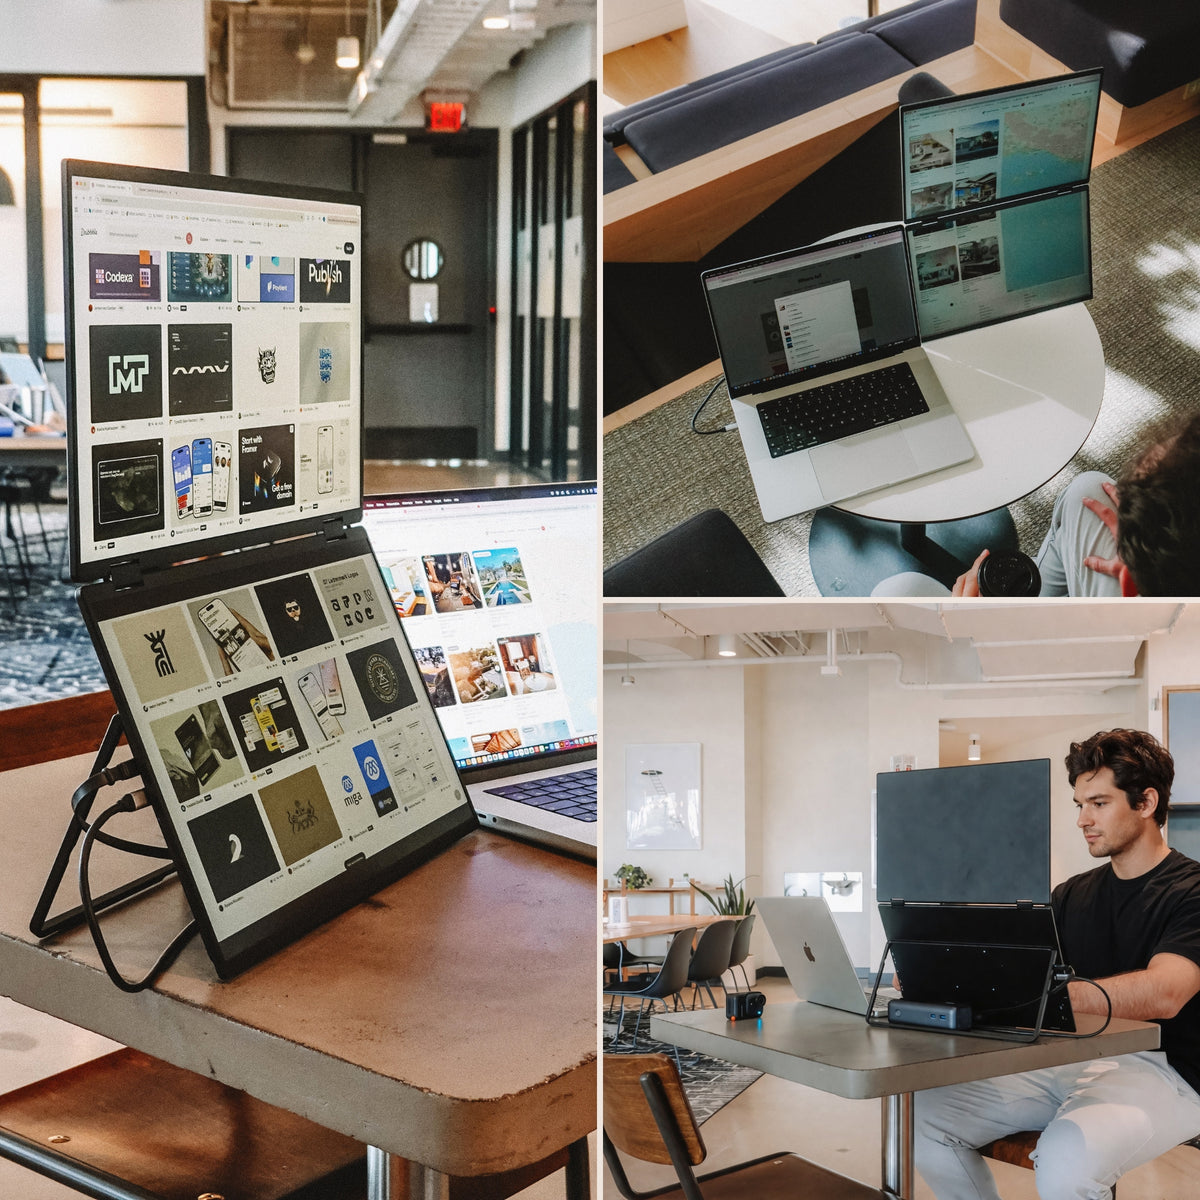
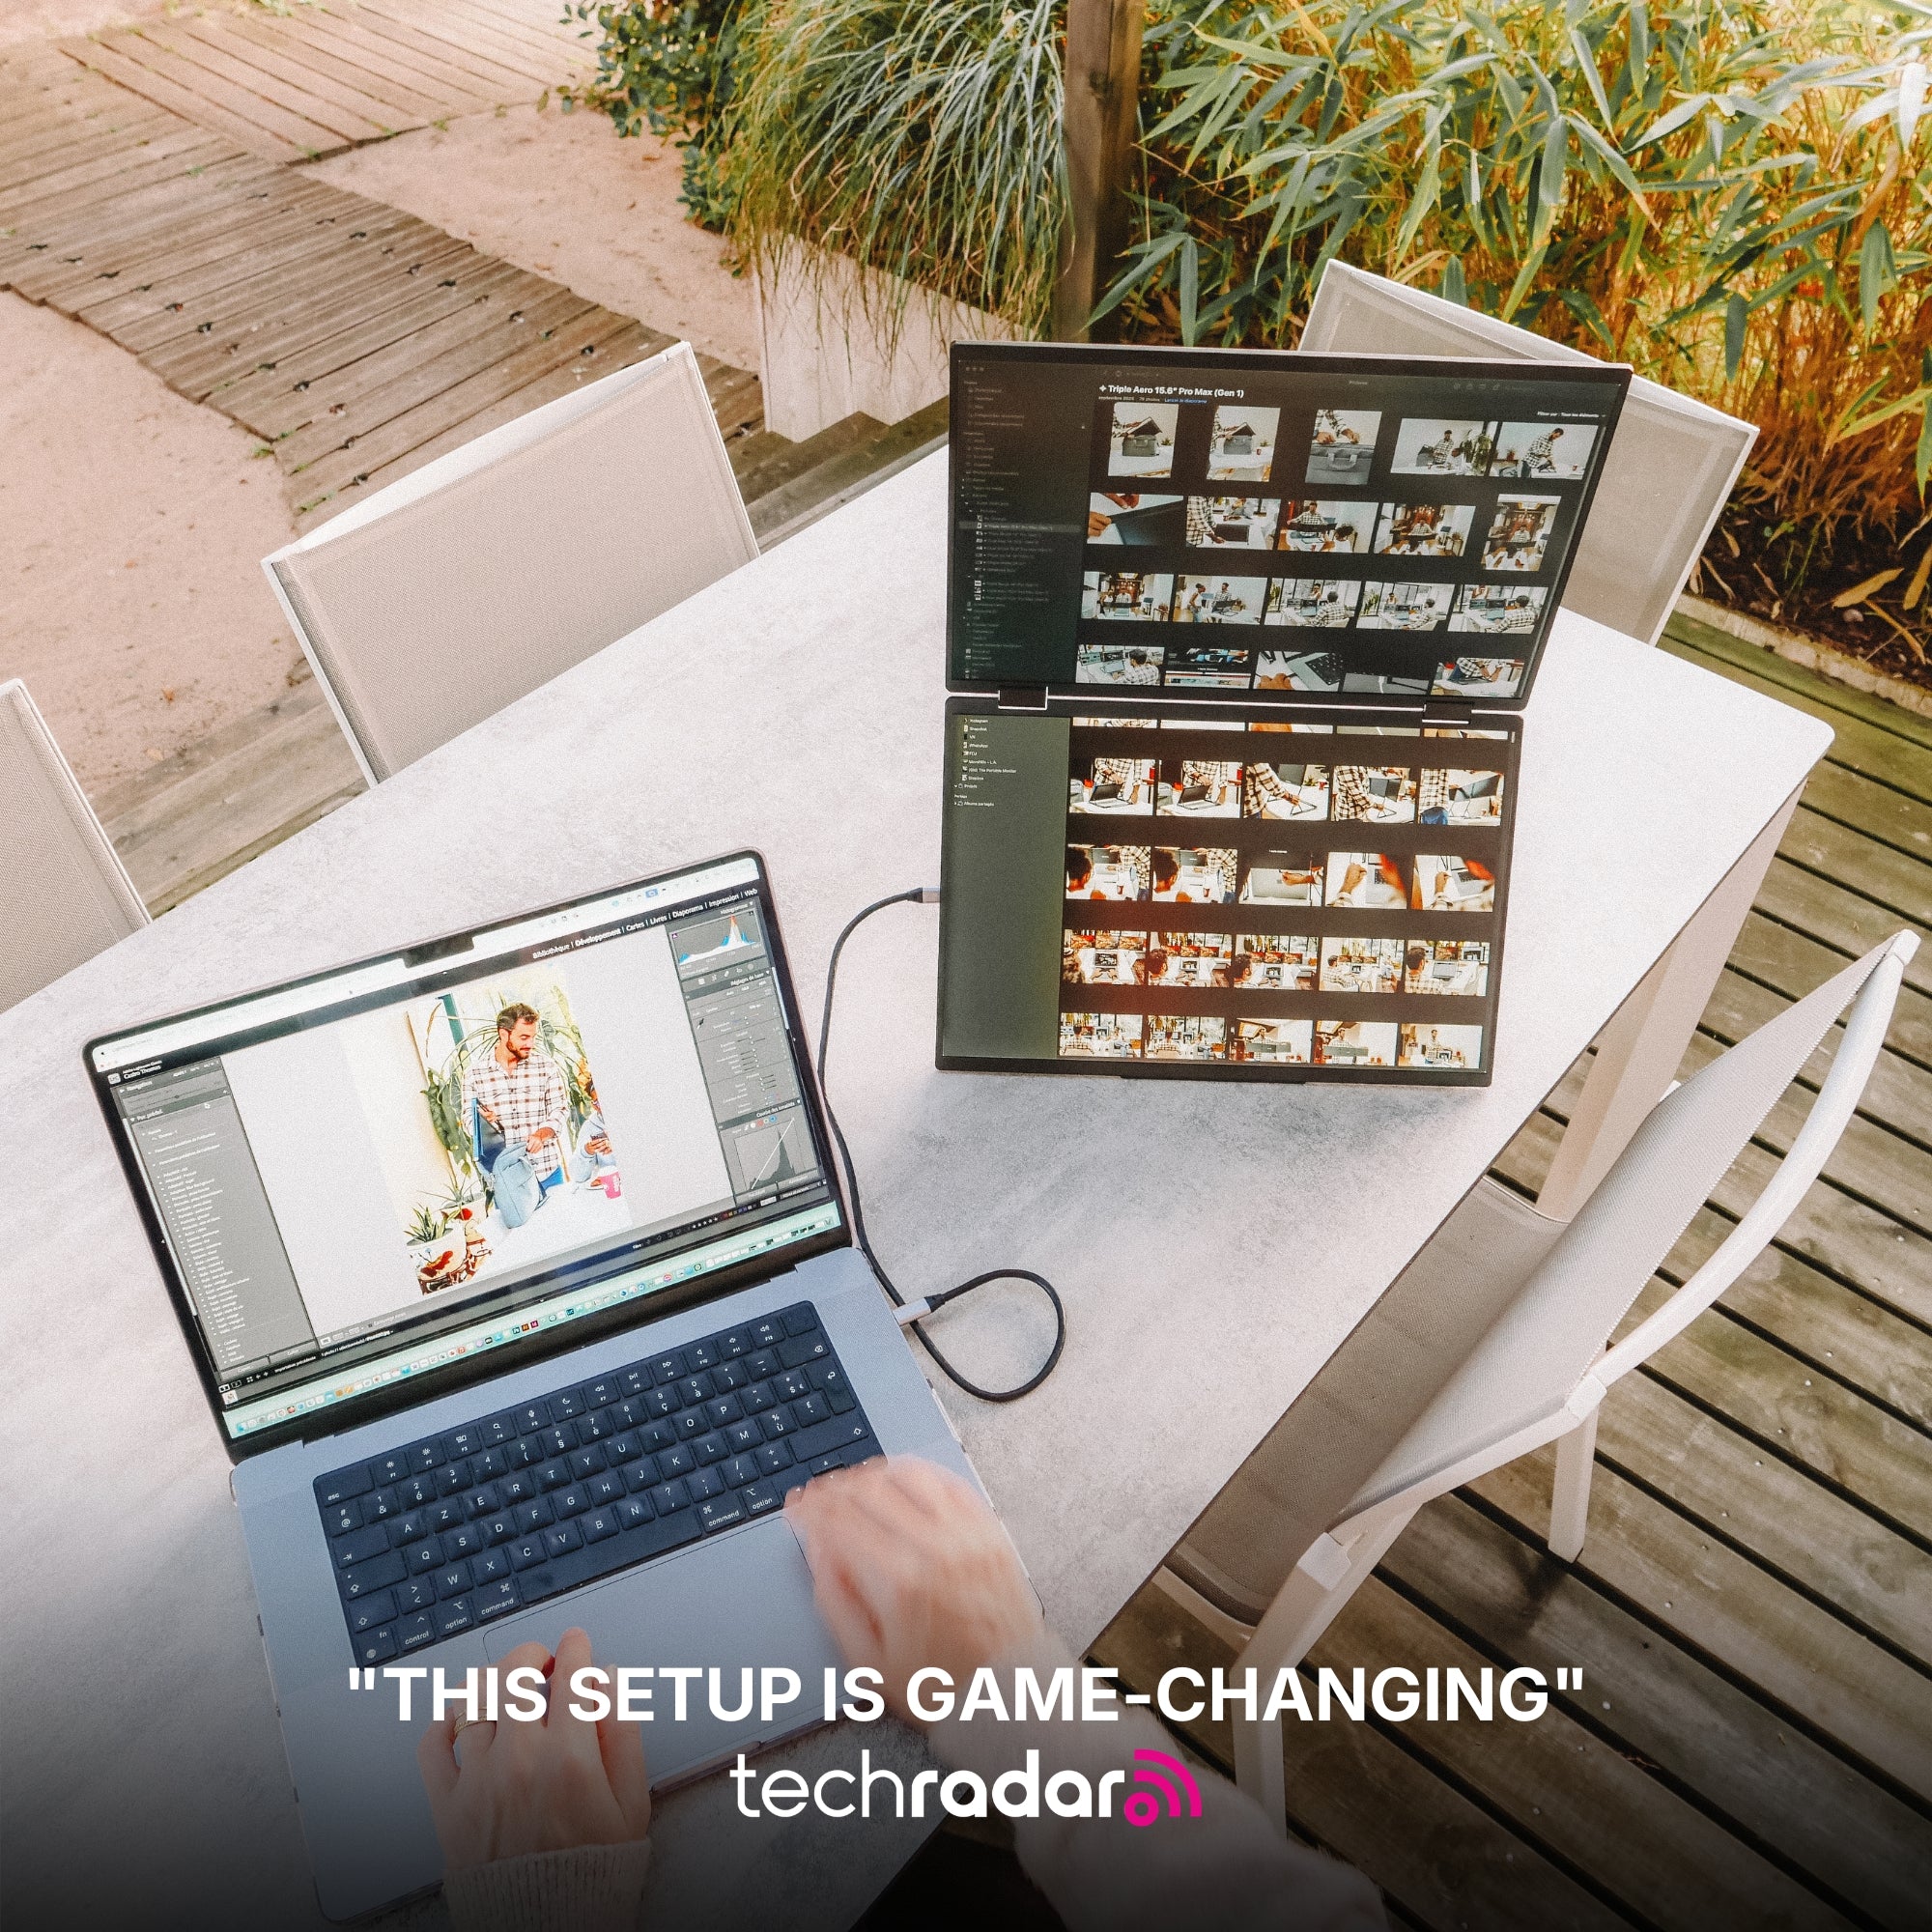
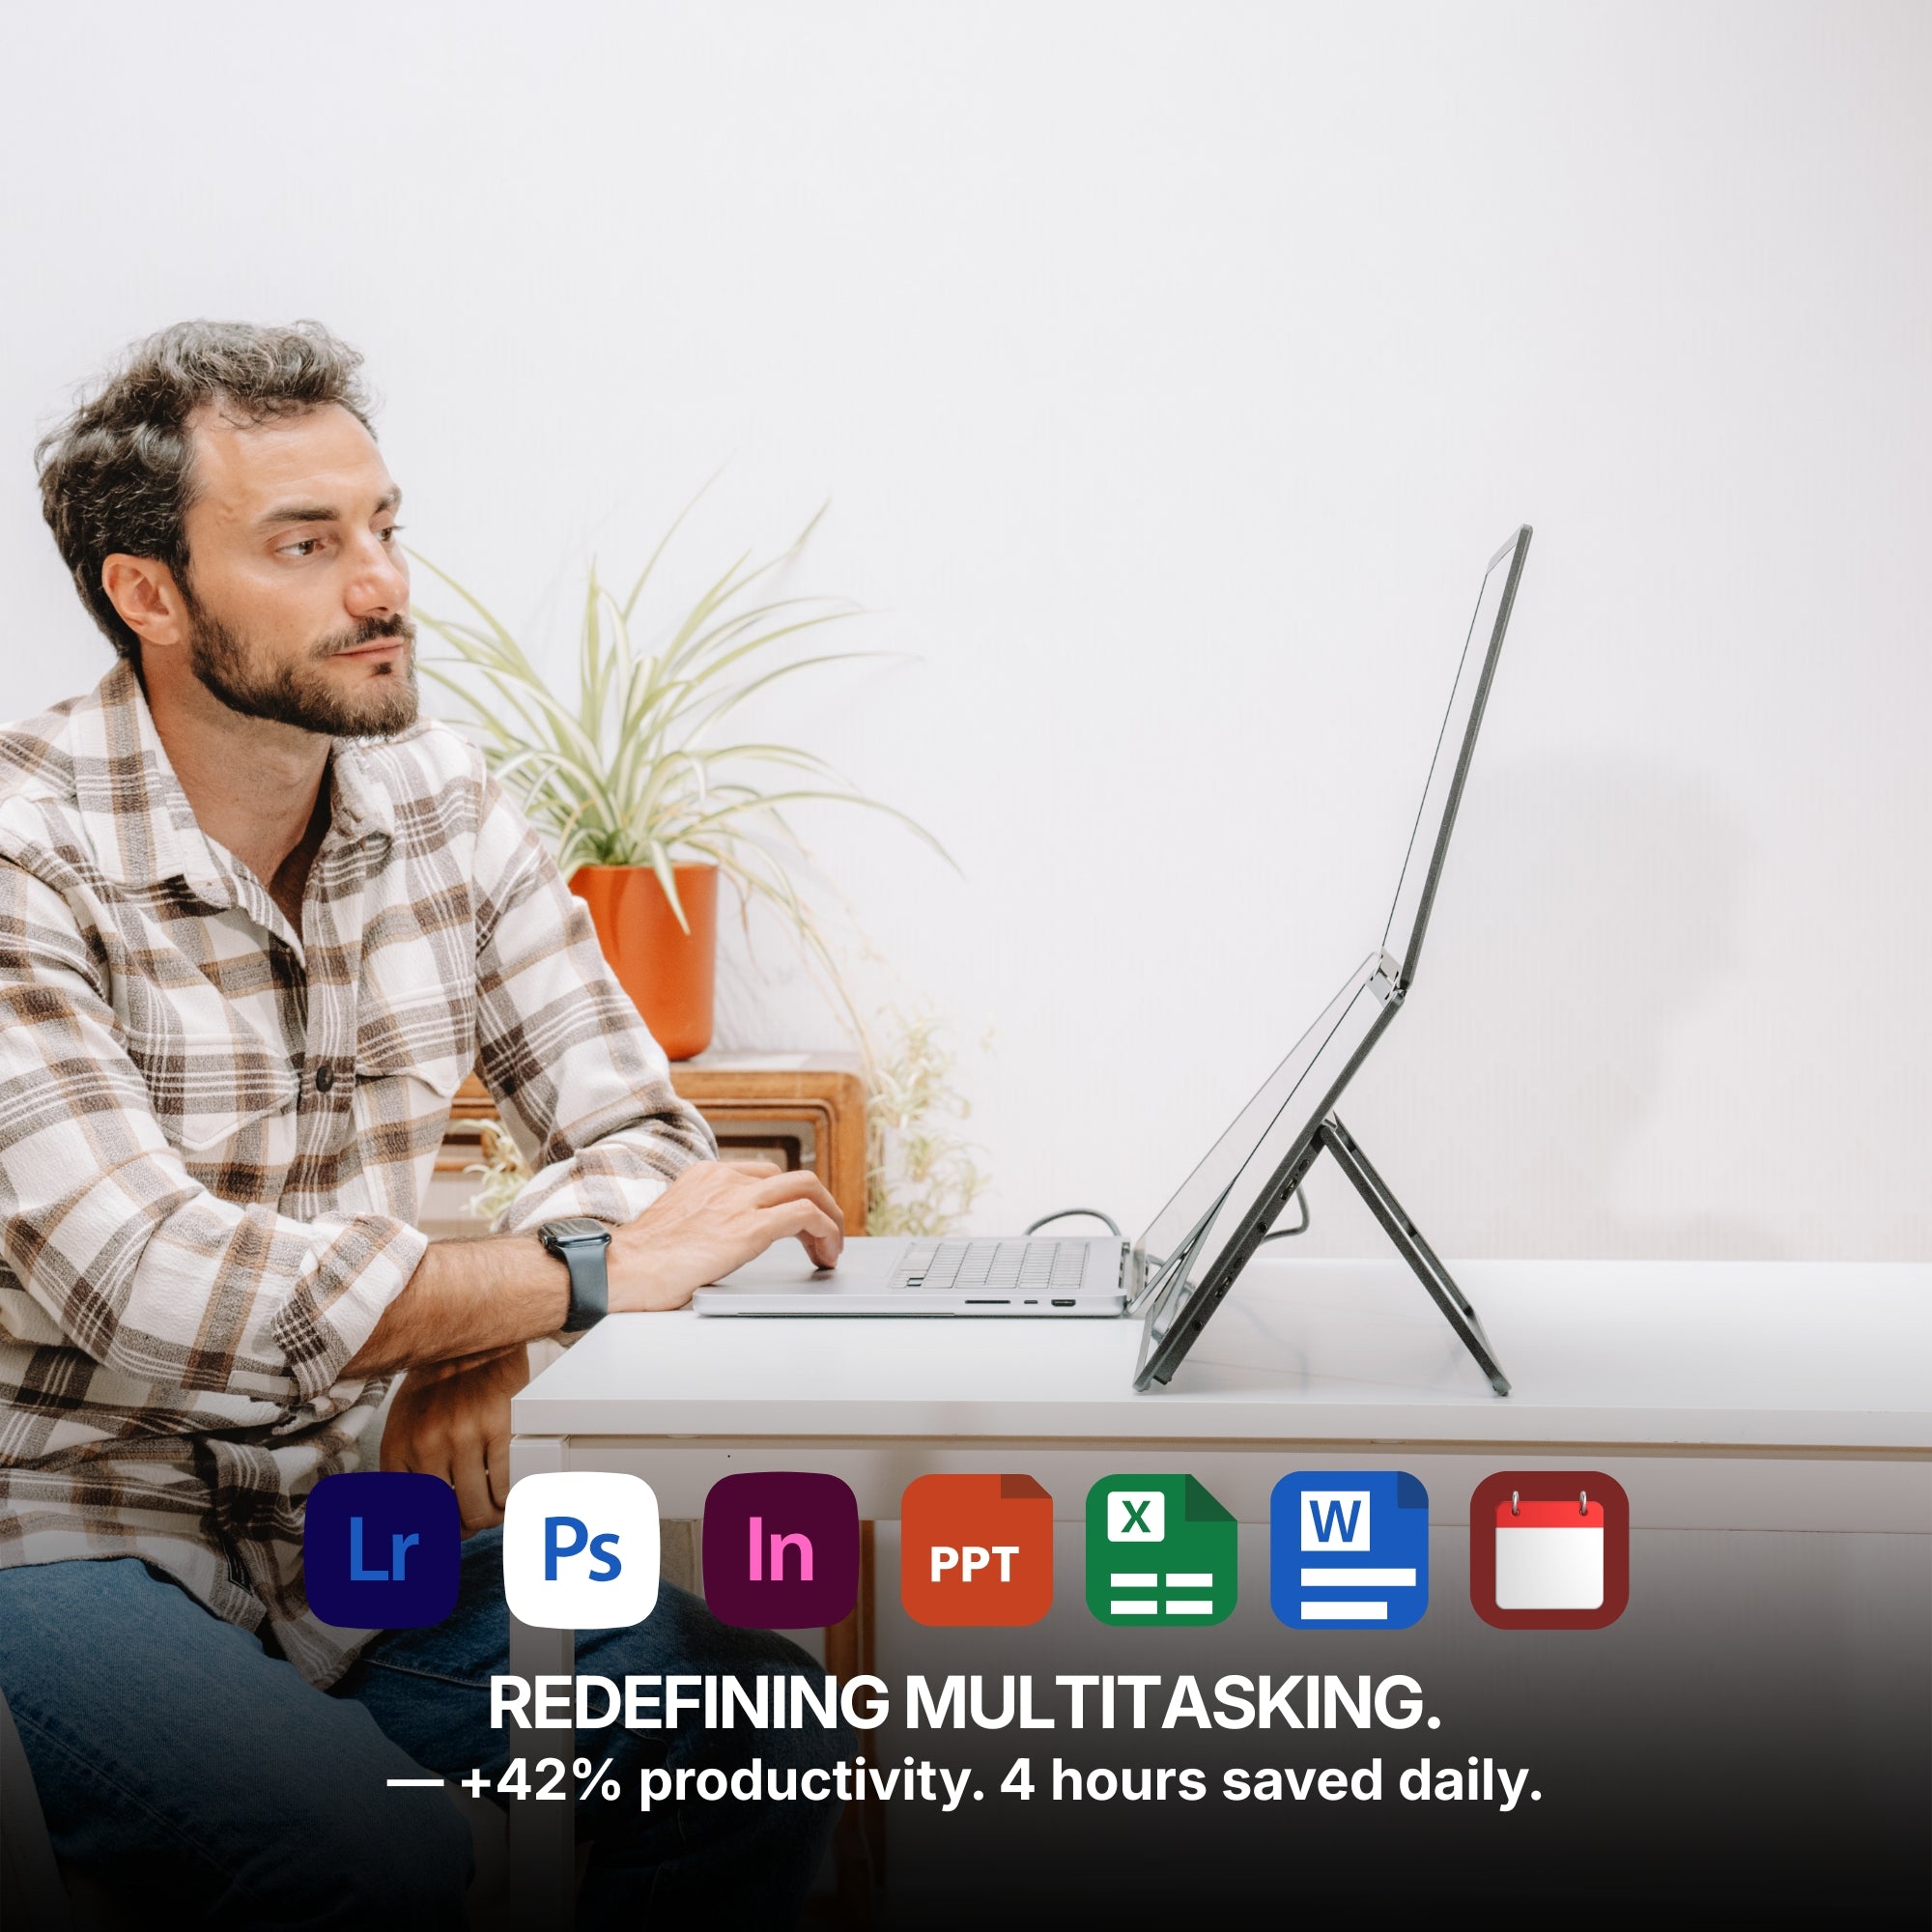
- Your calibrated display — the image, alone. On the road that is almost always your laptop's own panel, because it is the one you have profiled. Full-screen loupe, nothing around it.
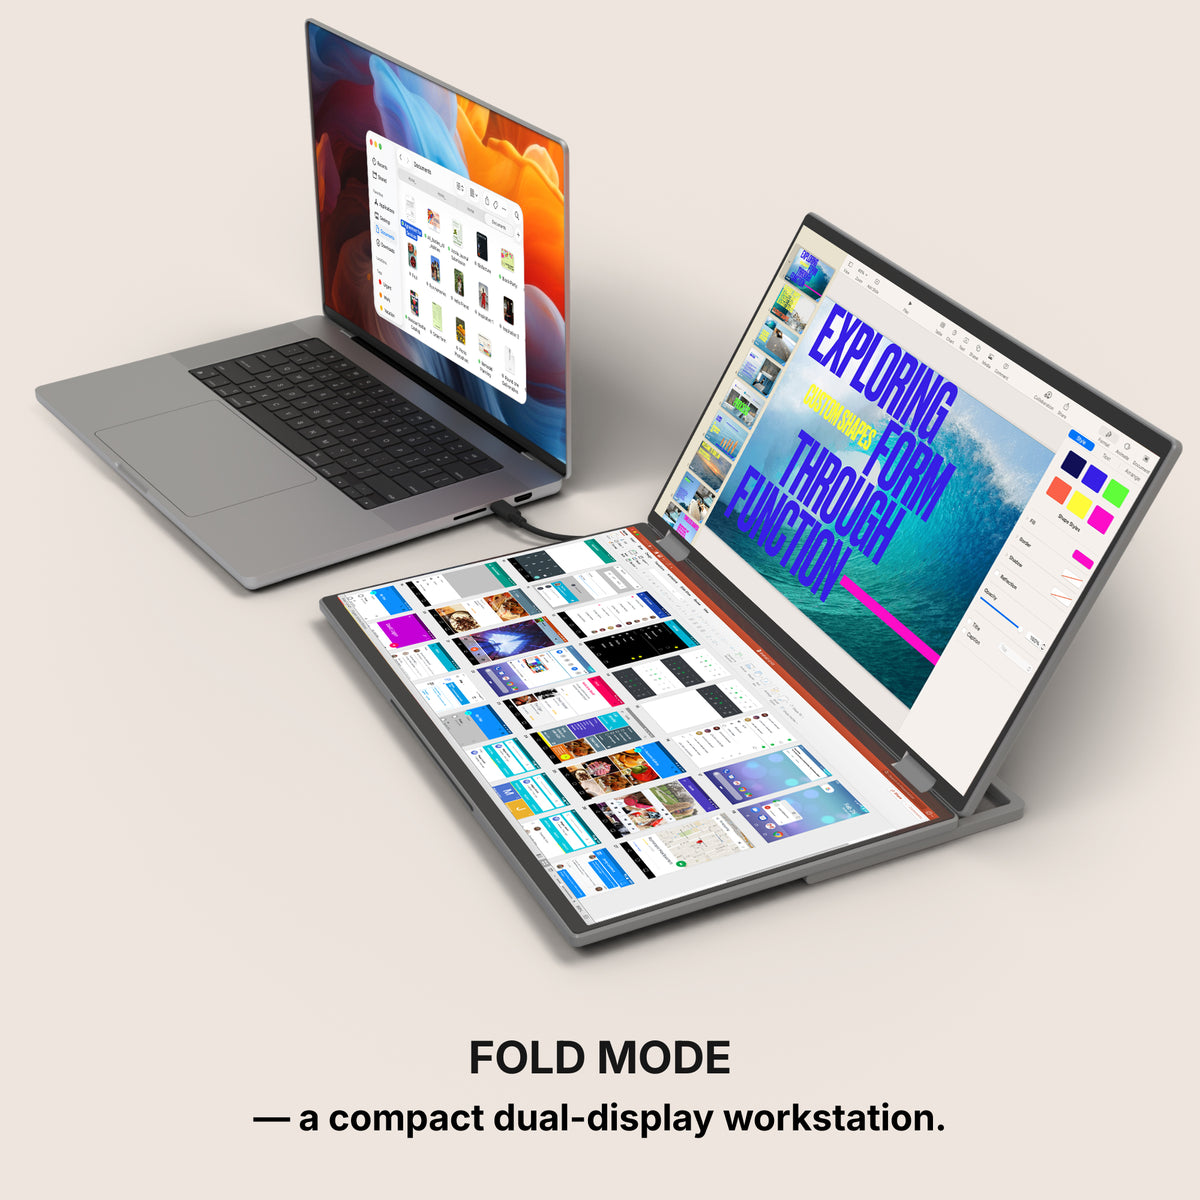
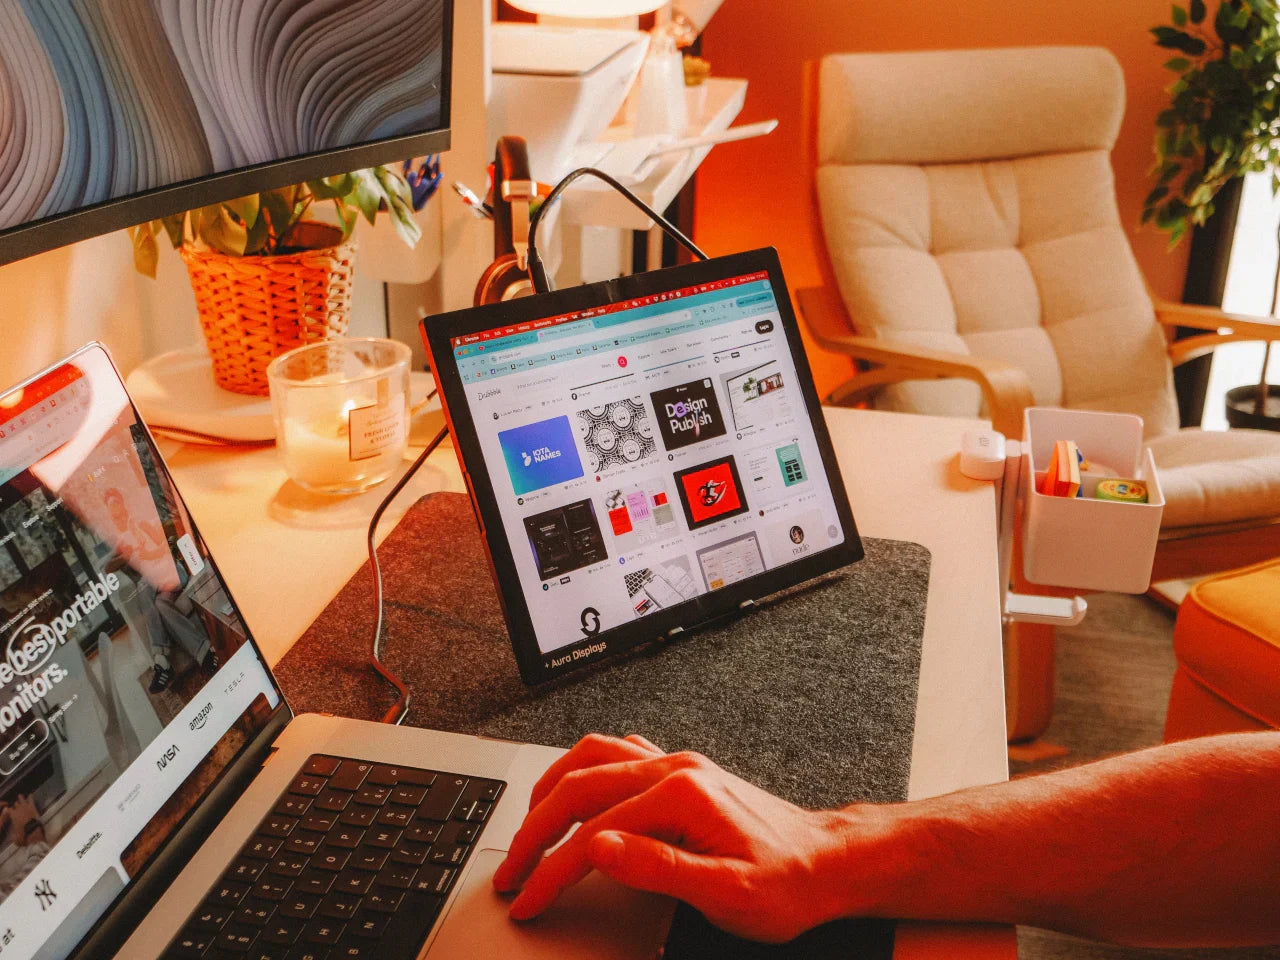
- Second screen — the grid and the filmstrip. This is where culling happens: contact-sheet grid, compare and survey views, the filmstrip you arrow through. You are looking for expression, focus and framing. That is a judgement of shape, not of colour.
- Third screen, if you run one — the panels and the tools. Adjustment columns, the histogram, keyword and metadata fields, the export queue. Things you set and read, not things you judge.
The software settings that make it usable
Lightroom Classic. Window → Secondary Display → Show (or F11) opens a second window on the extra panel; pick Grid, Loupe, Compare or Survey from its top bar. Set the main window to Loupe and the second to Grid and you have the layout above in two clicks. Shift + Tab hides both side panels on the main window so the image runs edge to edge, and right-clicking any panel header lets you turn on Solo Mode so only one section is ever expanded. Cull with P to pick, X to reject and 1–5 for stars, with Caps Lock on so the catalogue auto-advances after each flag.
Tethered shooting. File → Tethered Capture → Start Tethered Capture, then Cmd/Ctrl + T to show and hide the tether bar. Keep the tether bar and the incoming loupe on the laptop and let the growing grid fill the second panel: the client watches the grid, you watch the frame.
Capture One. The interface detaches properly. Window → Create Floating Viewer and Window → Create Floating Browser send the viewer and the browser to separate displays, and individual tool tabs can be dragged out the same way. Once it is arranged, Window → Workspace → Save Workspace, so unplugging at the end of a shoot does not cost you the layout.
One setting to get right on the panels themselves. Turn the extra screens down to roughly match the laptop, never up. A brighter second screen makes every image on it look better than it is, and you will cull wrong.
What these screens will not do for you
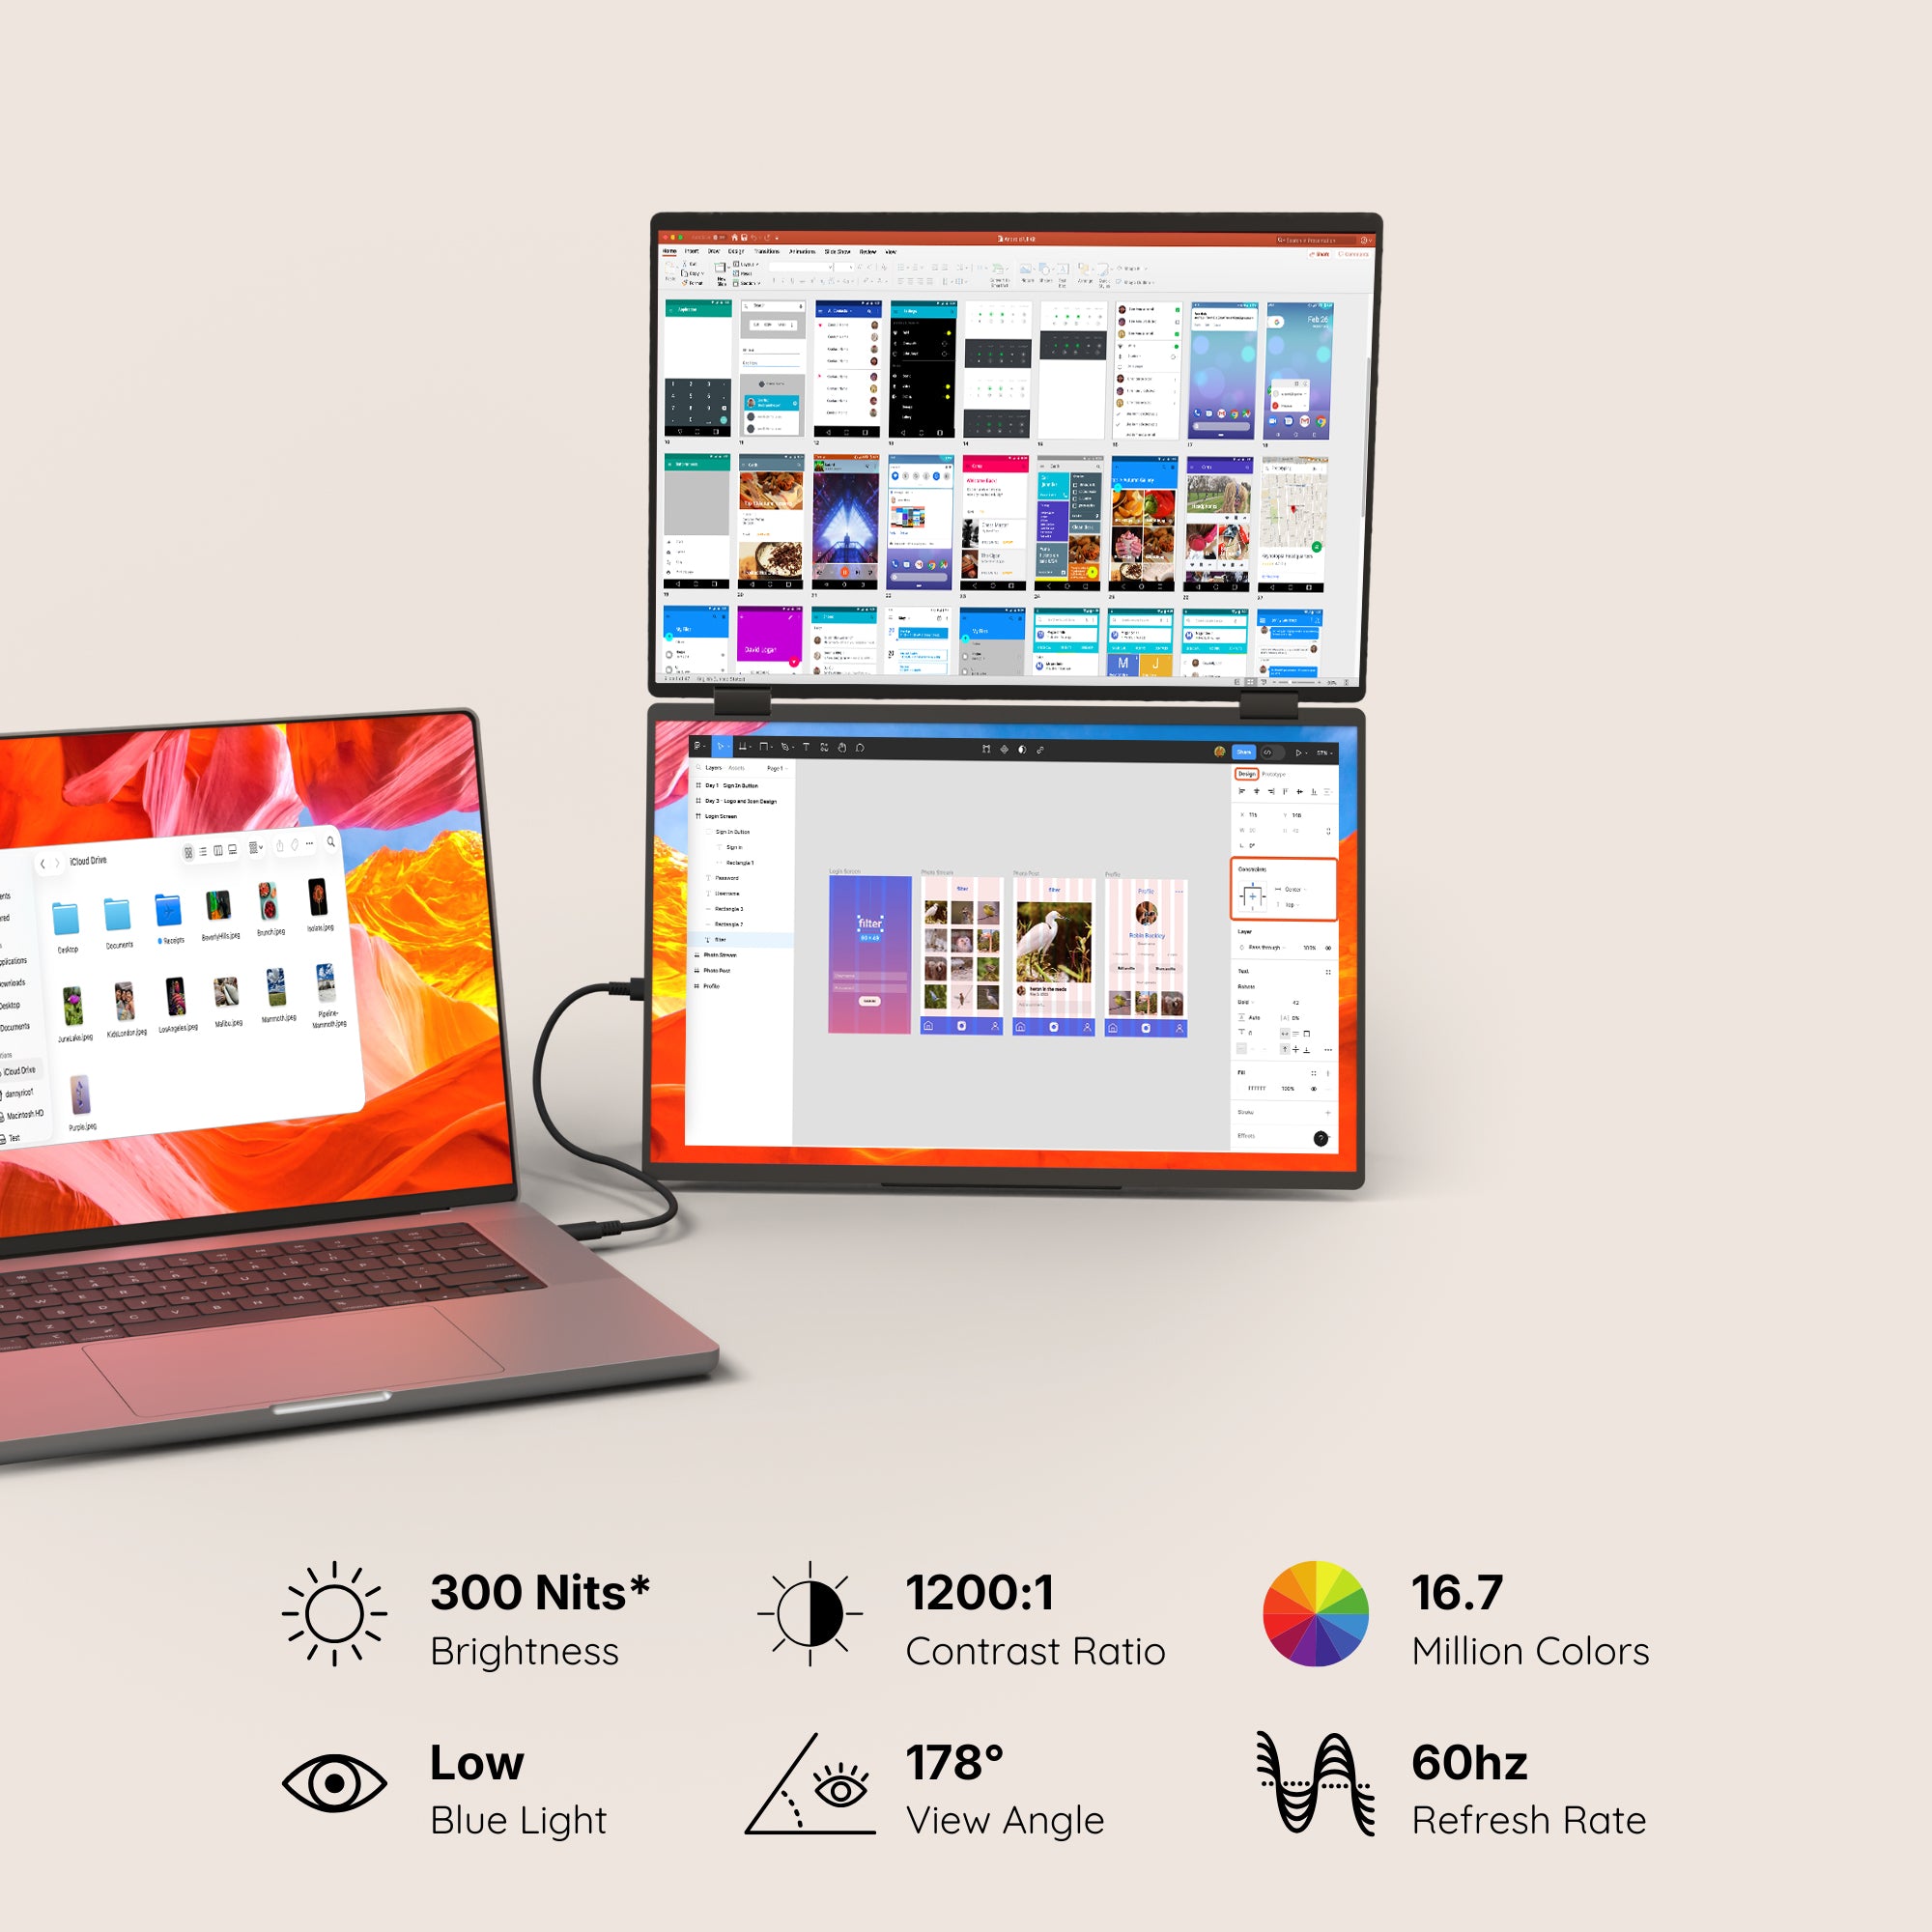
This is the section that matters most for photographers, so here it is plainly: do not judge colour on these panels. No product in our catalogue declares a colour gamut — not sRGB coverage, not DCI-P3 — and brightness across the range runs from 280 to 350 nits. That is enough to see an image clearly in a normal room. It is not enough to set a white balance, approve a skin tone or sign off a print.
Use the extra panels for what they are genuinely good at: sorting, comparing, keywording, and keeping tools off the image. Keep the colour decisions on the display you have actually profiled with a hardware calibrator. If you do not own one, that is the purchase to make before any second screen.
The second honest limit: more screen does not make you cull faster. Culling speed comes from a flag key and from not going back. What two screens remove is the reason to go back.
The setup we recommend, and the cheaper one
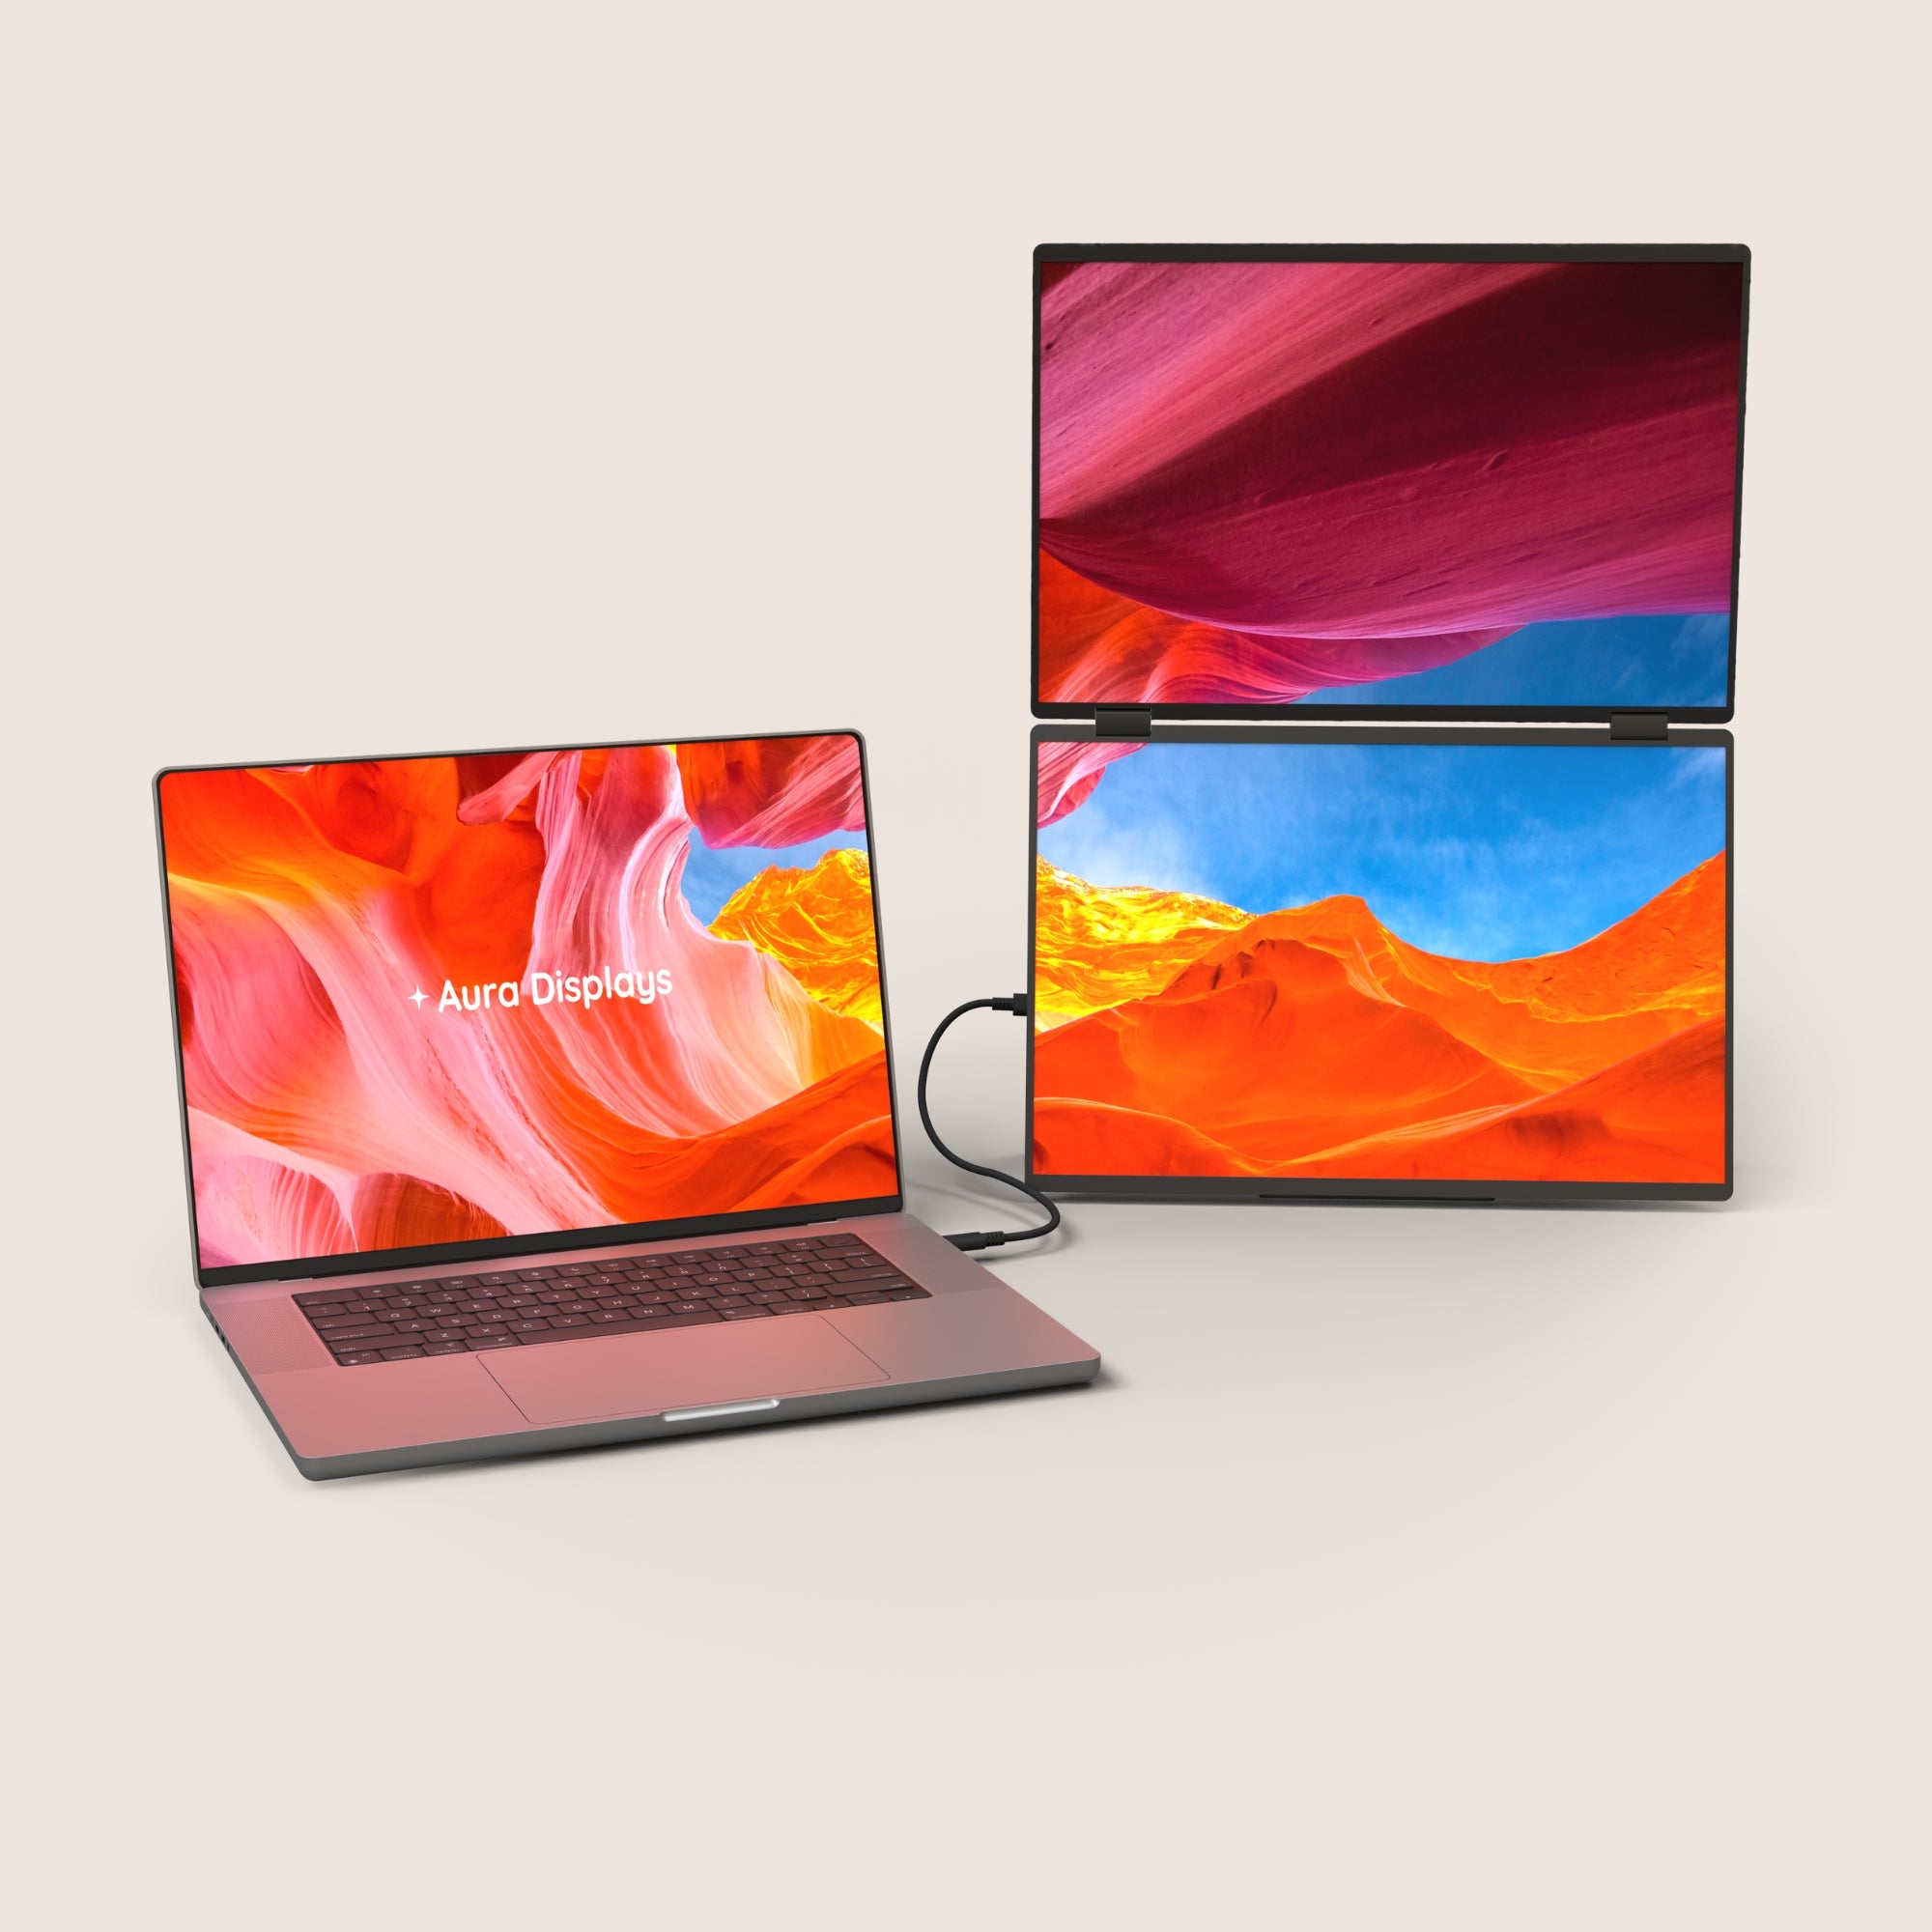
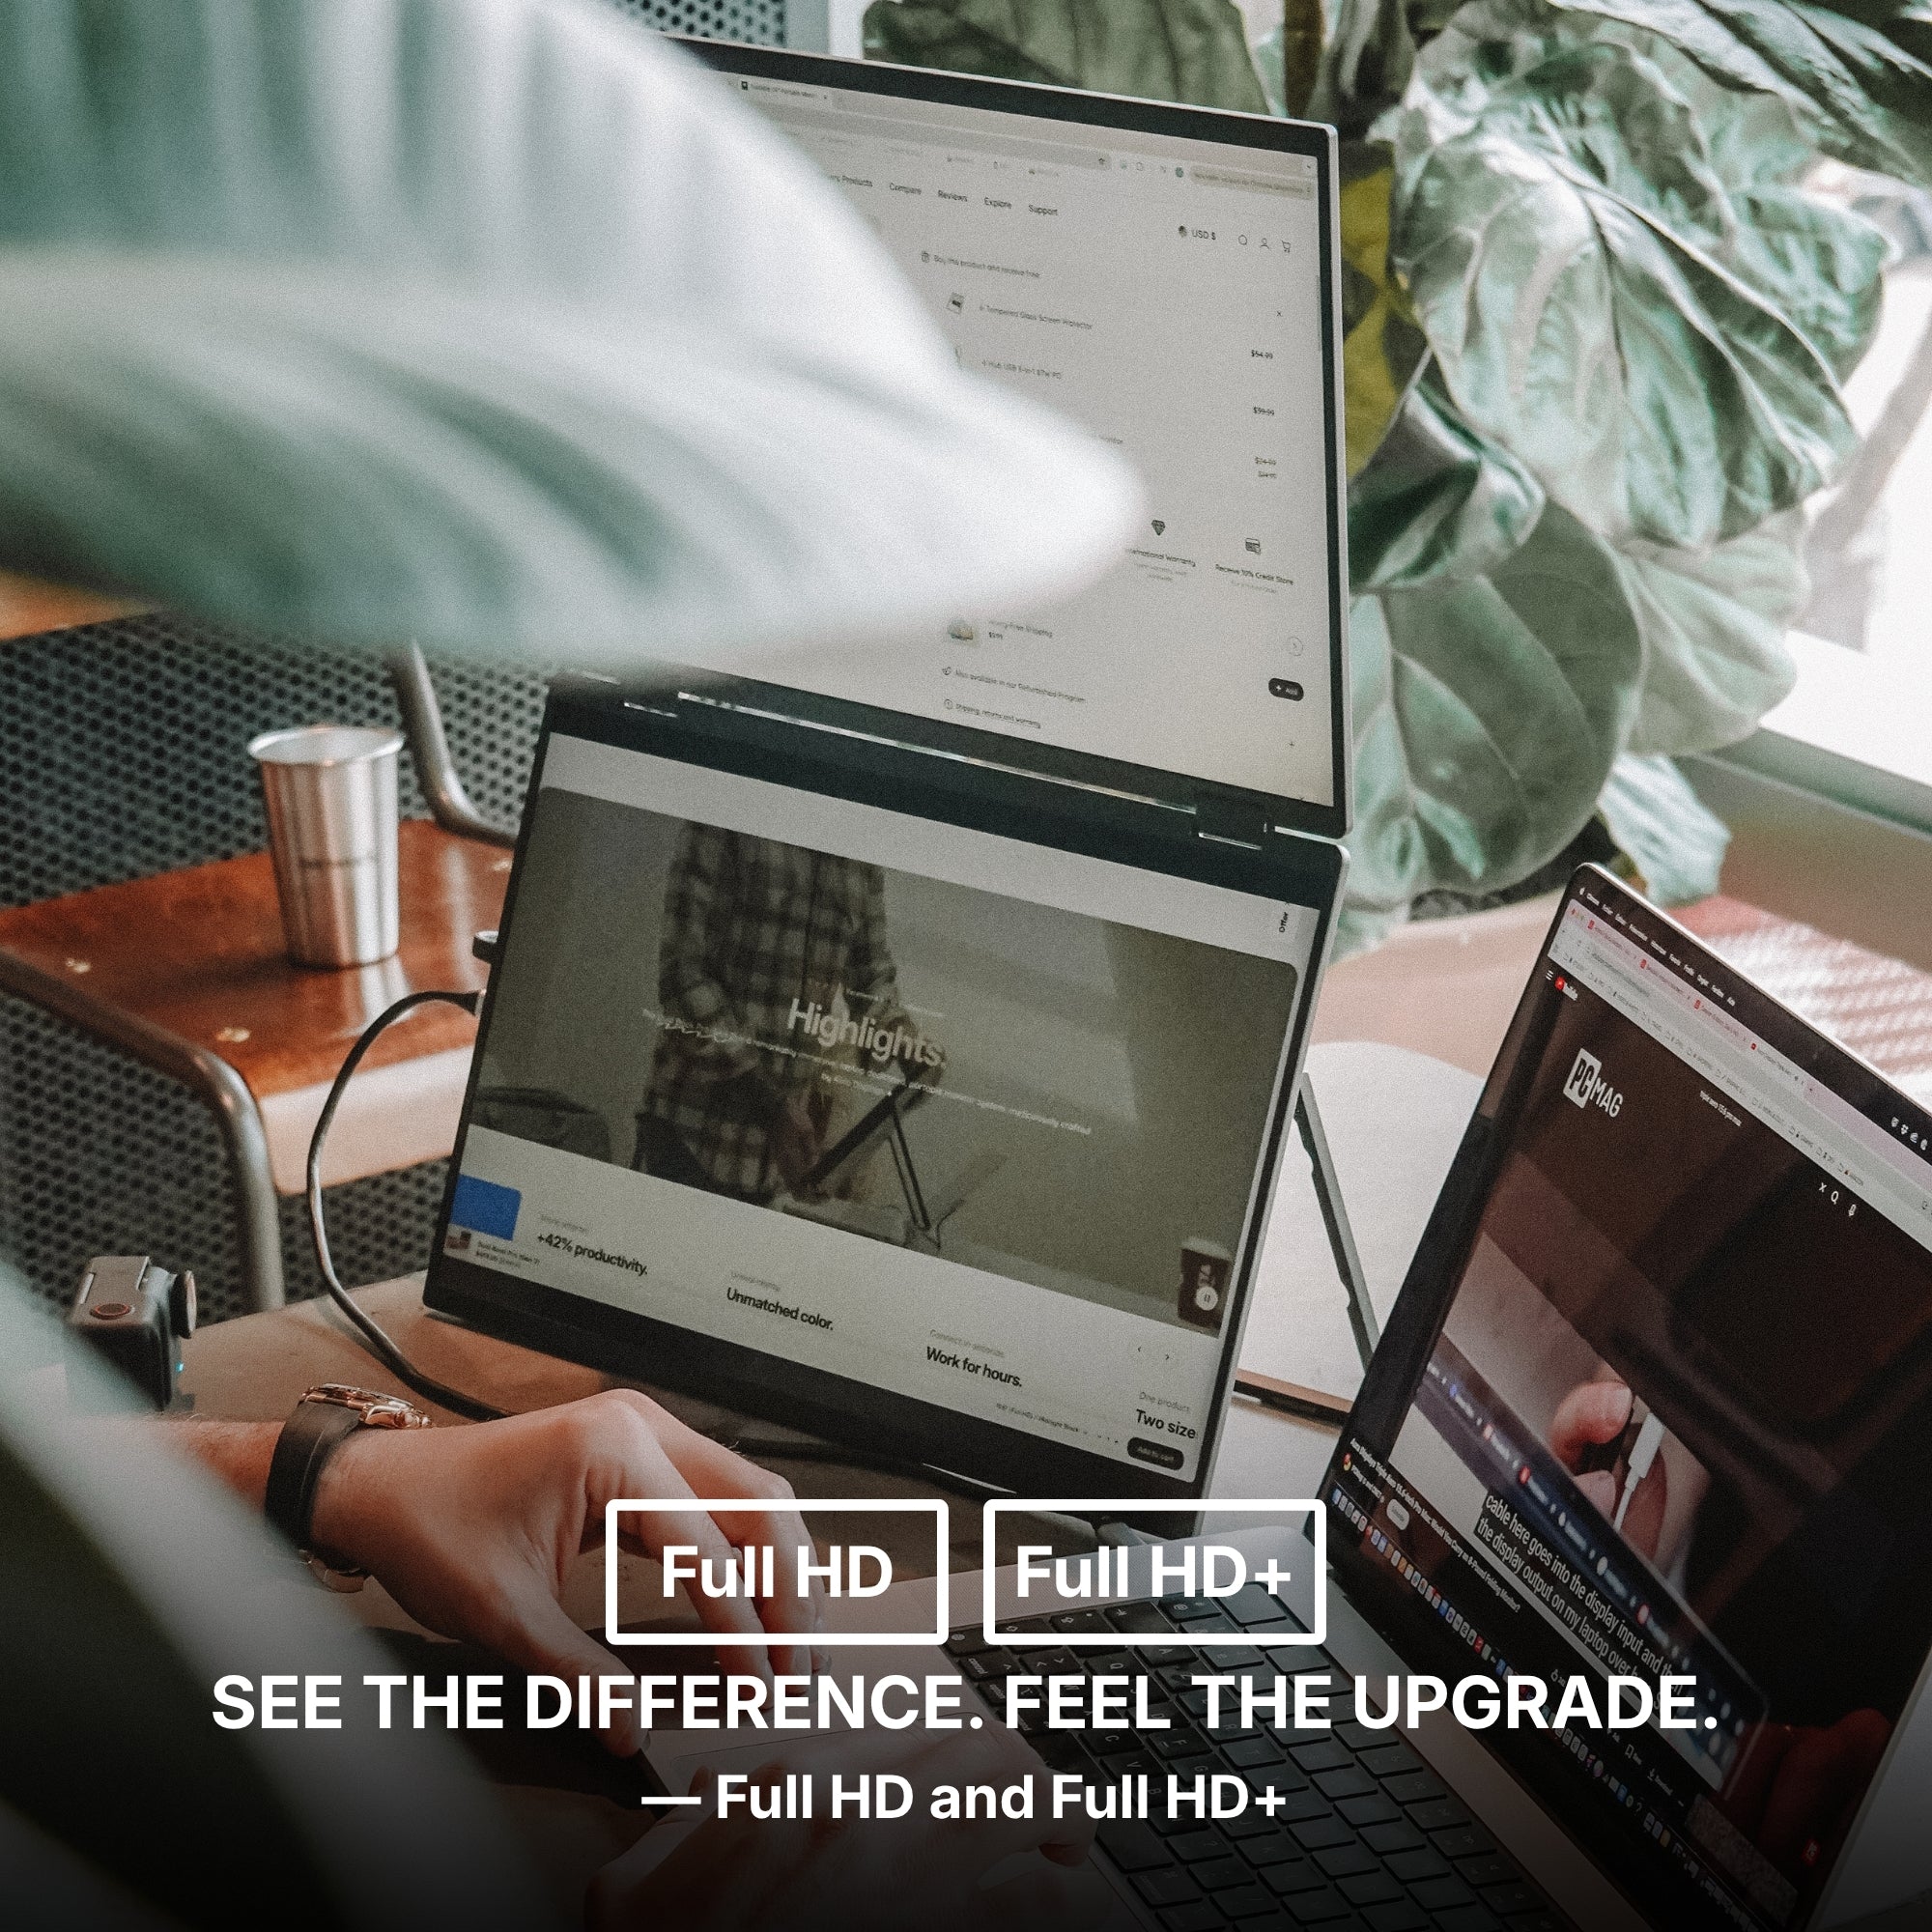
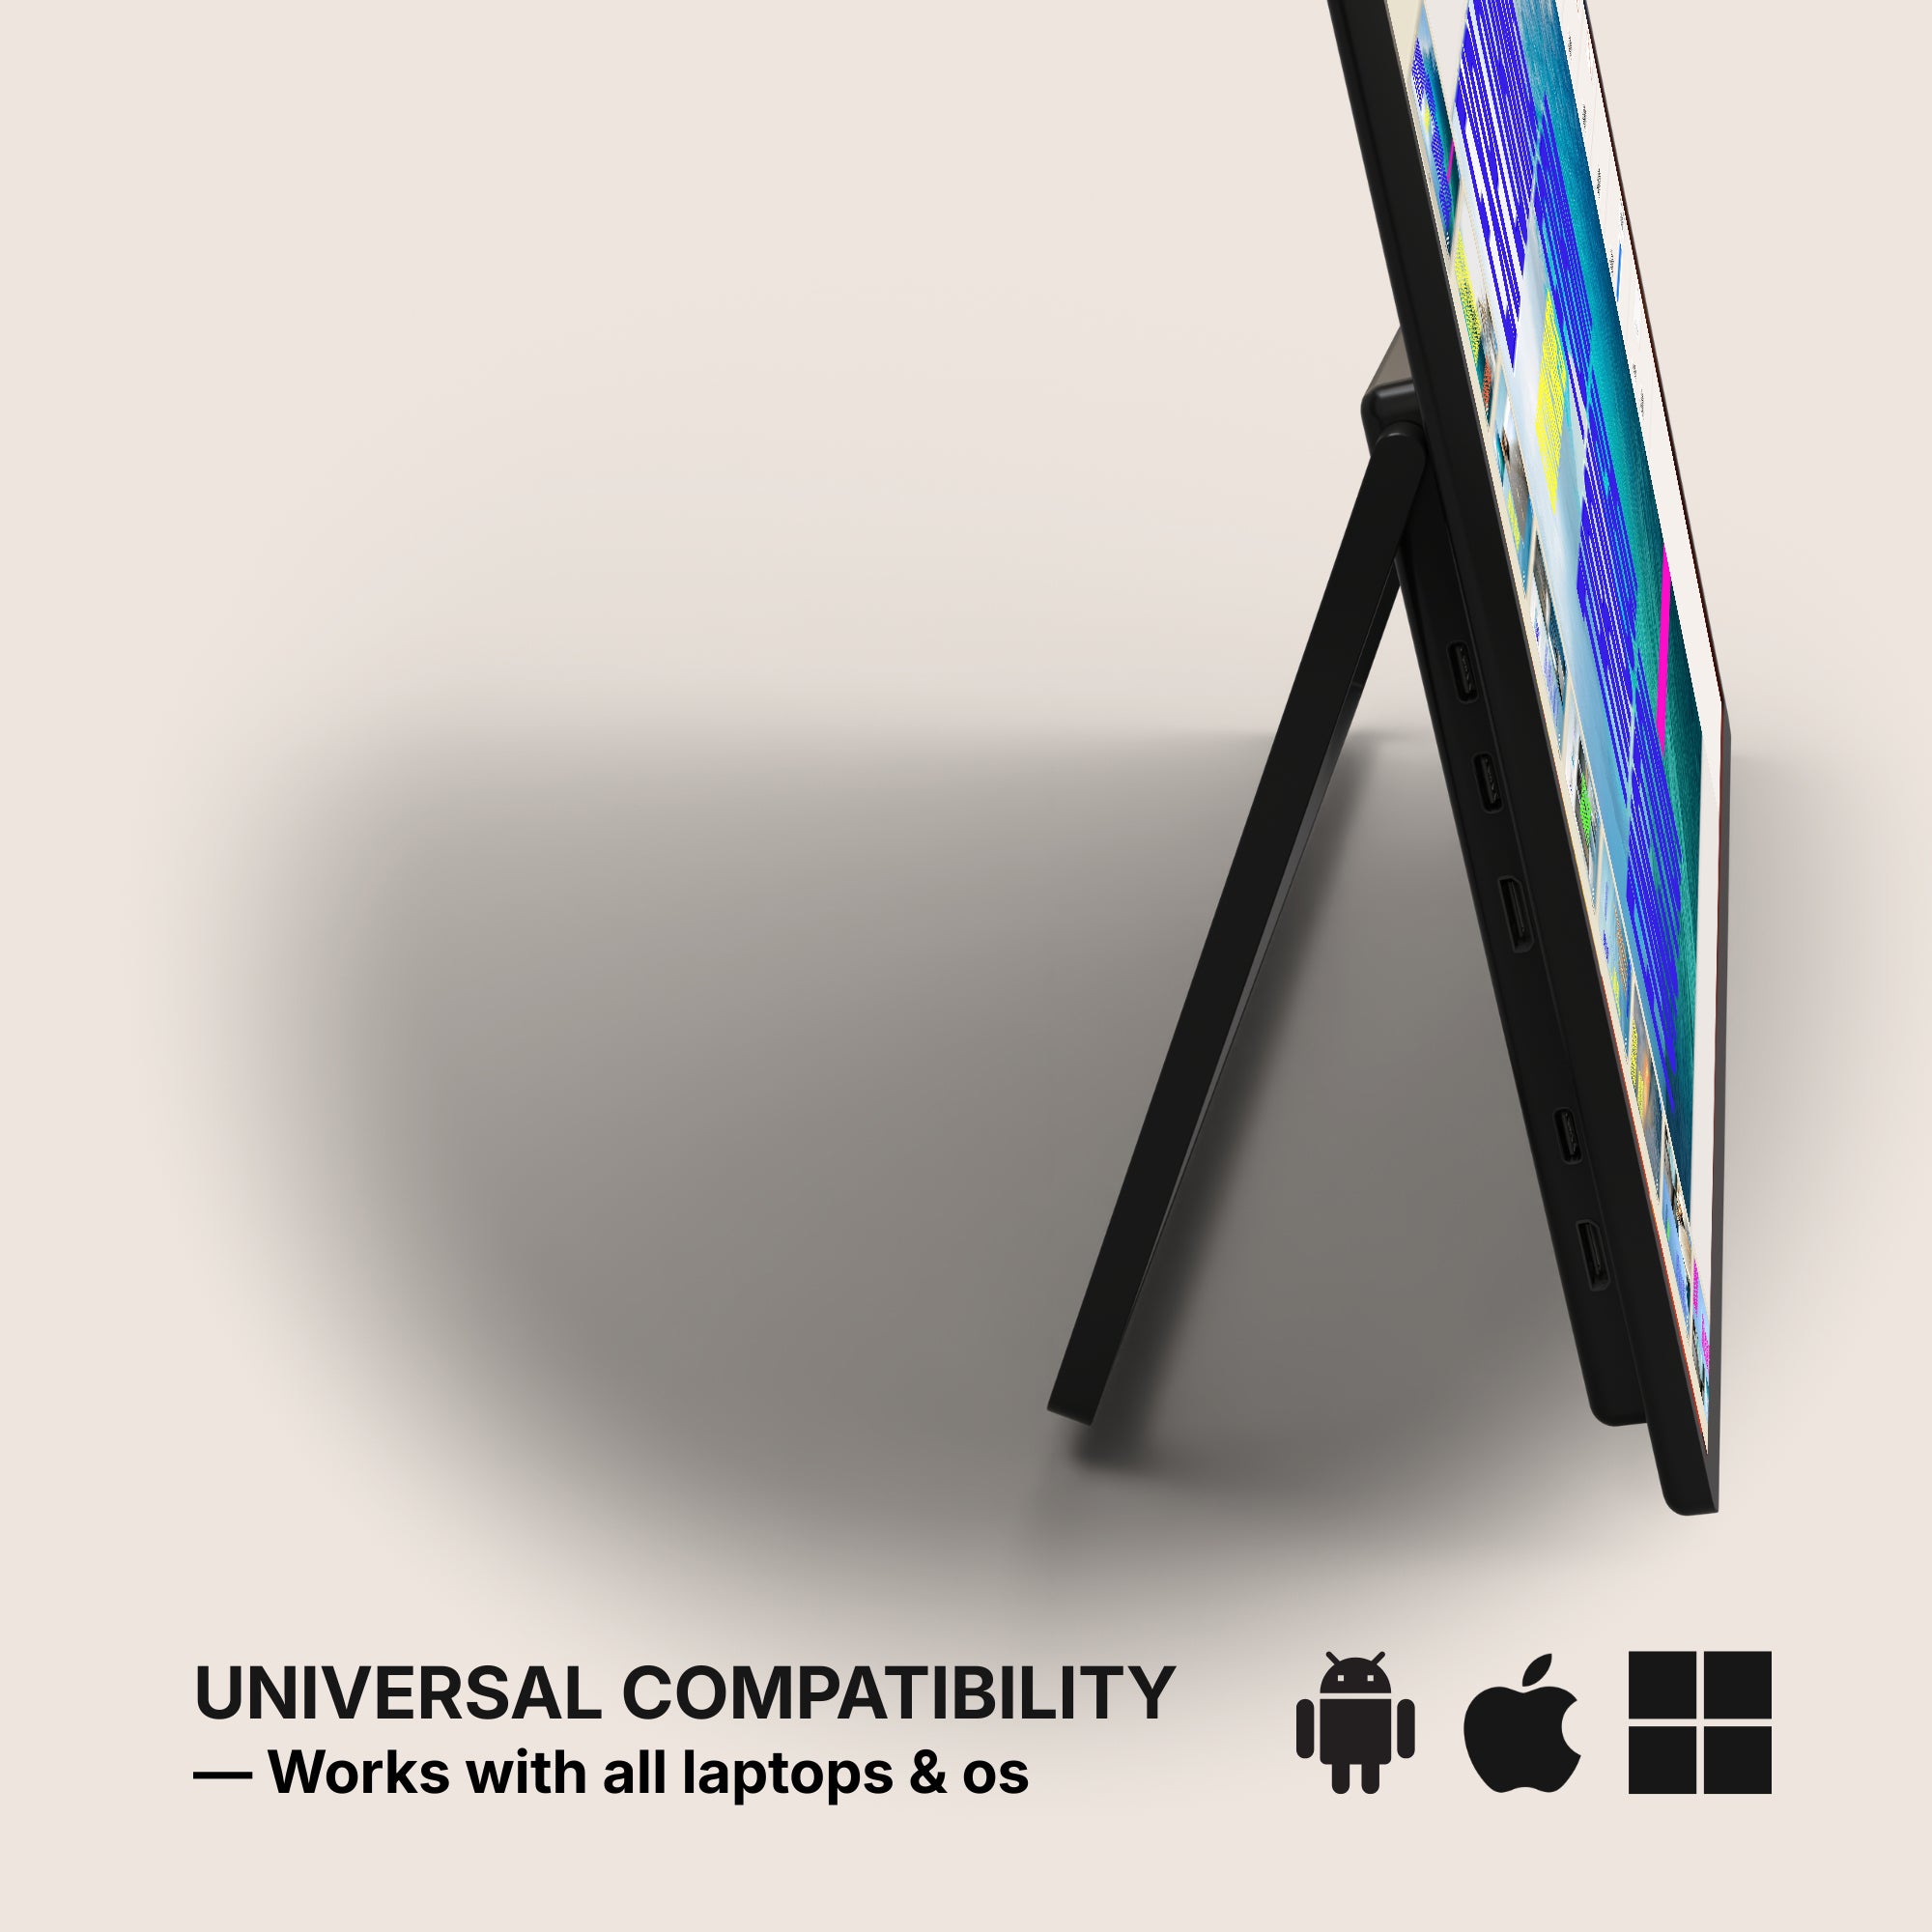
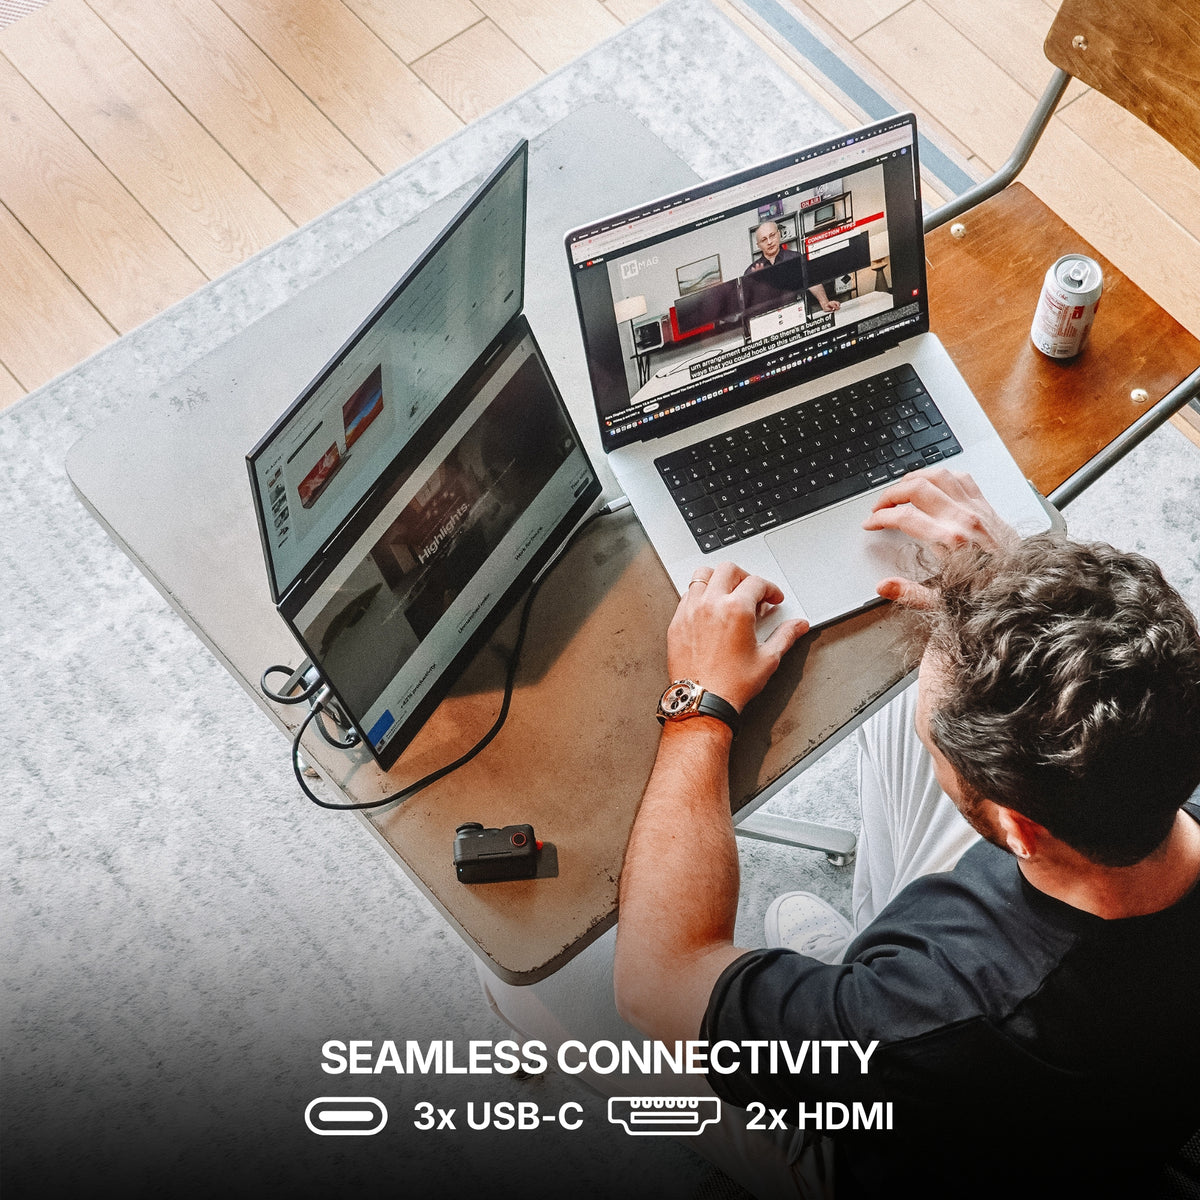
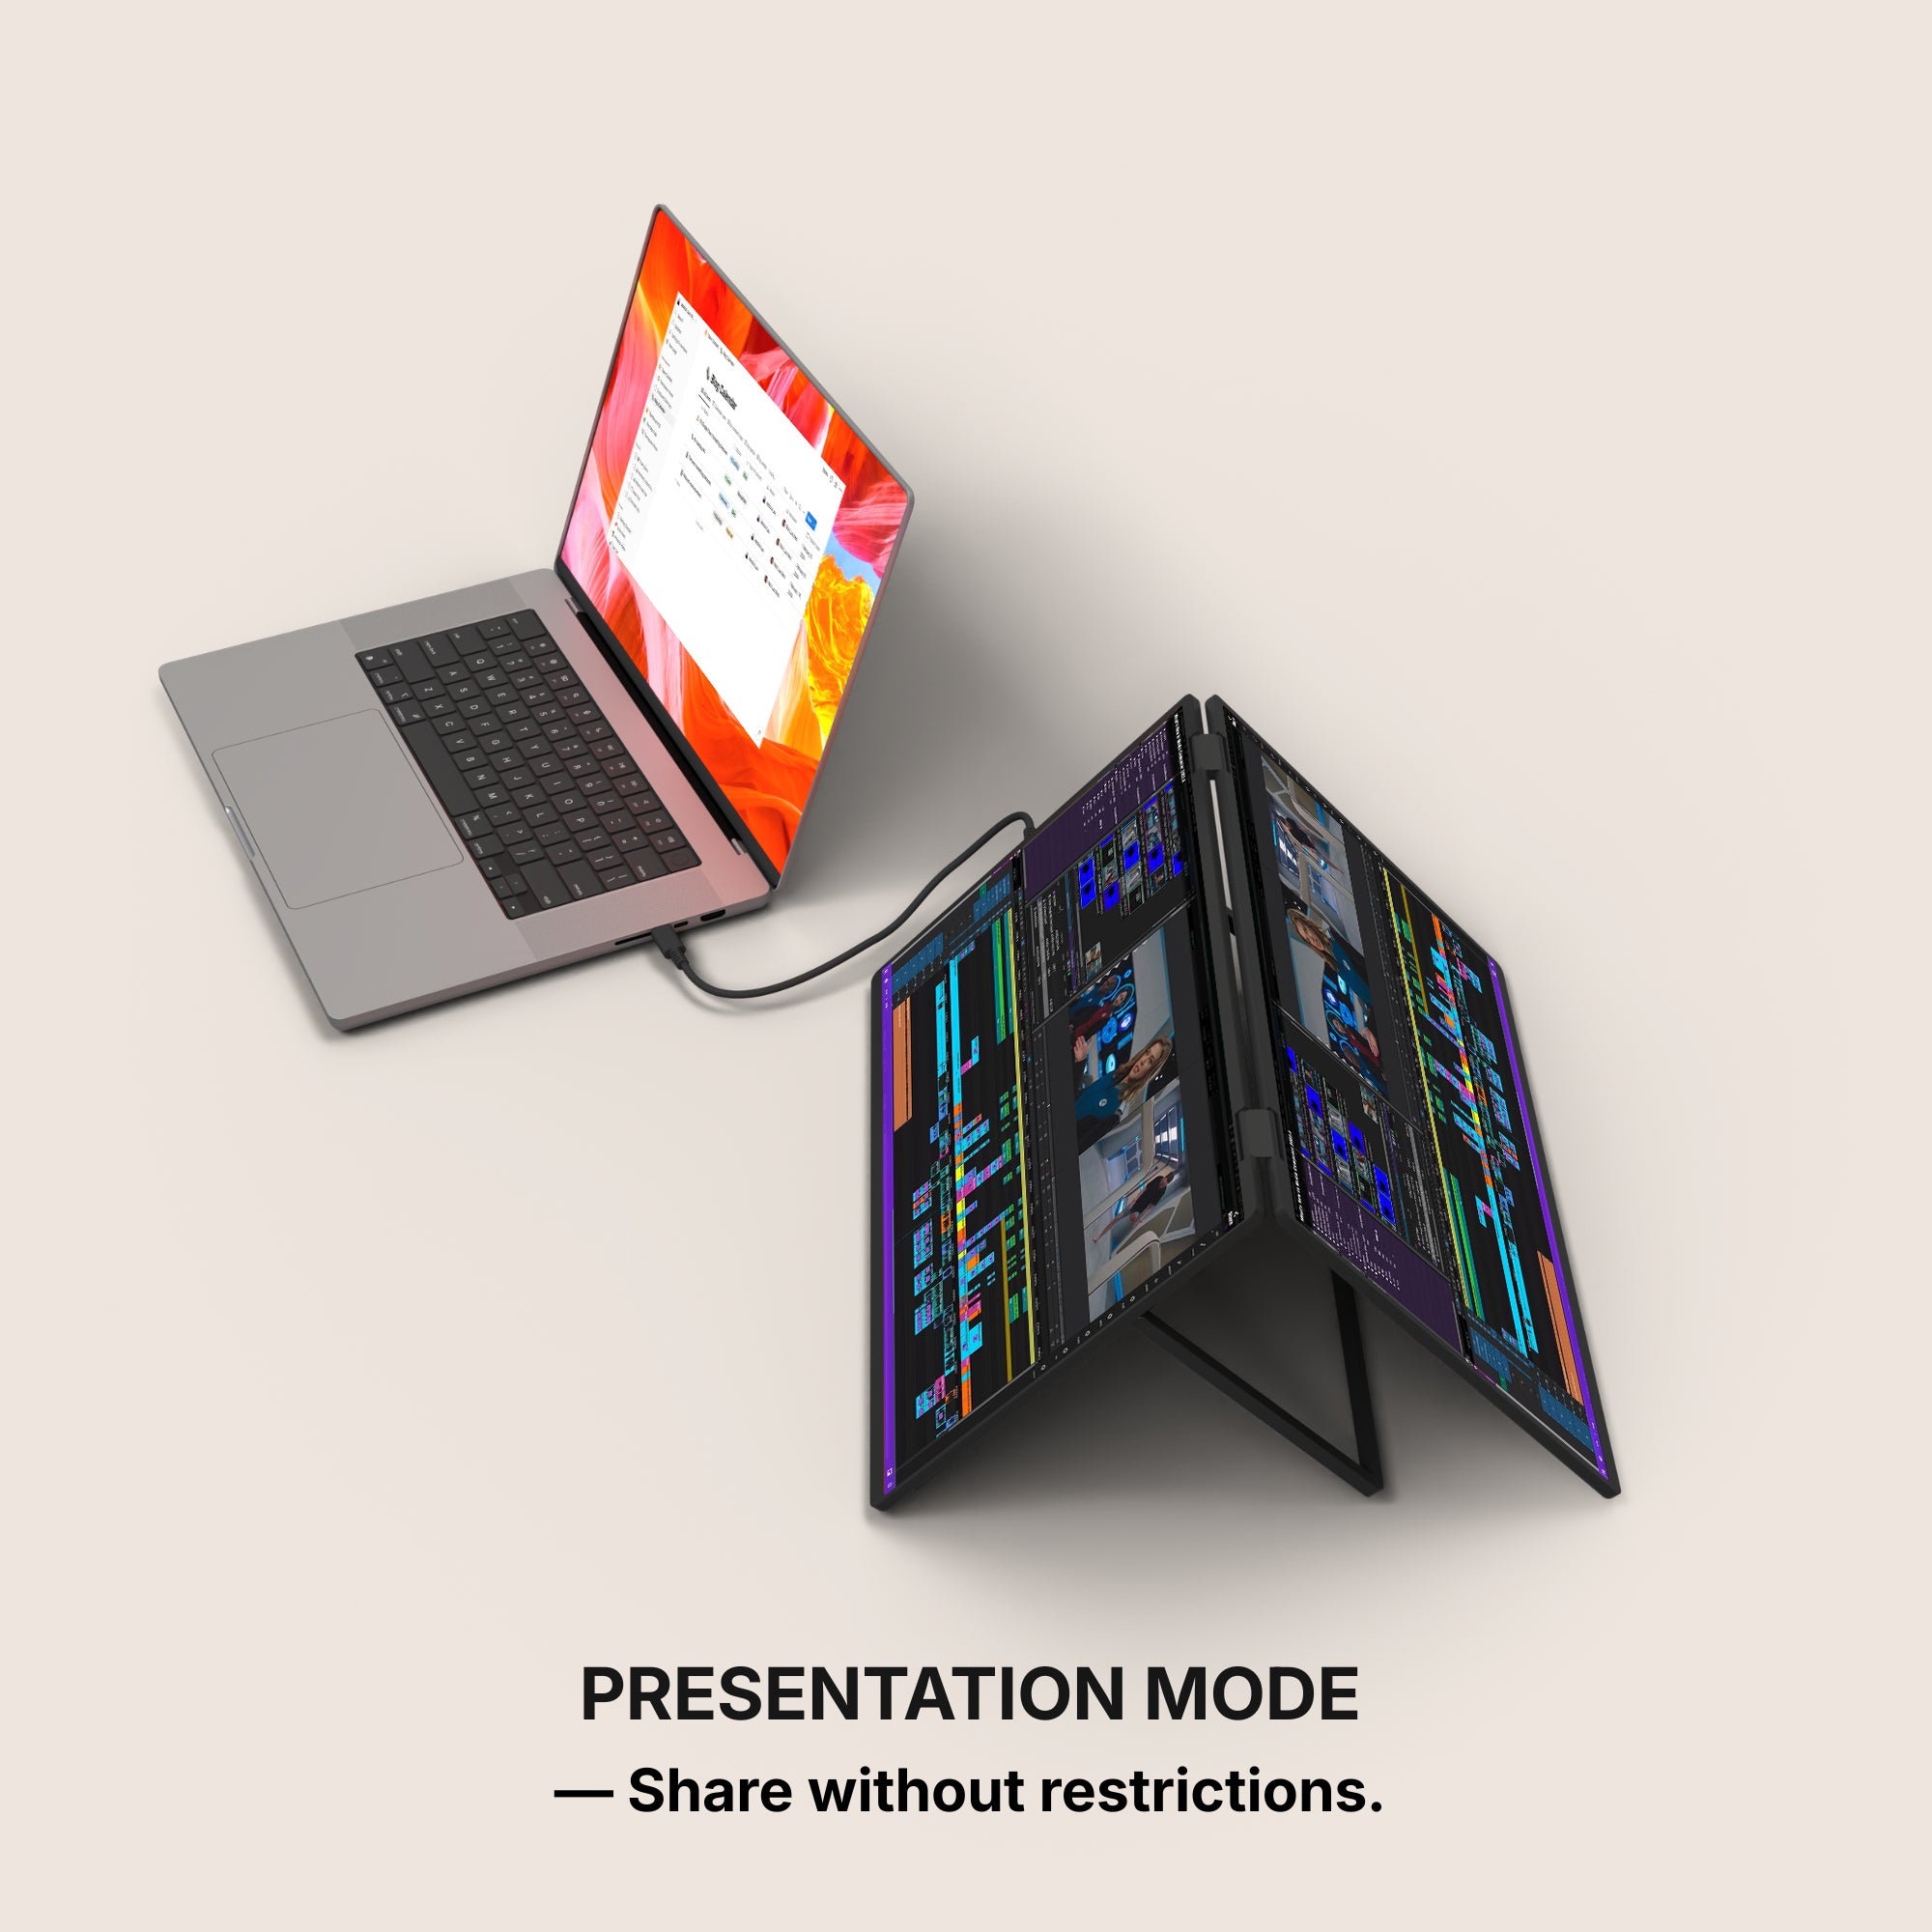
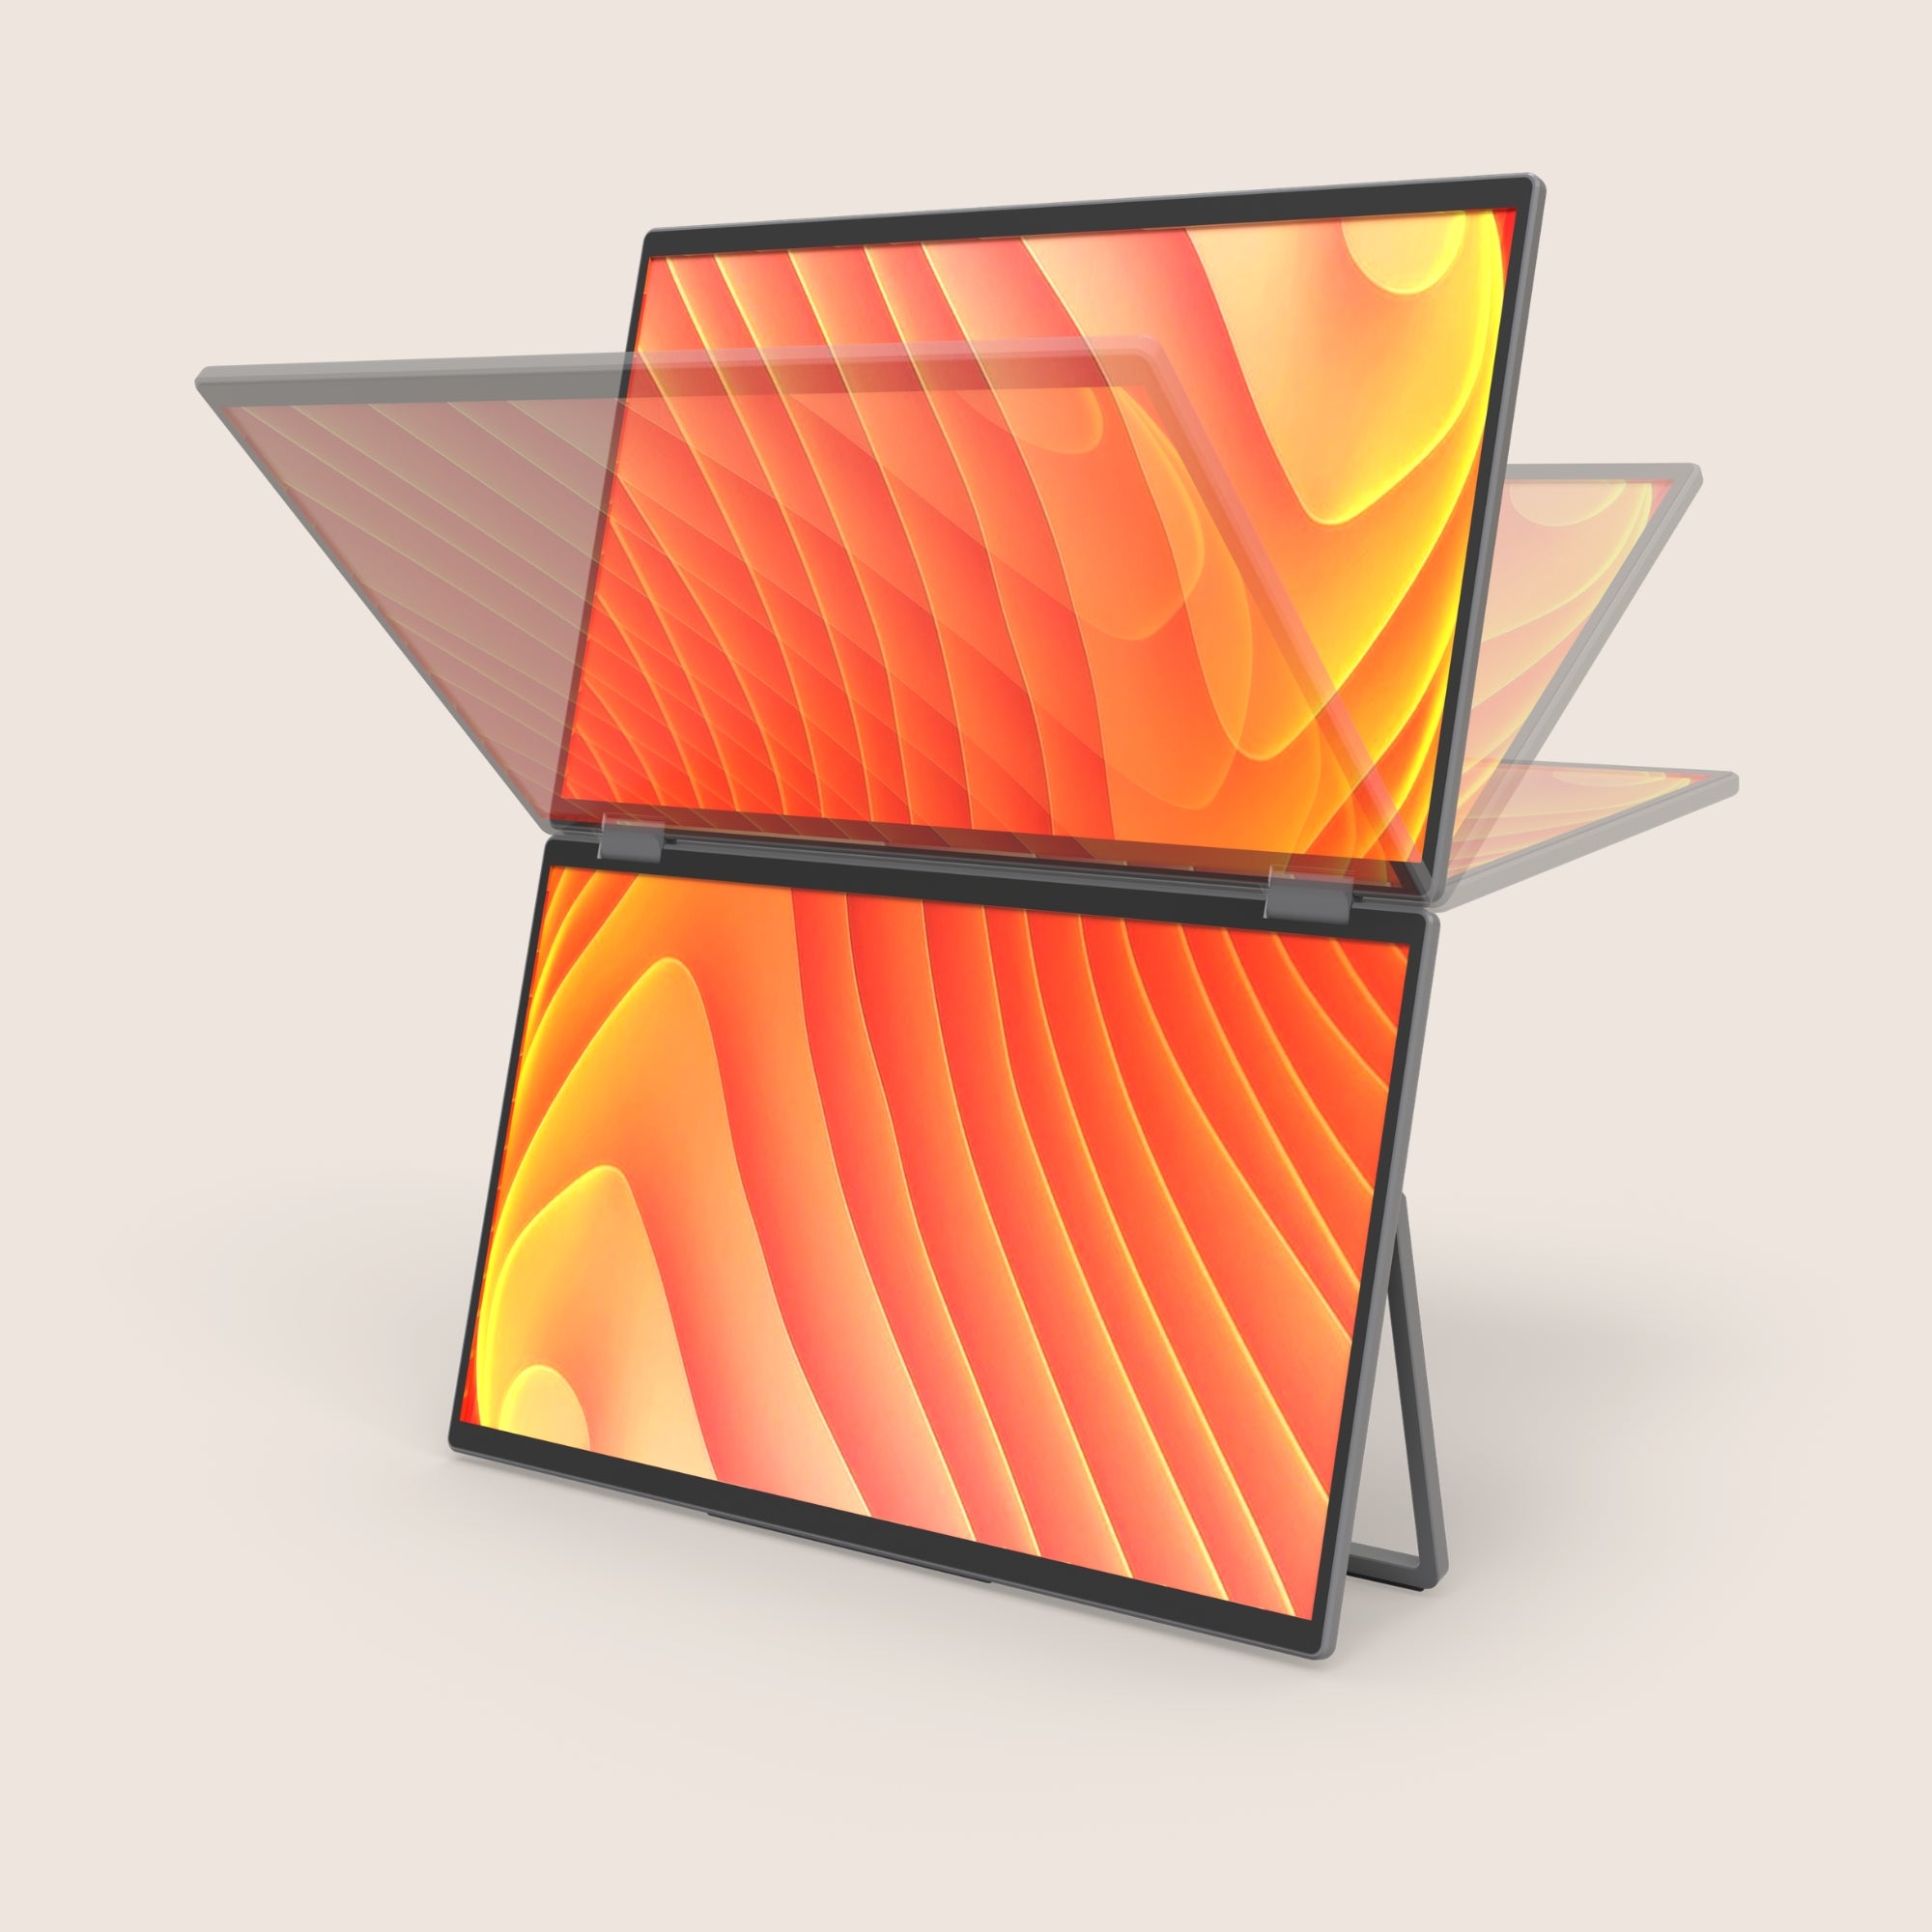
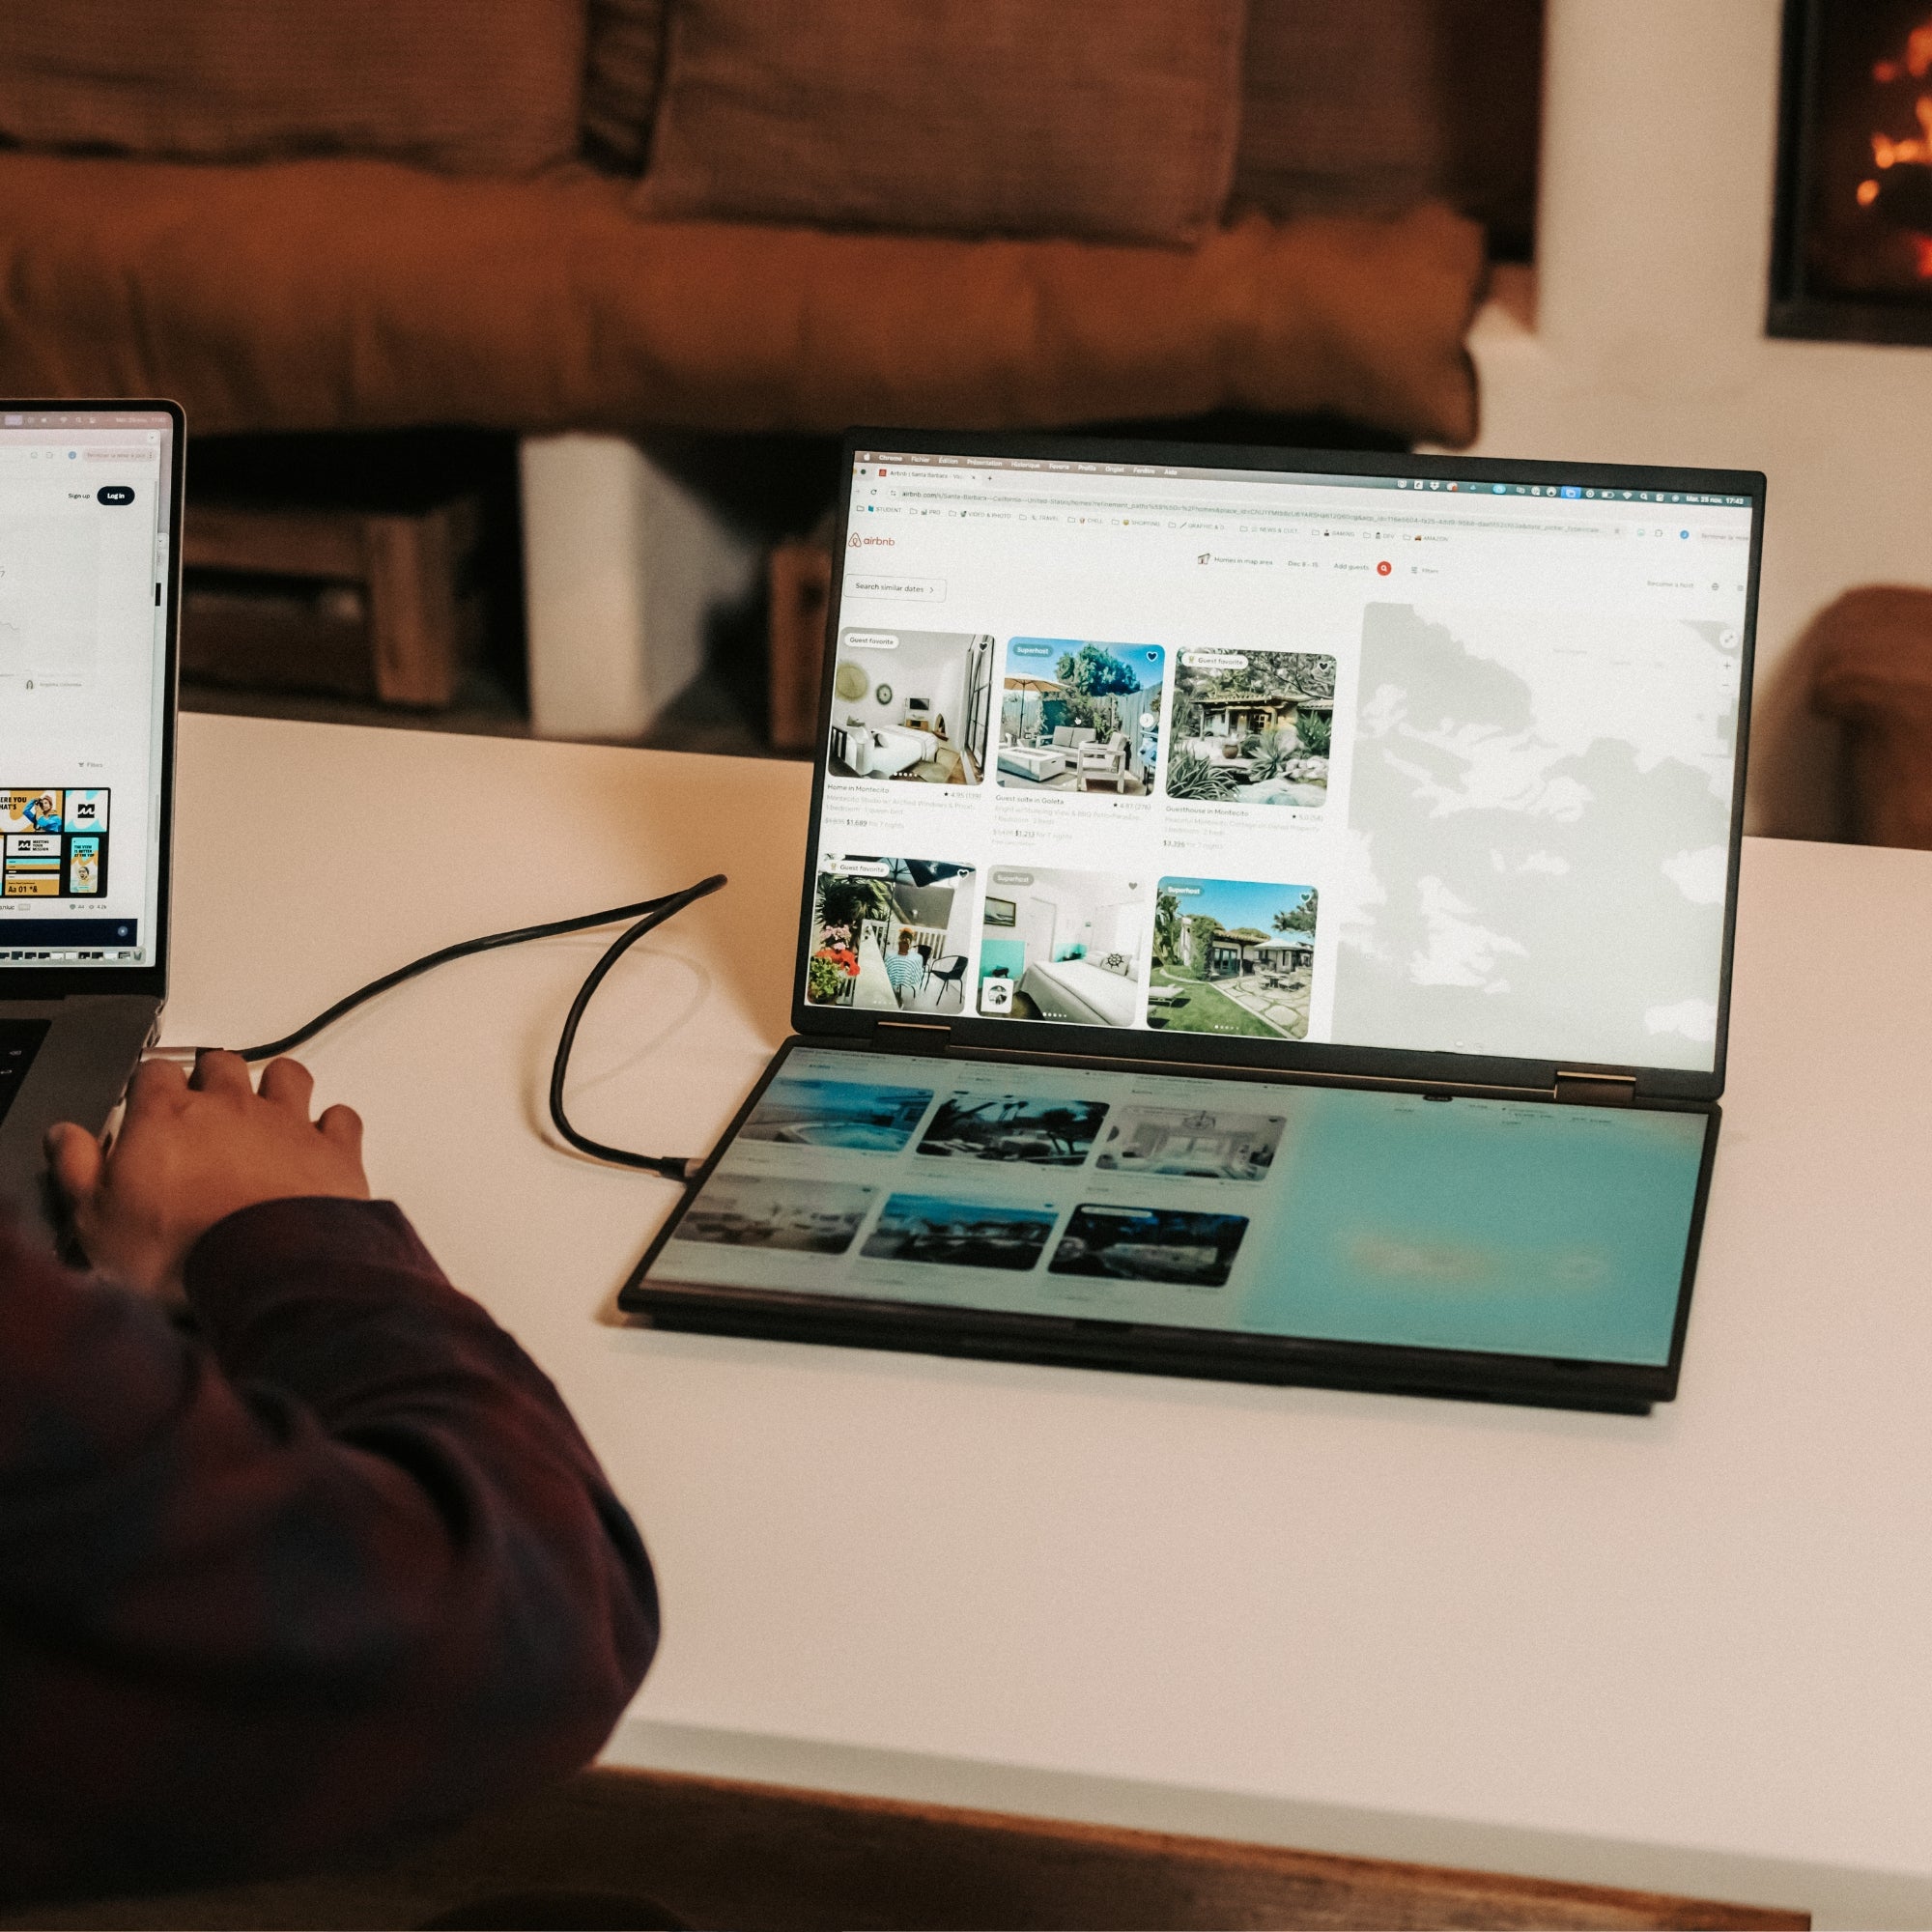
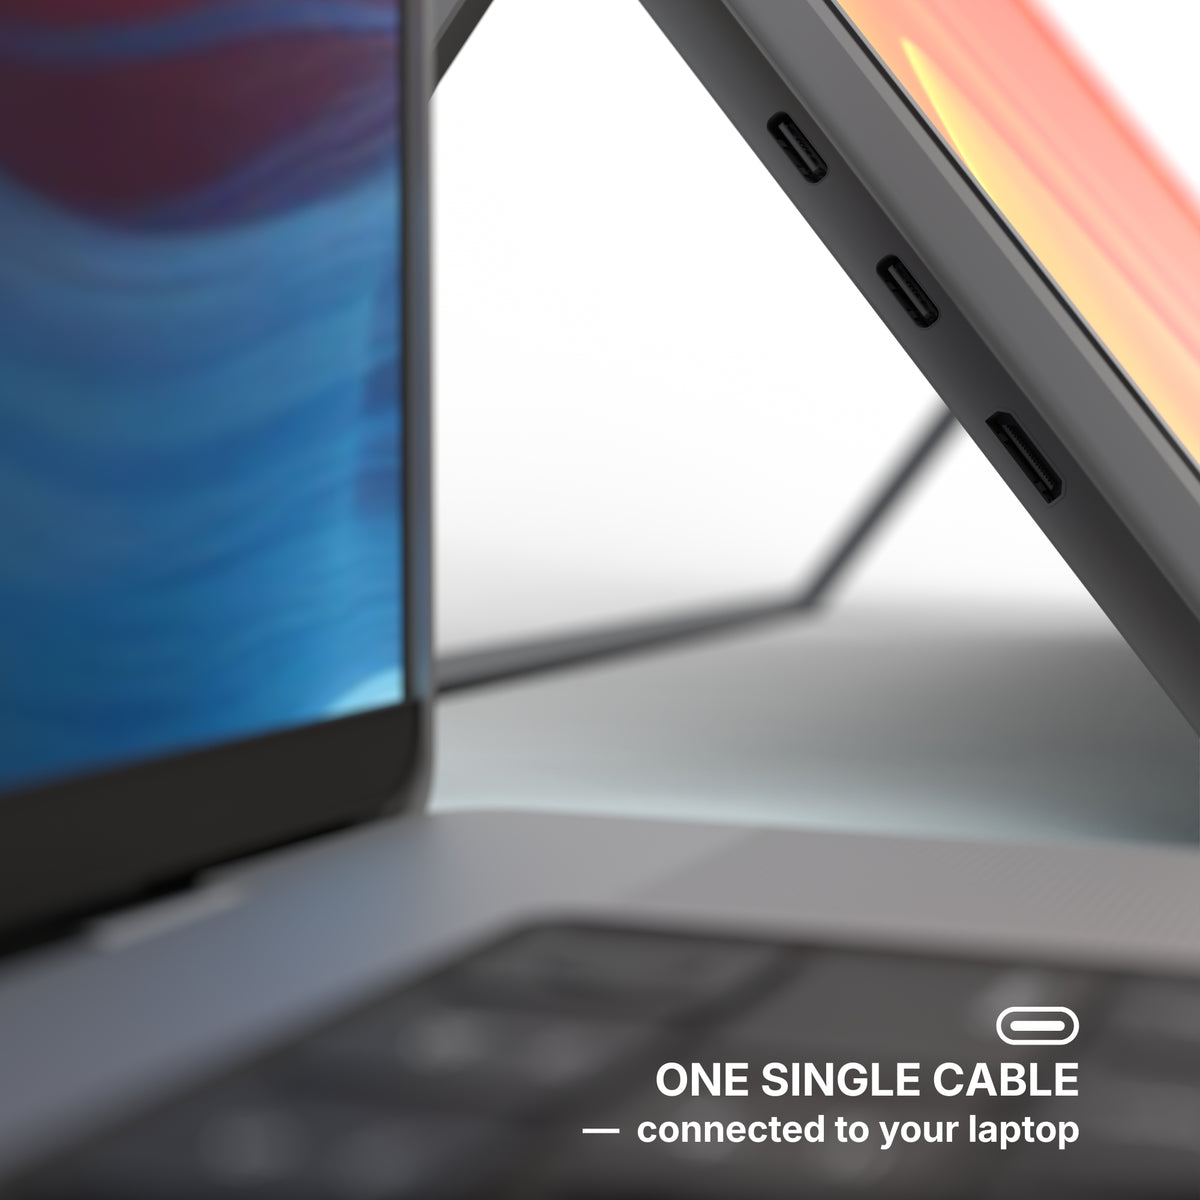
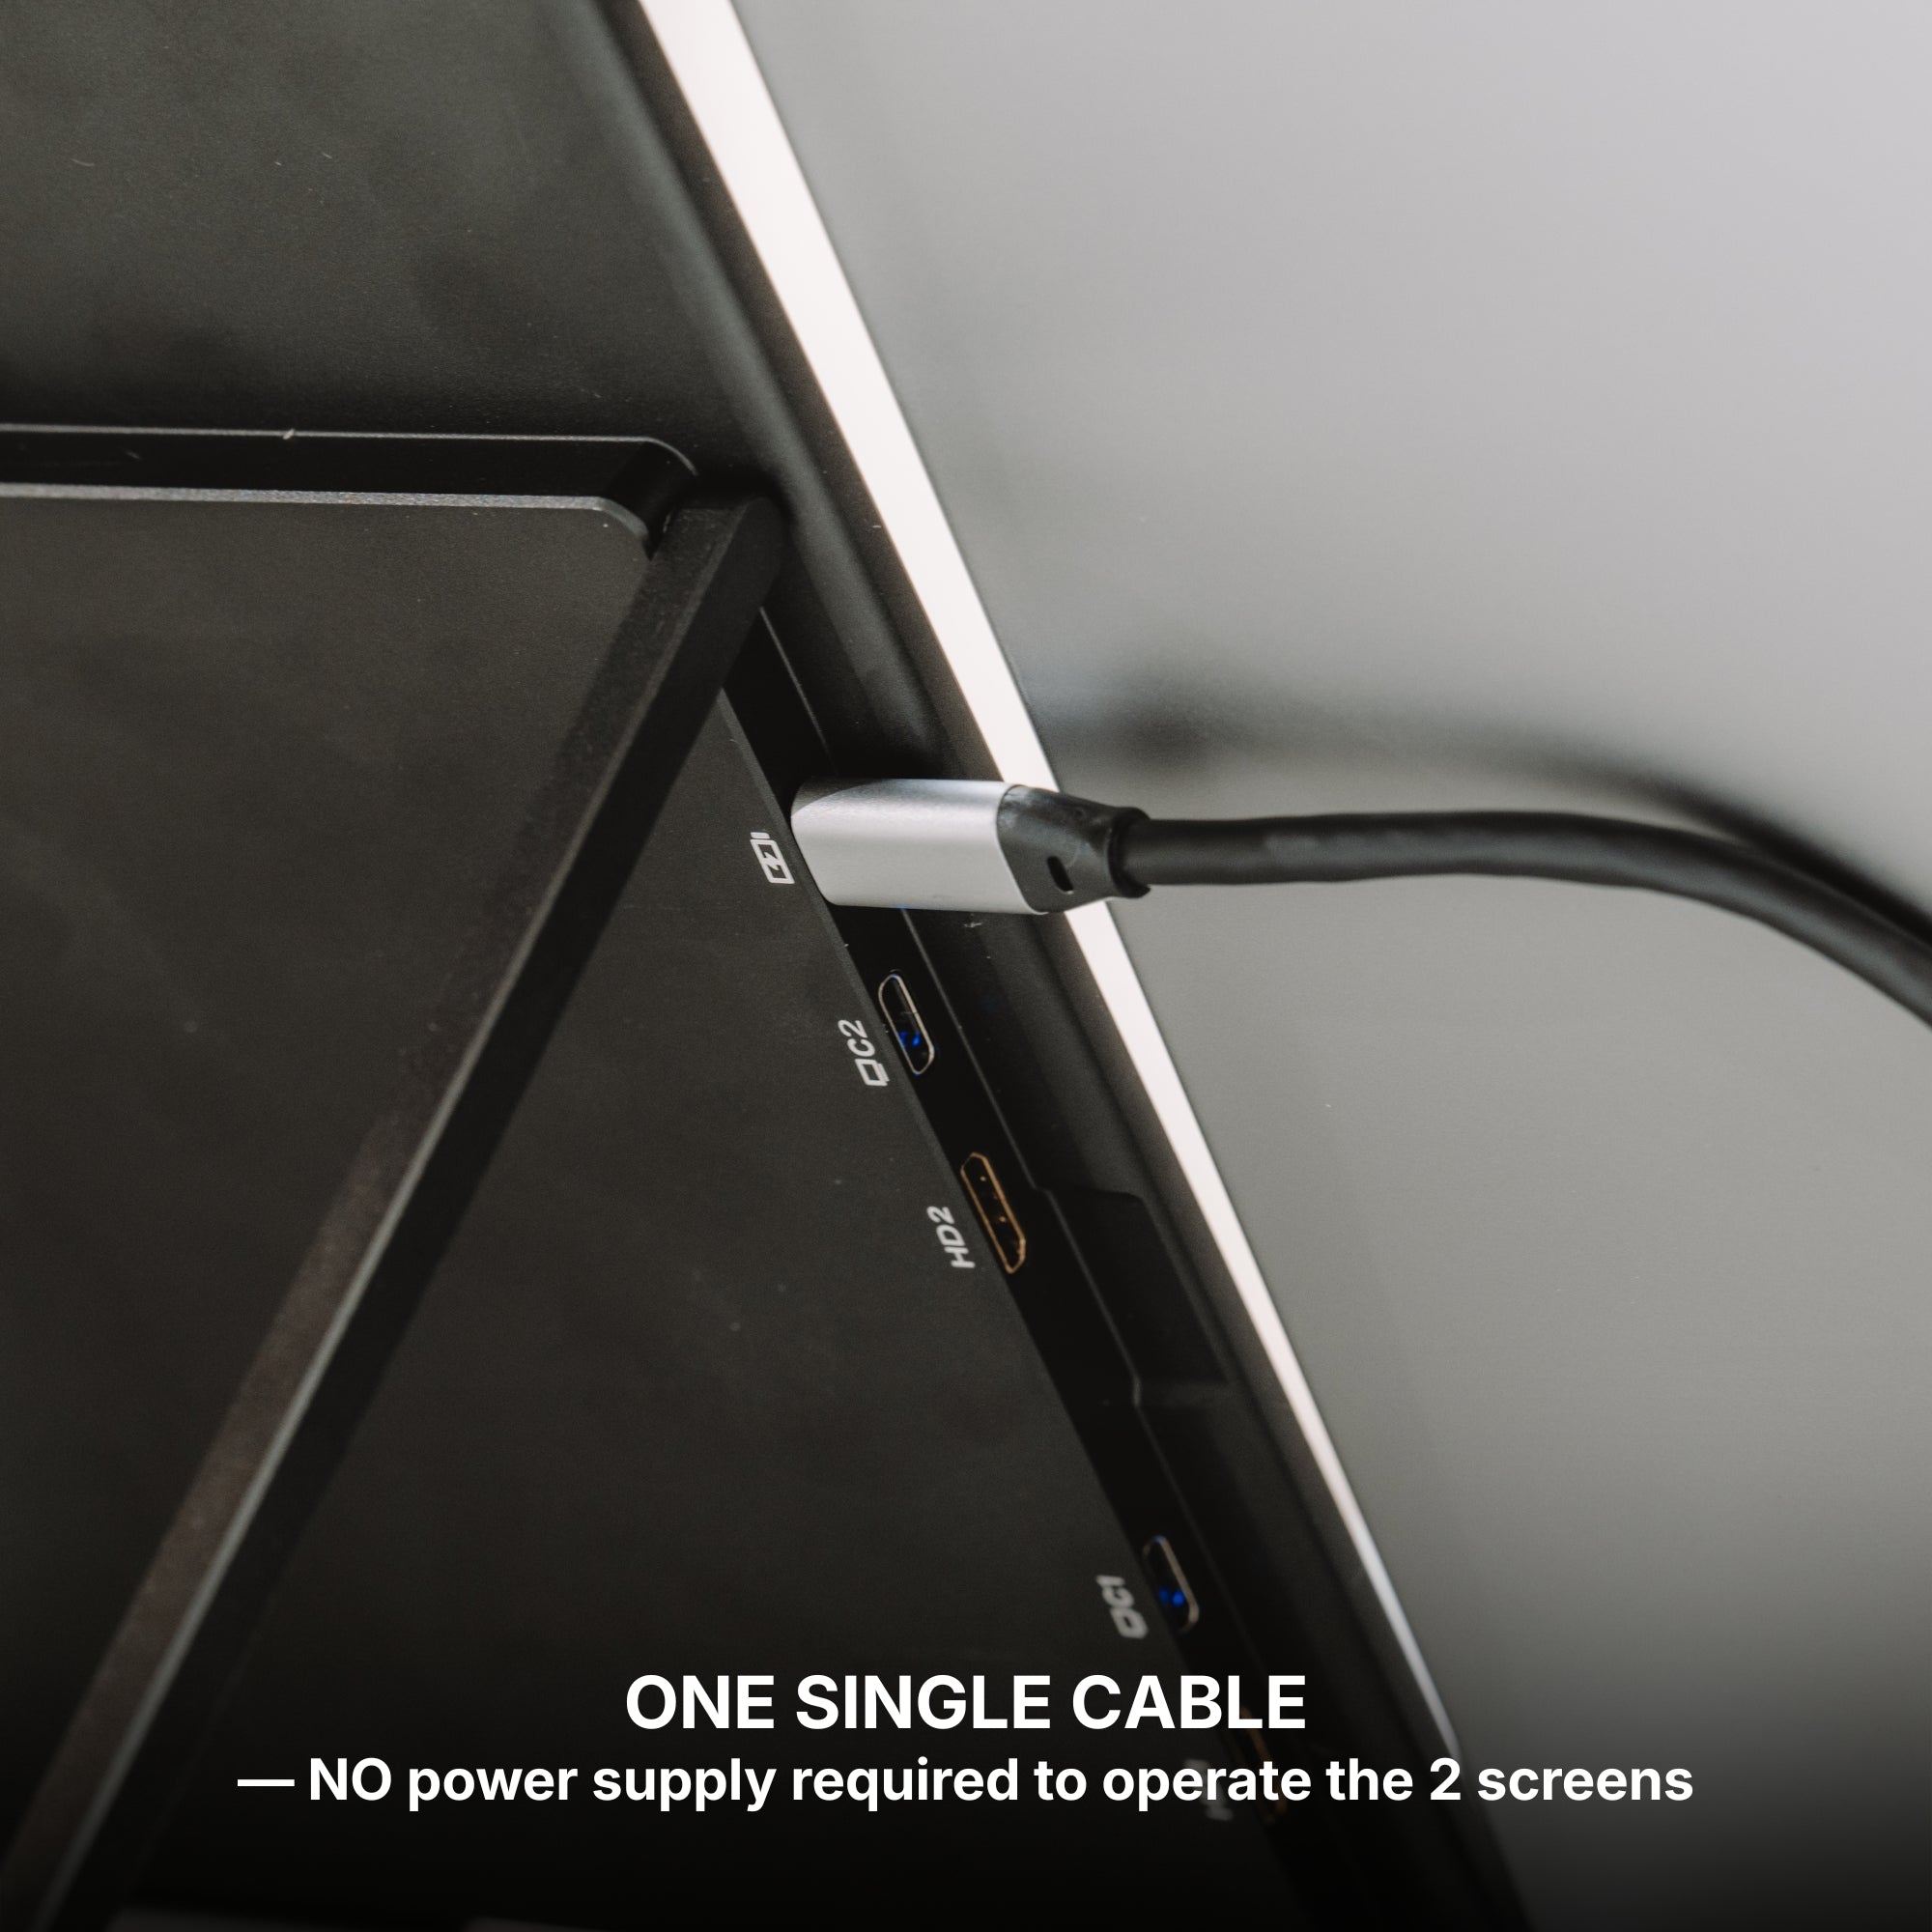
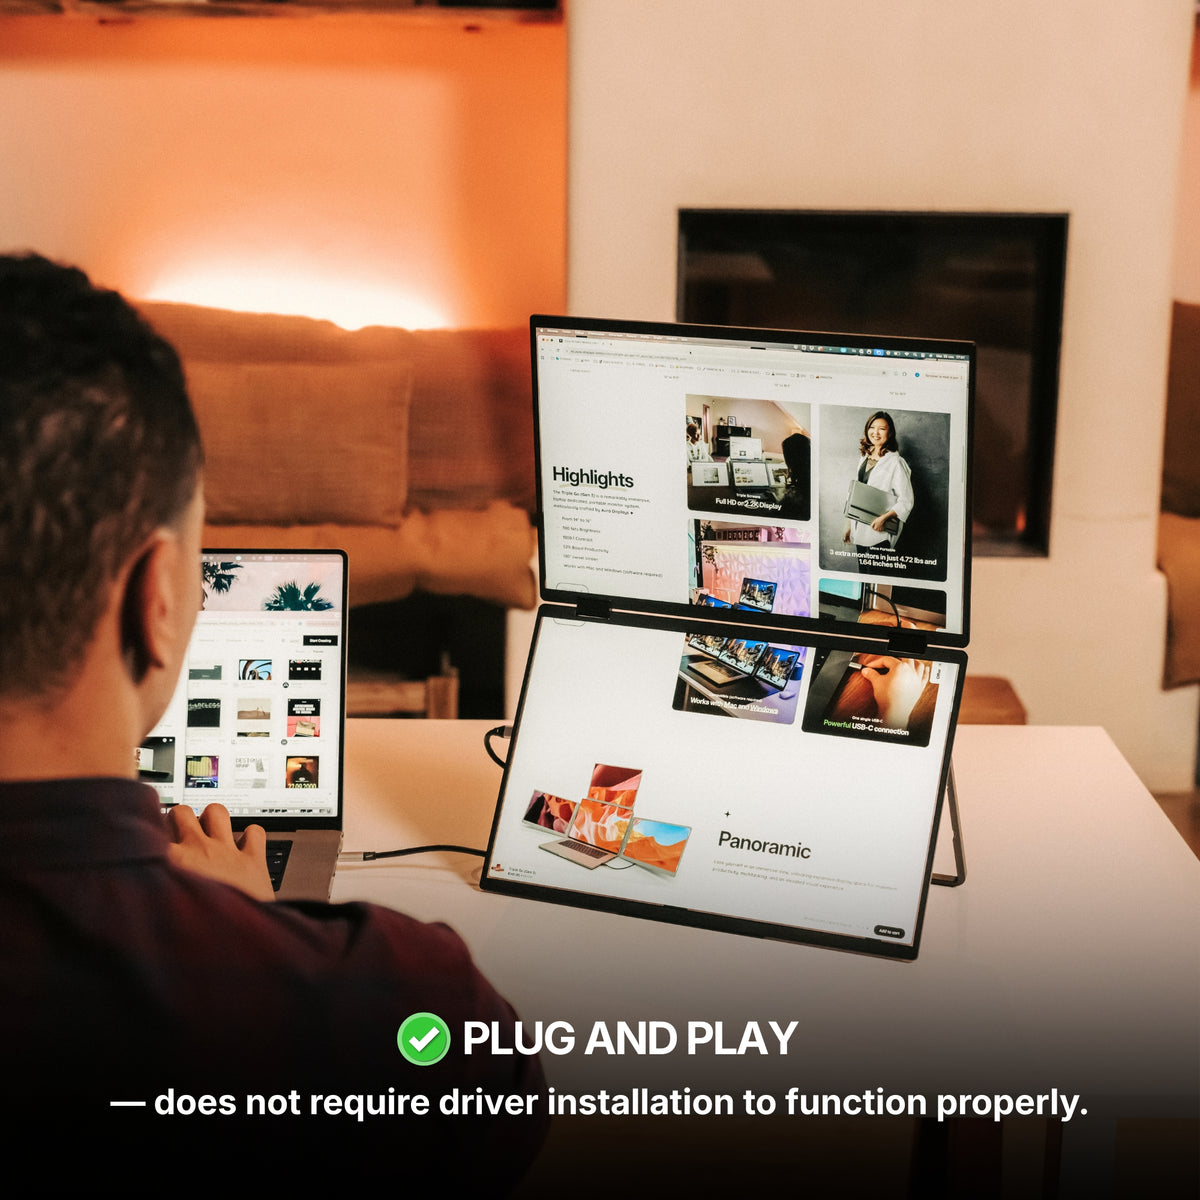
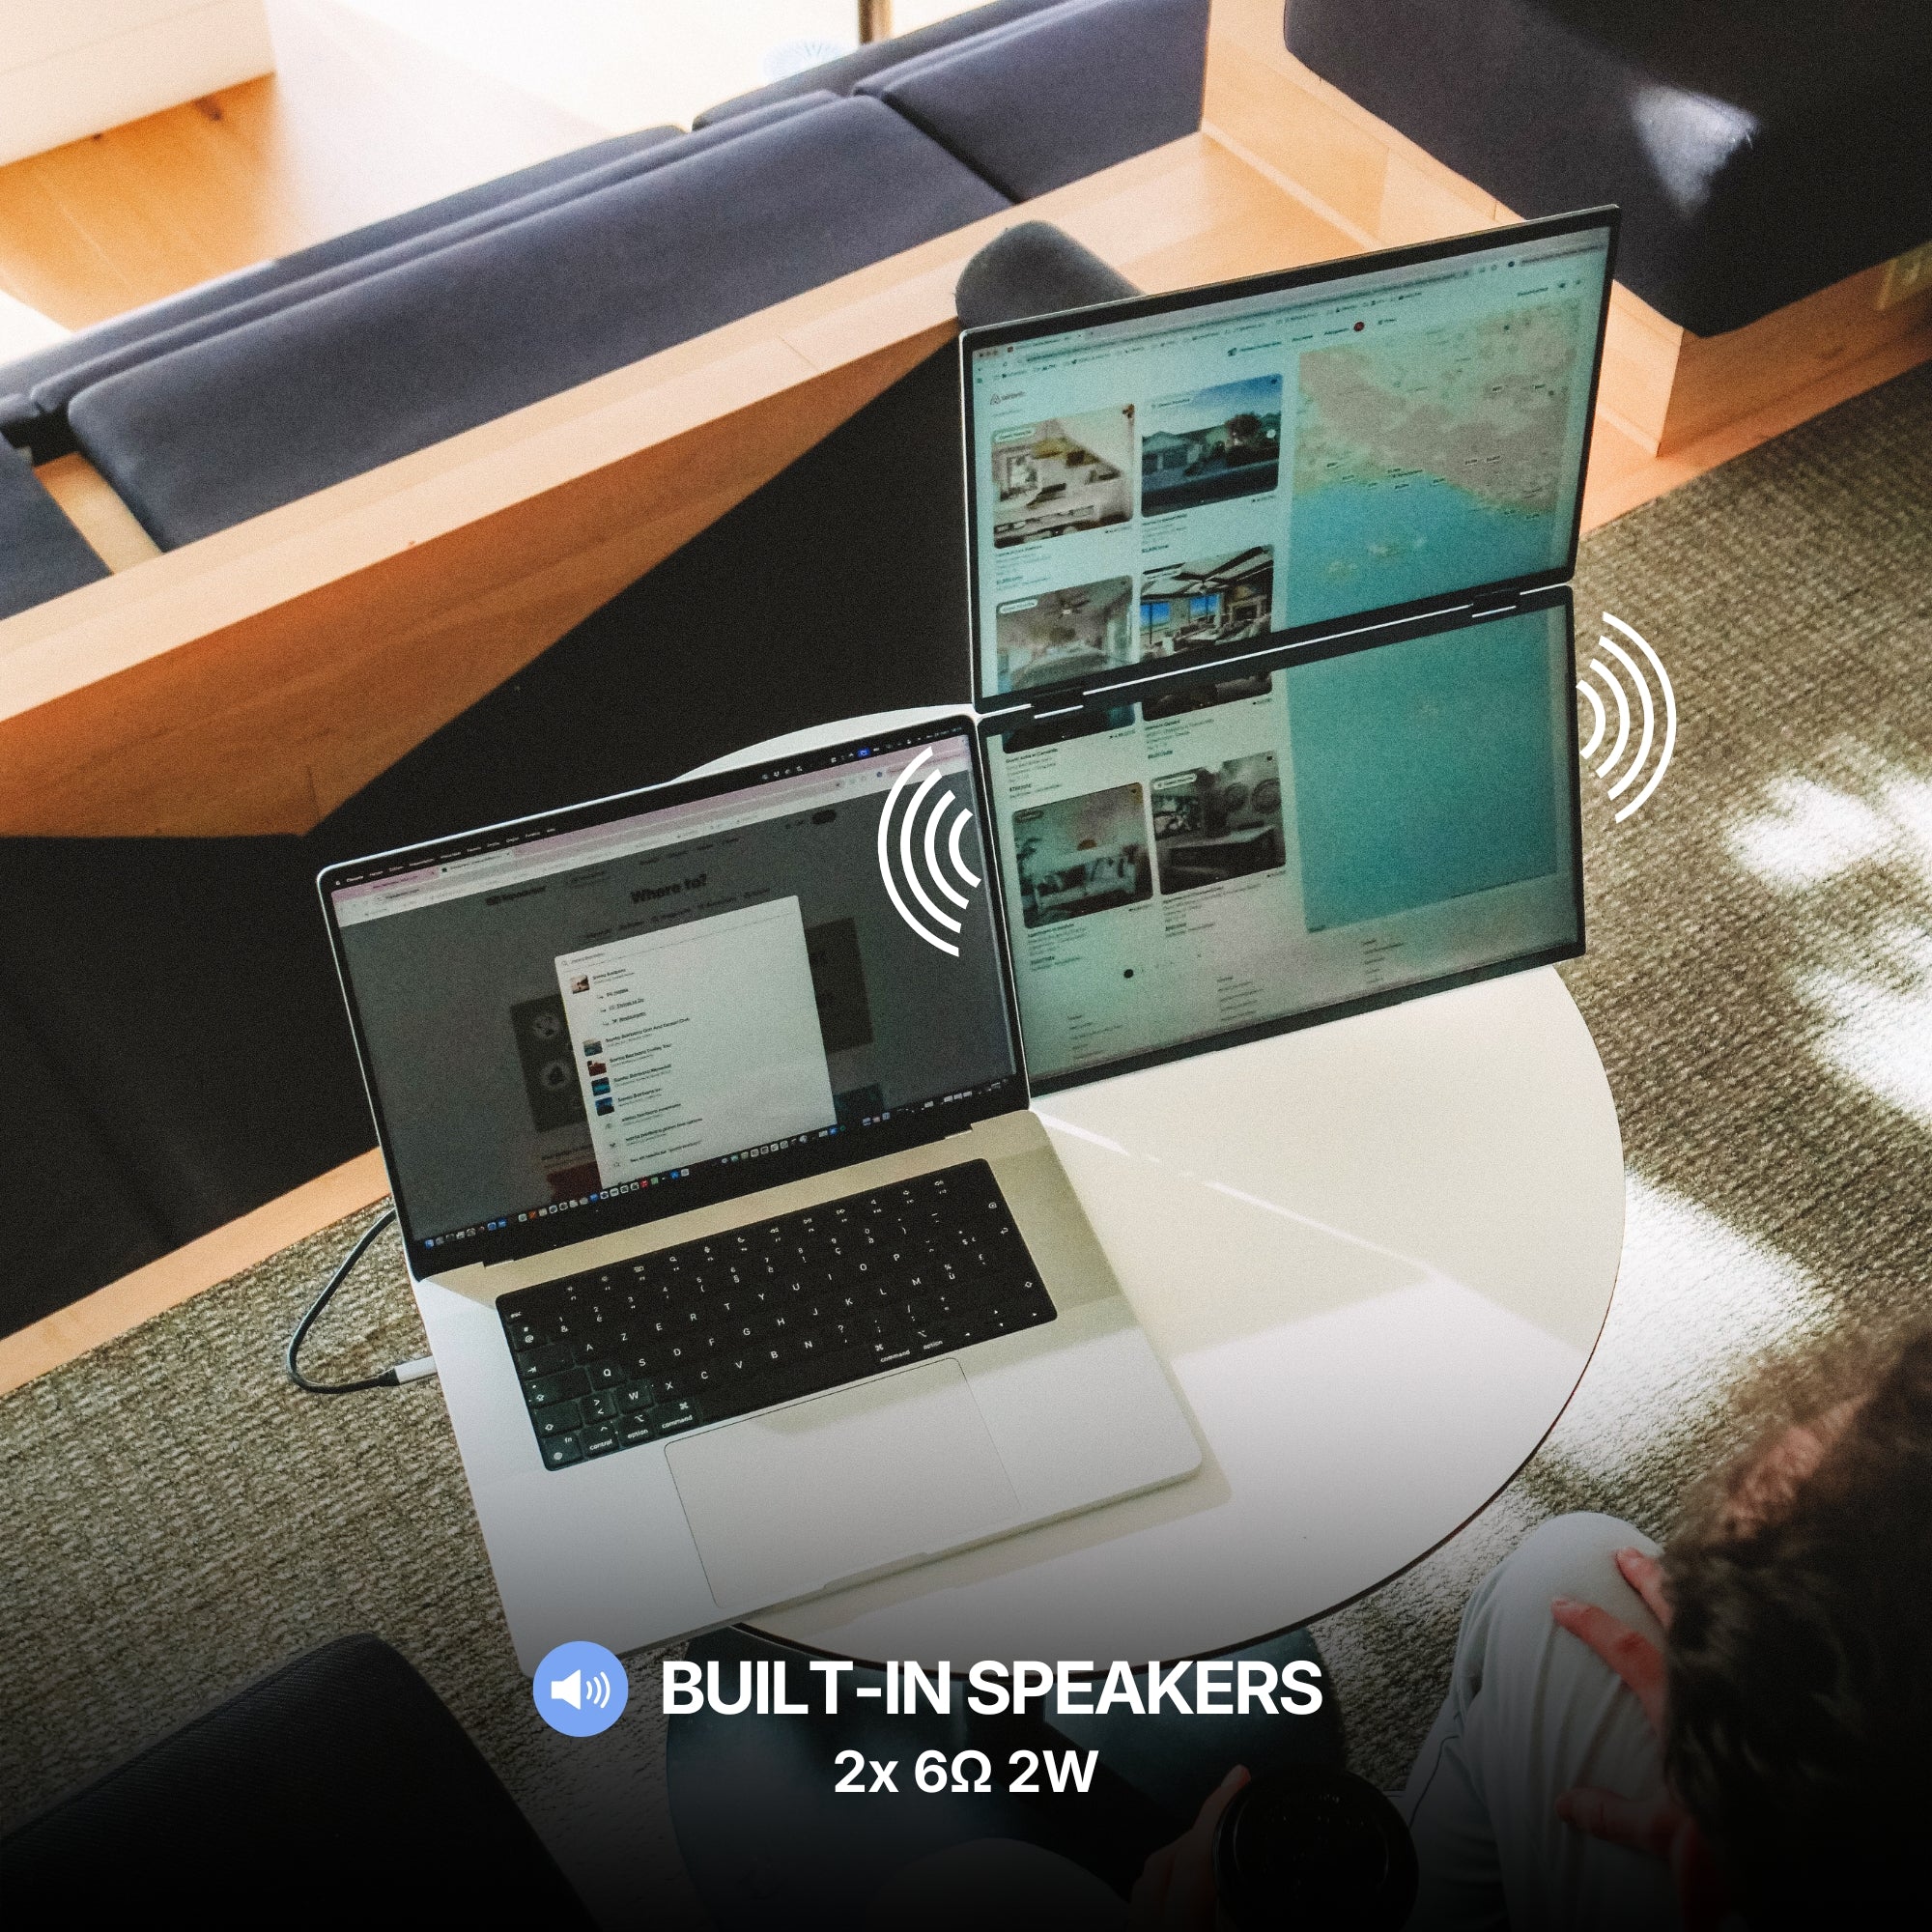
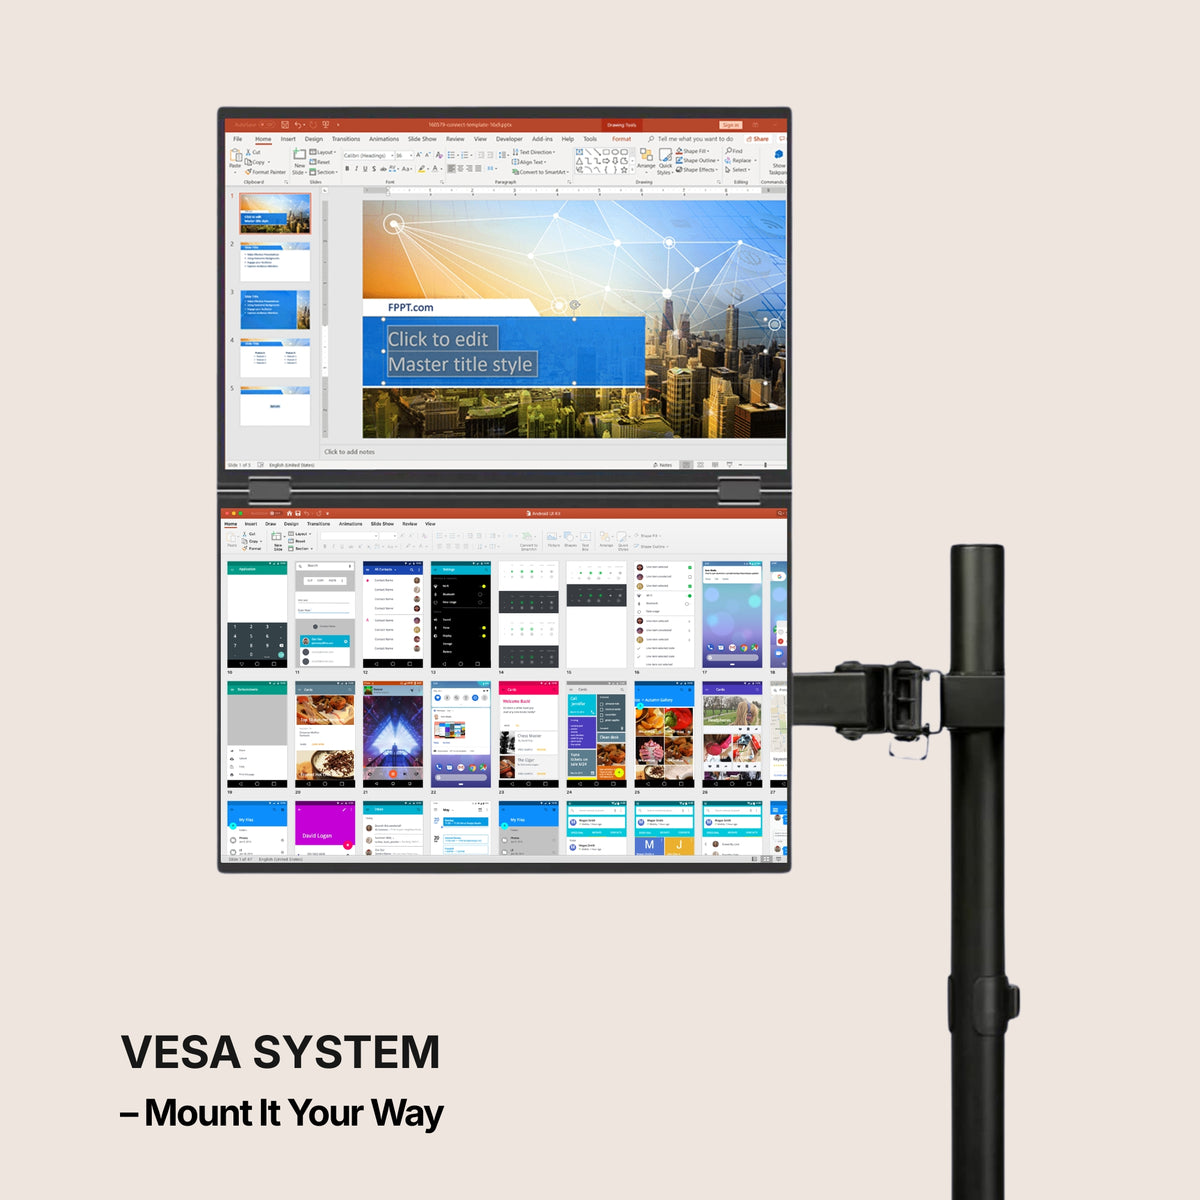
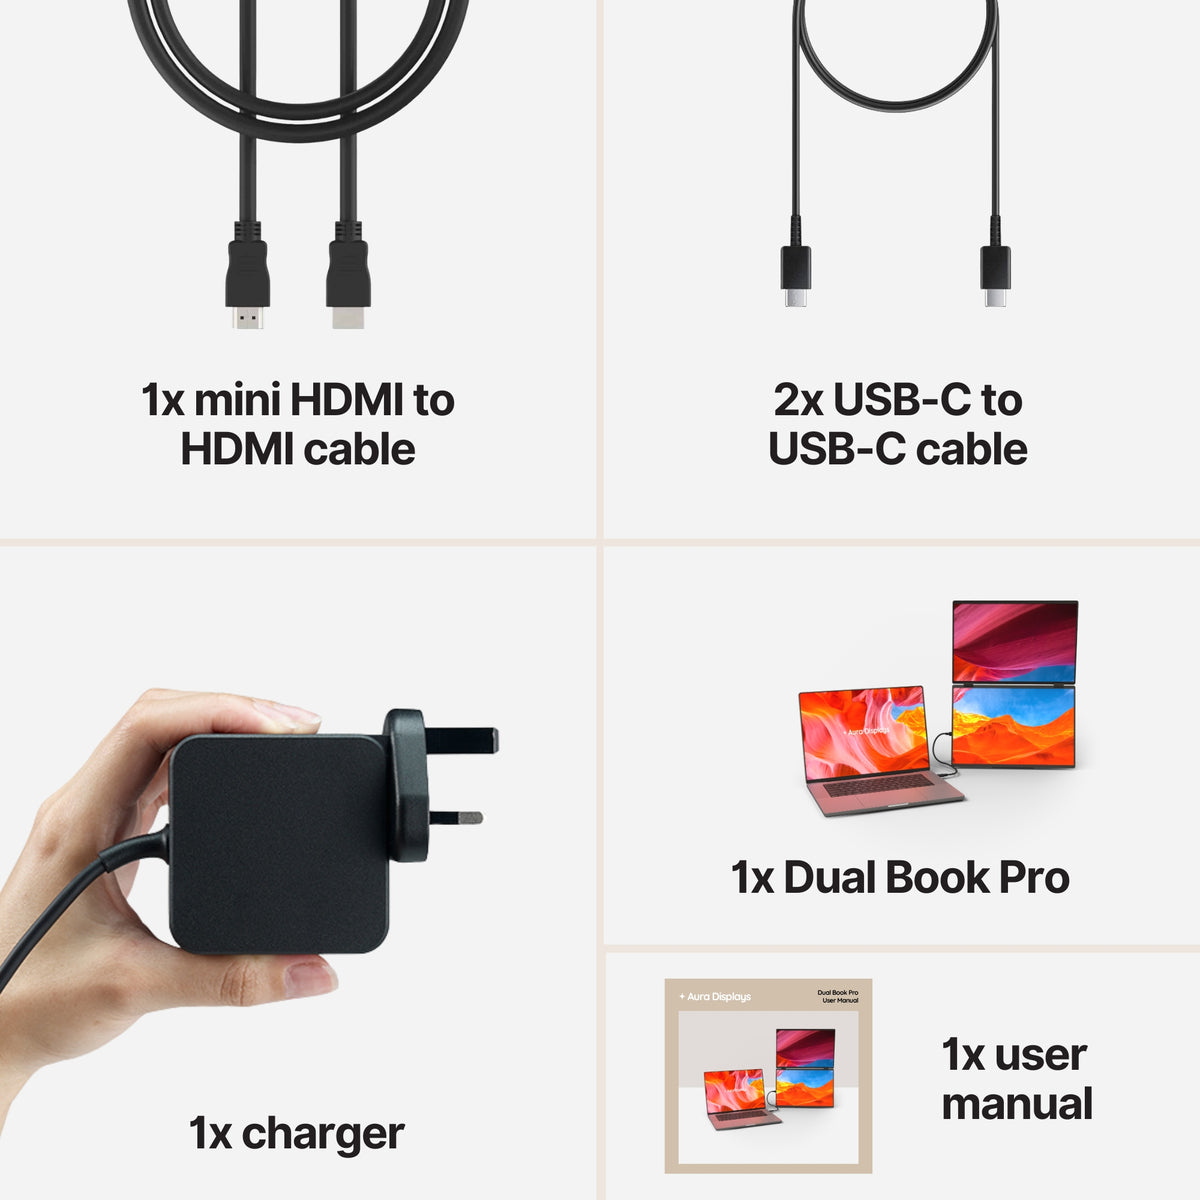
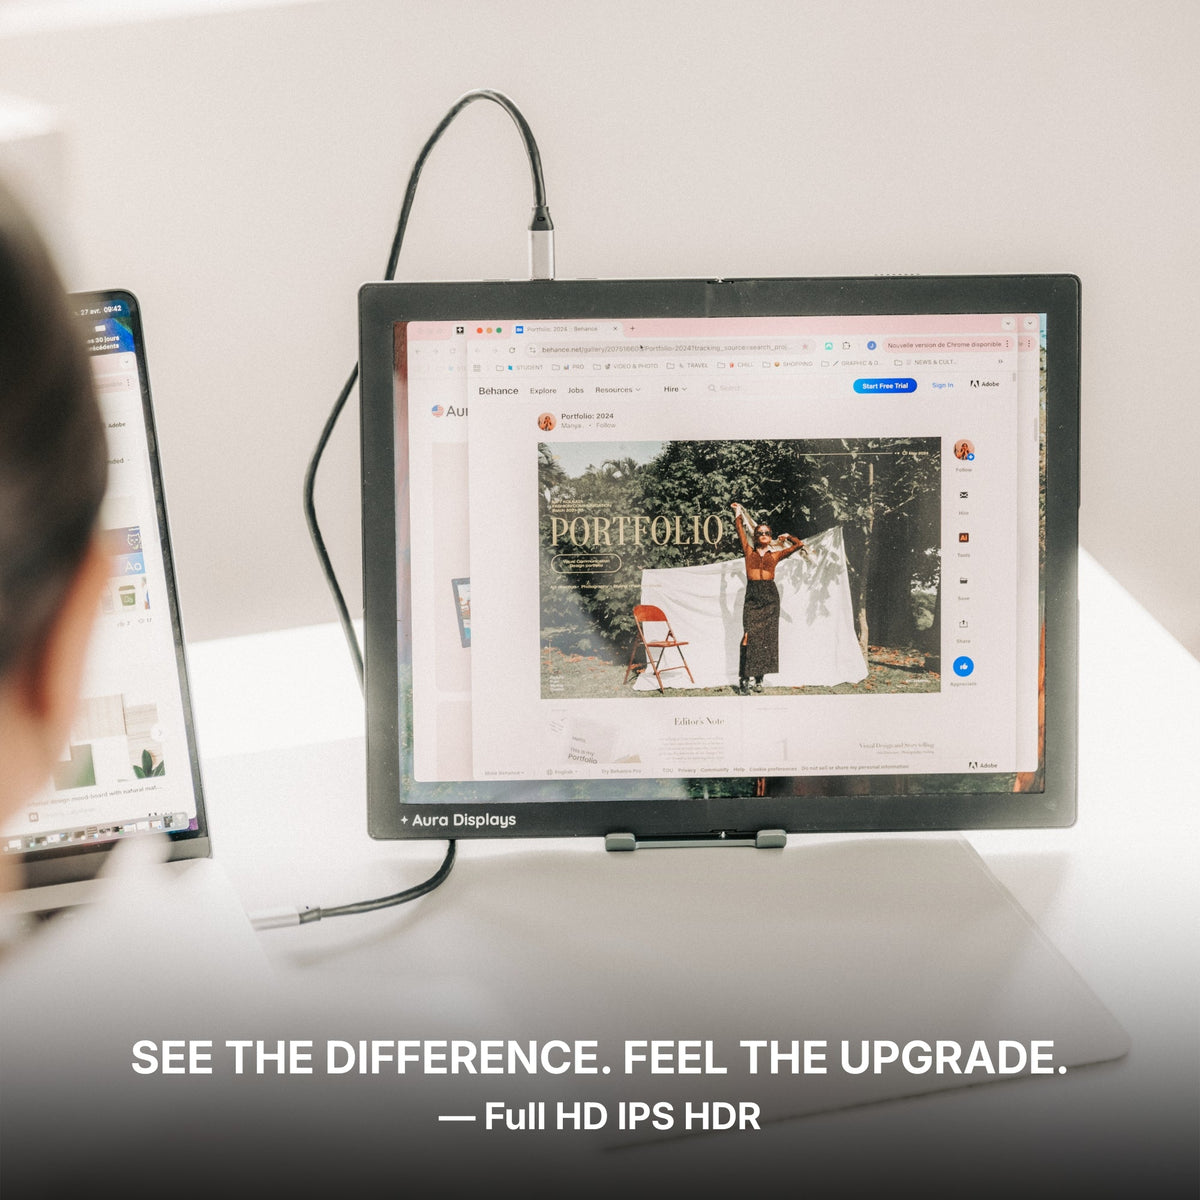
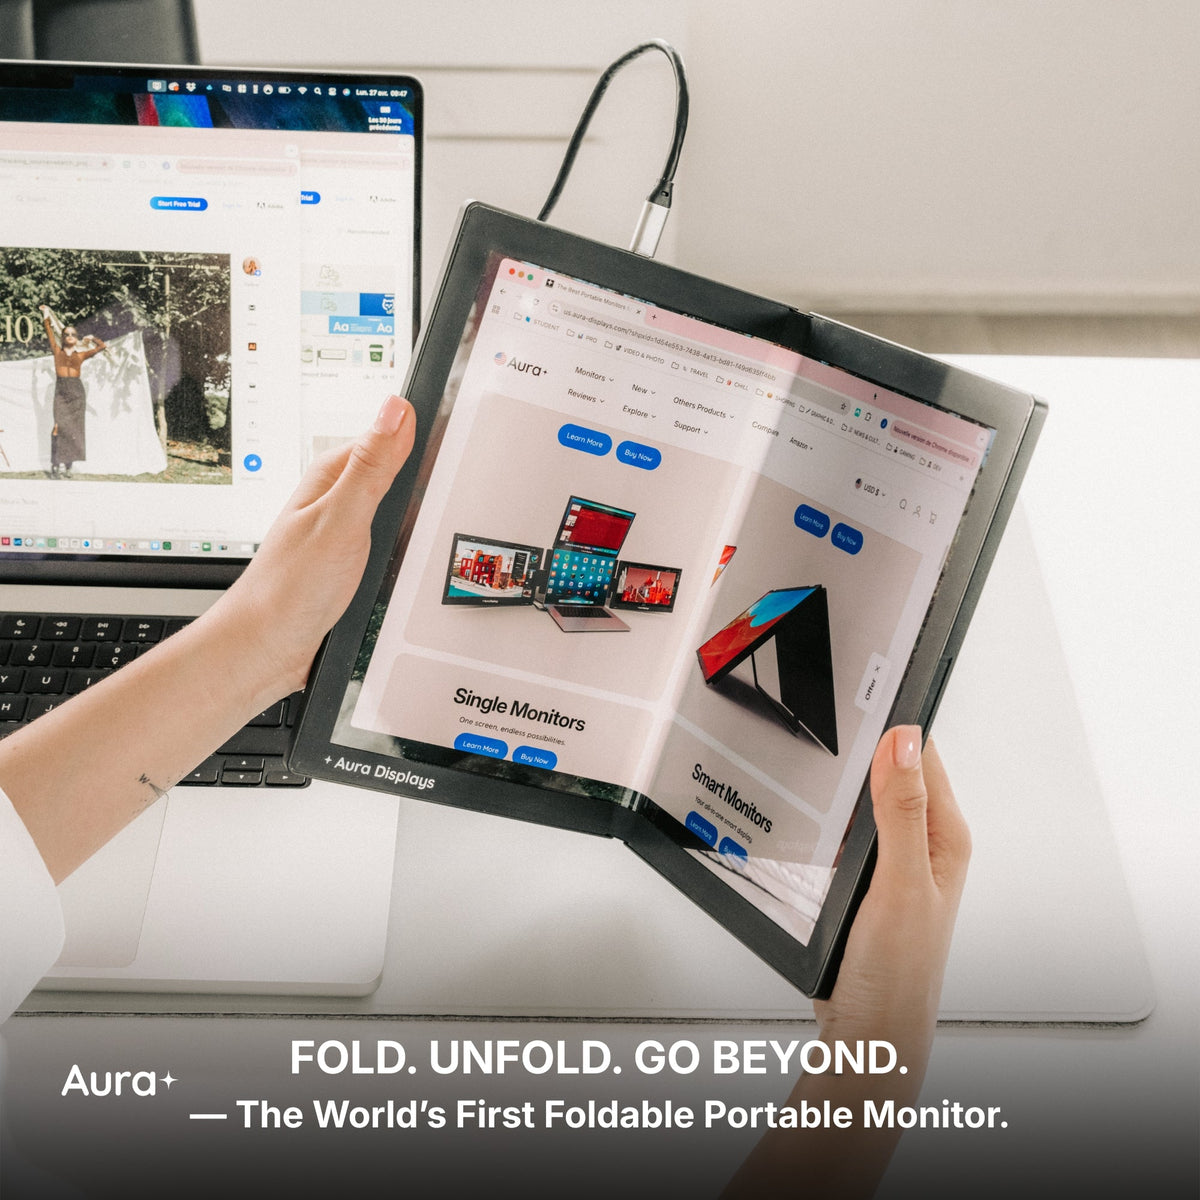
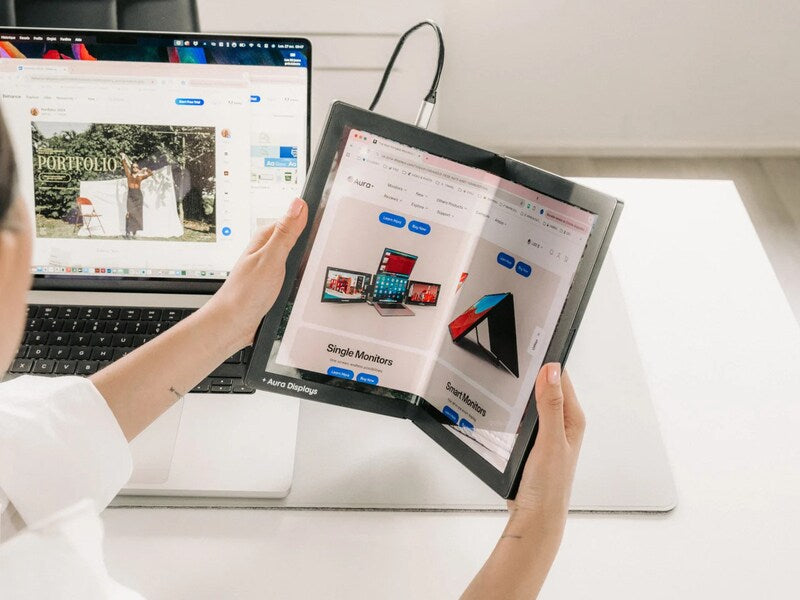
For a photographer working out of a bag, the Dual Book Pro (Gen 2) is the one we would choose, from $389. Specifically the 16" Plus variant at $399, at 1920 x 1200: those extra 120 vertical pixels are exactly what a filmstrip along the bottom and a tool column down the side want, and they are the difference between a grid that shows three rows and one that shows four. It is plug and play — no software, no driver — which matters on a shoot laptop you do not want to be troubleshooting, and it carries 3x USB-C, 2x mini HDMI and a 3.5 mm jack.
If all you ever wanted was somewhere to park the grid, the Single Play (Gen 2) at $289 does that single job for less and is the lighter thing to carry.
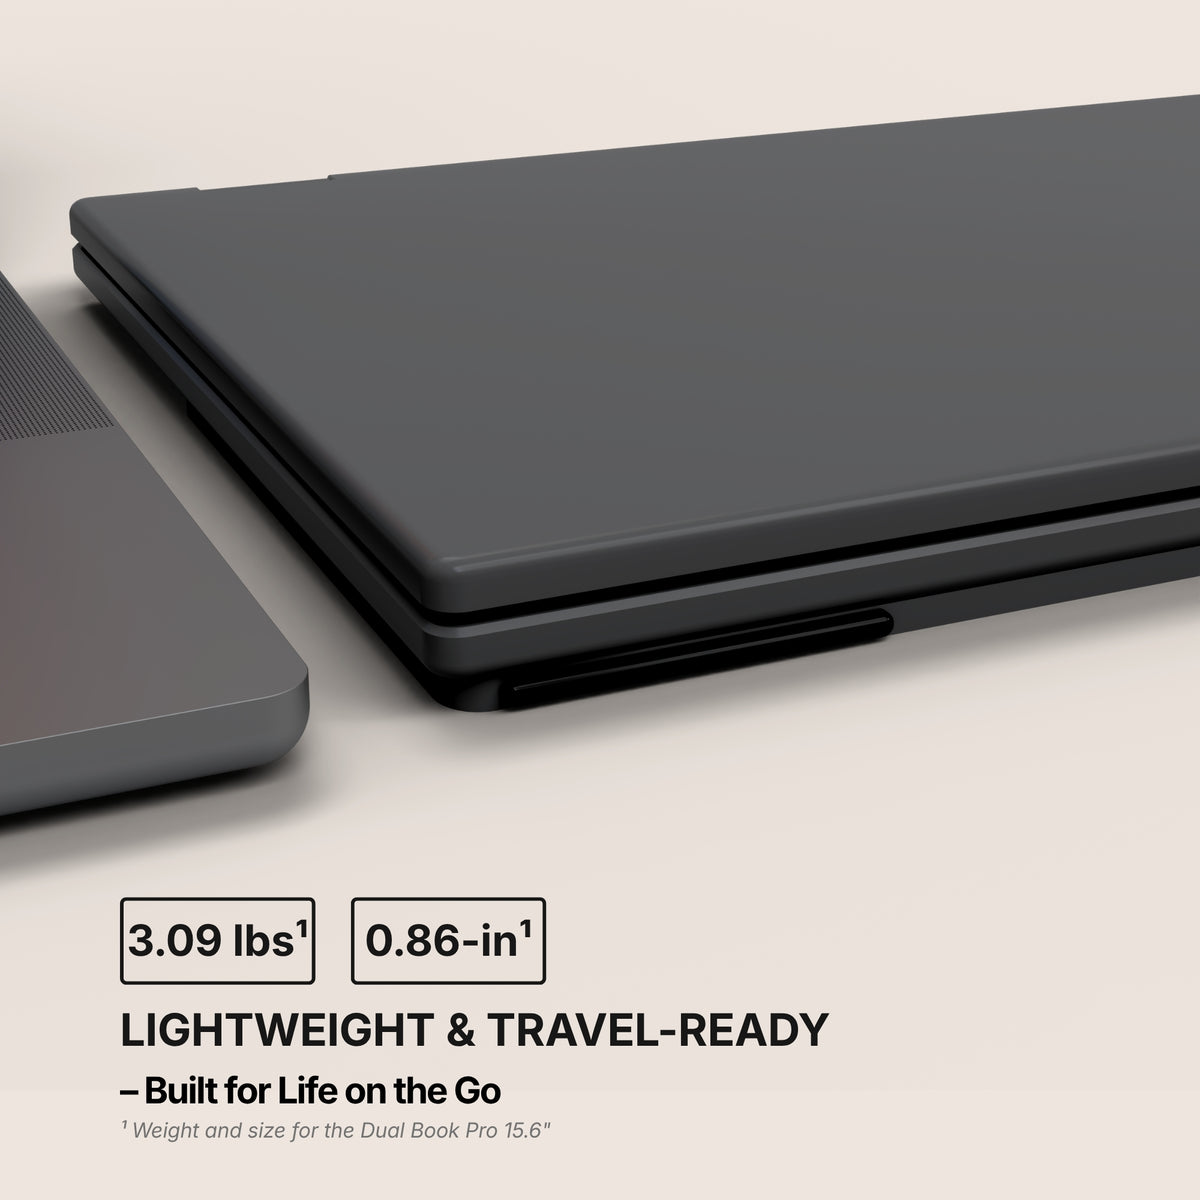
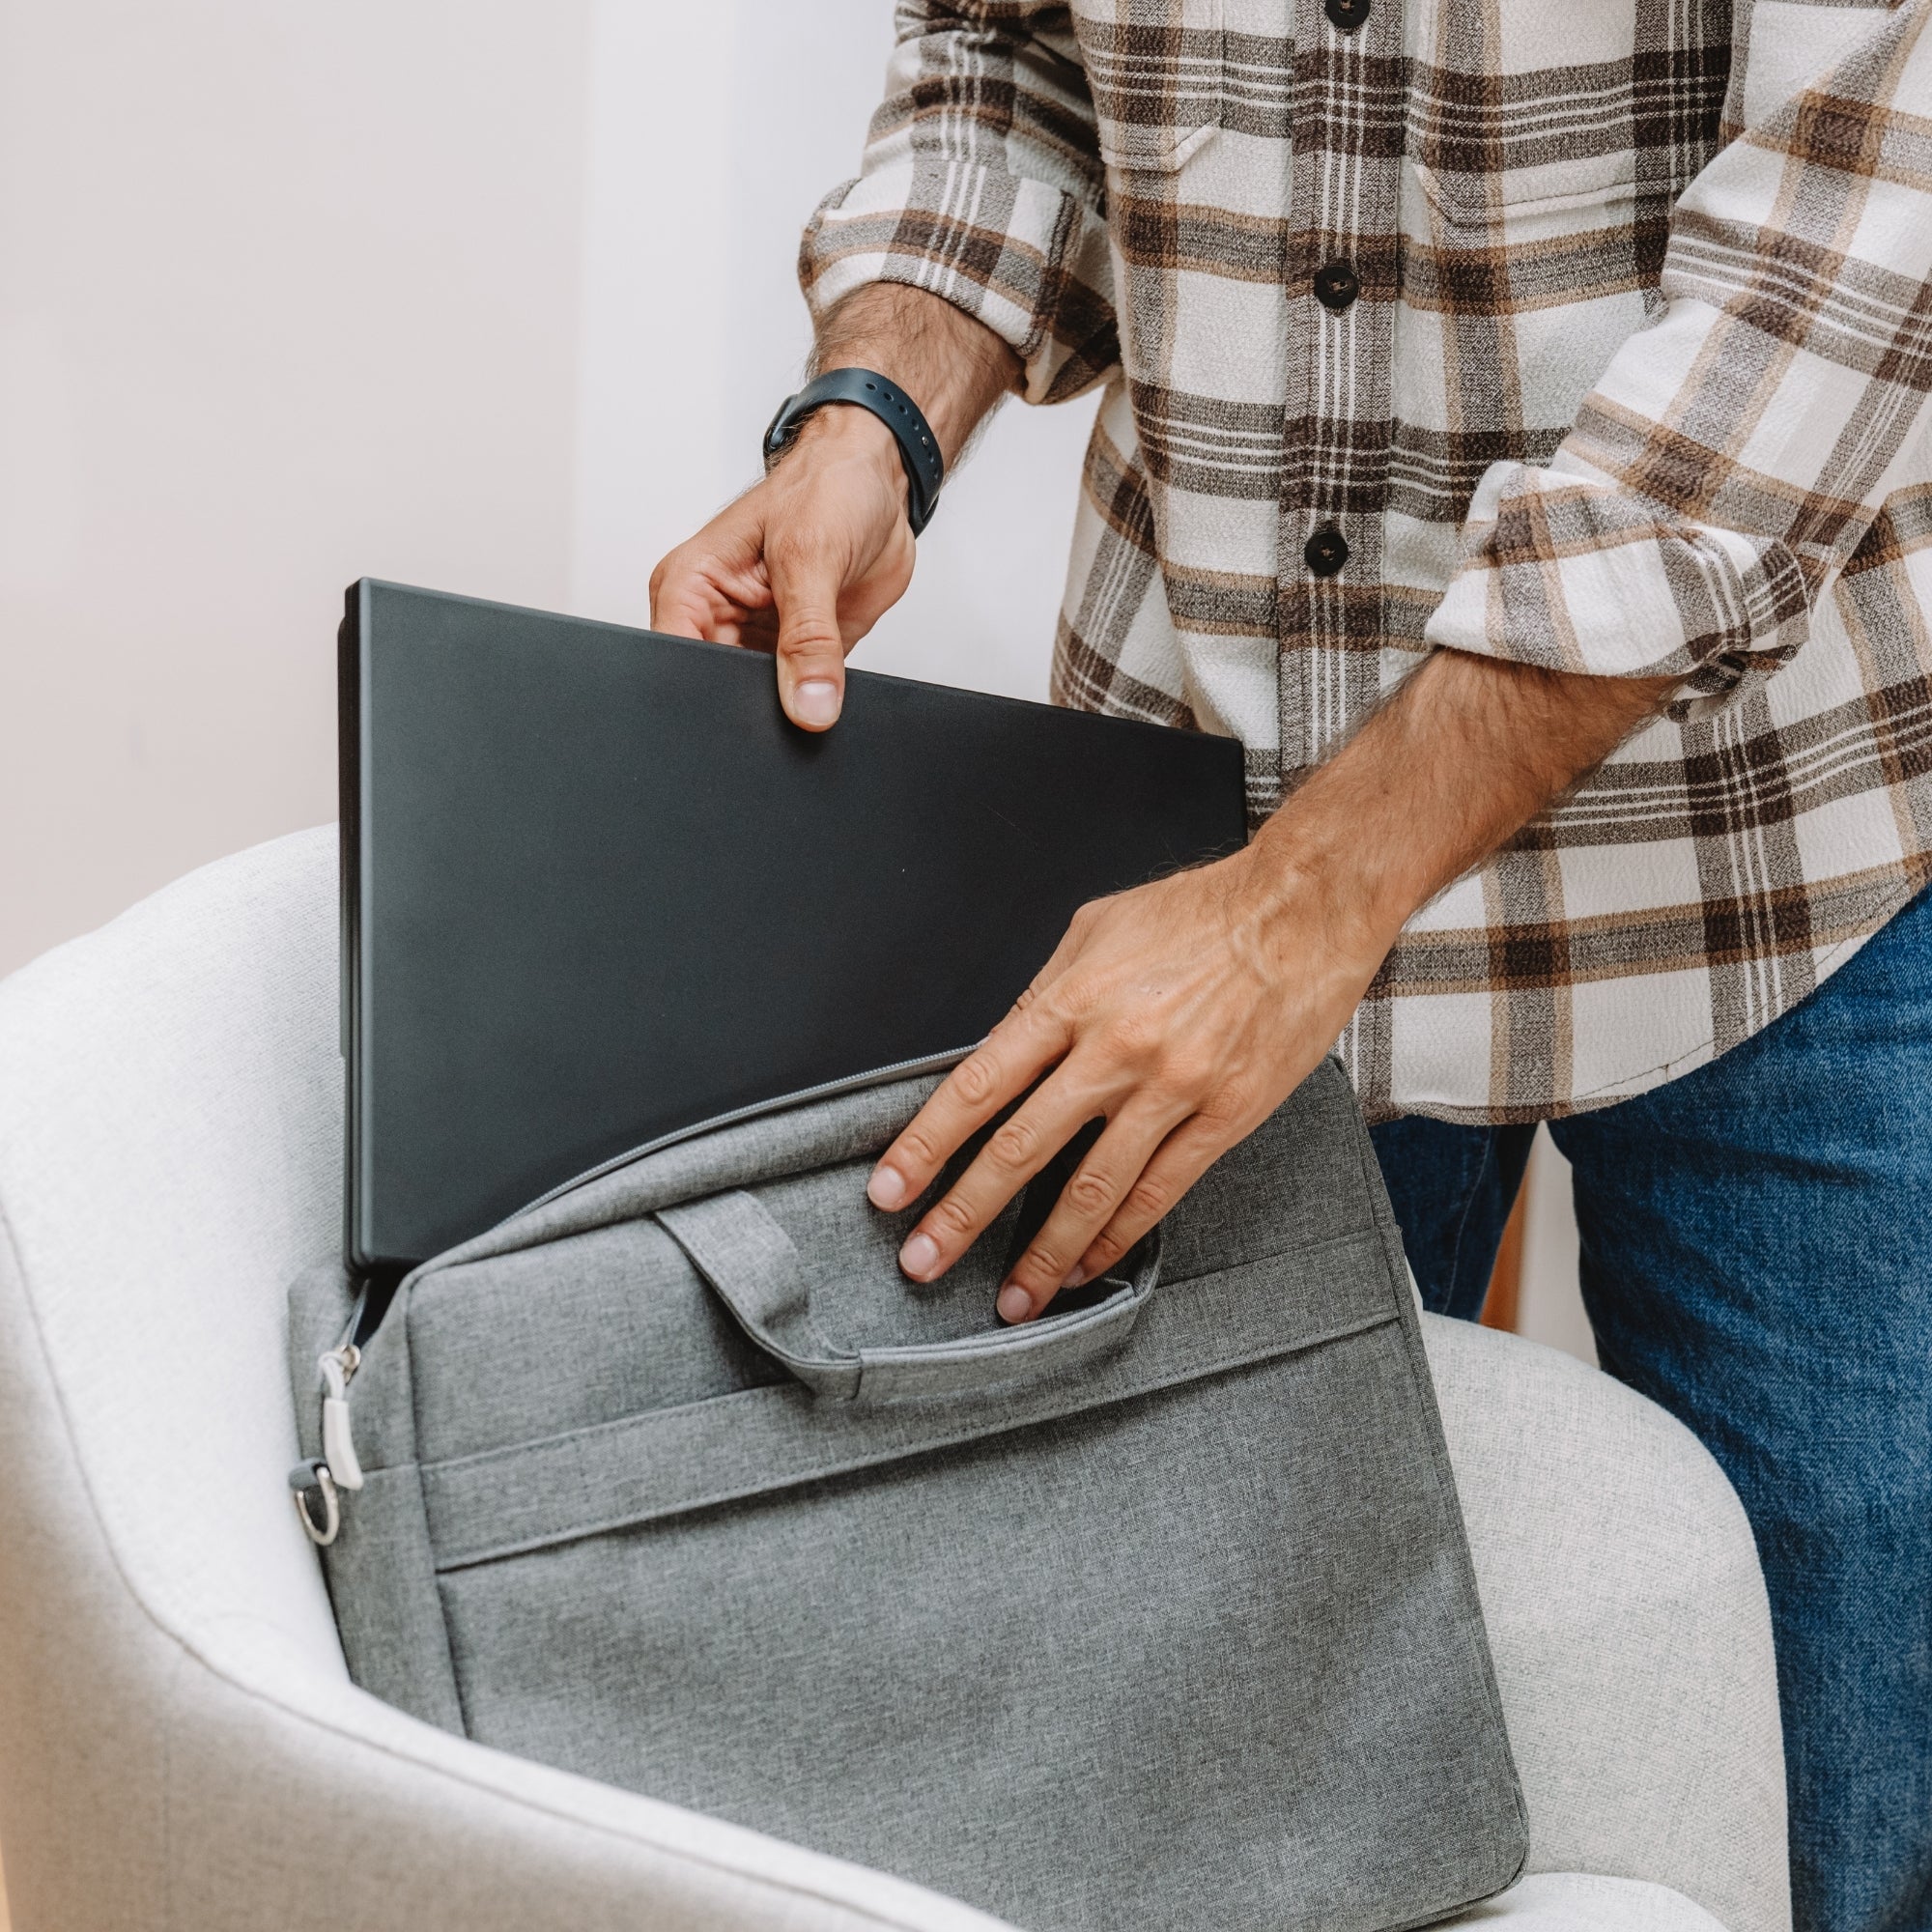
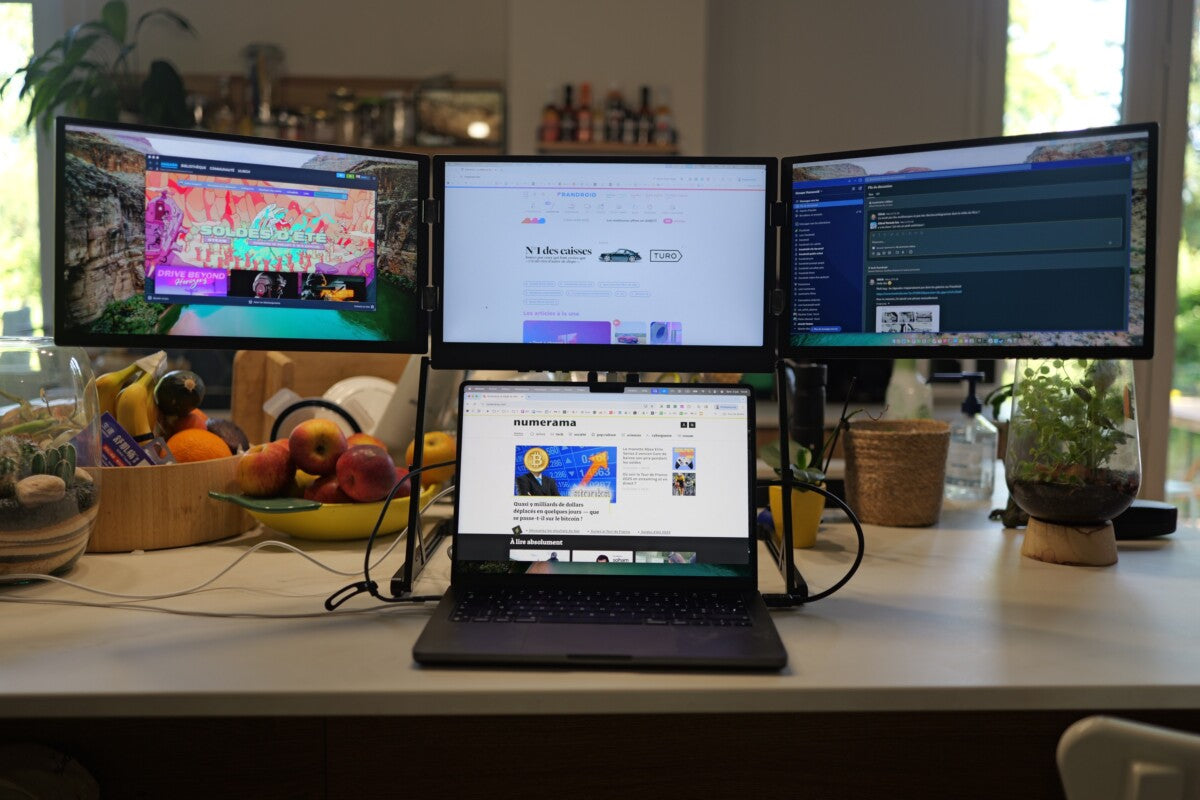
Why we would not push you higher: a triple-panel extender adds weight to a bag that already holds bodies, glass and batteries, and the third panel would only hold tool columns that dock happily on the second. You carry the heaviest kit of any profession on this blog. Do not add to it for a panel you would glance at twice an hour.













Share: